EE
421L Digital Integrated Circuit Design -
Lab 1
Laboratory
introduction, generating/posting html lab reports, installing and using
Cadence
Pre-lab work
- The lab reports will
be drafted using html and placed on CMOSedu.
- Prior
to the first day of lab, but no earlier than one week before the lab
starts, get a CMOSedu account, using your UNLV email address,
from
Dr. Baker, rjacobbaker@gmail.com
- Review the material
seen here covering editing webpages (do this
before the first lab)
This first lab will go through the first part of Tutorial 1 seen here.
Go through Tutorial 1 up to the following image (the 25th image in the
tutorial).
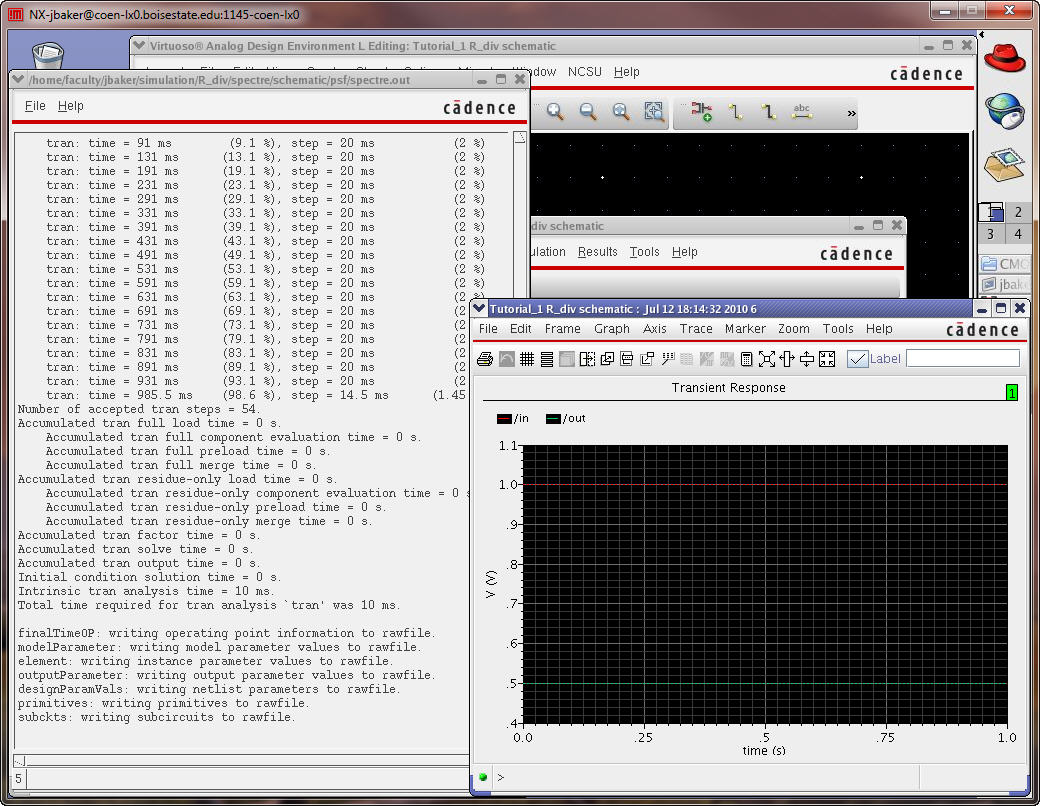
Your lab report will consist of: 1) simply showing some of the images
in this
tutorial (that you generated) with some simple coherent
narrative,
and 2) discussing how you will do regular backups while working on the future labs by zipping up your work and emailing it to yourself or
uploading
to dropbox, google drive, etc. with file names including the date
(include at least two images to support your discussion).
The Laboratory Report -
Create the lab1.htm report in a folder also called lab1 in your CMOSedu
account.
For example, for the user "jake",
http://cmosedu.com/jbaker/courses/ee421L/f13/students/jake/.
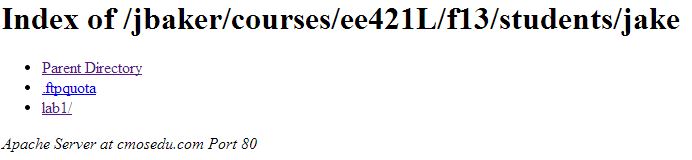
and, within the lab1
folder seen above, see: http://cmosedu.com/jbaker/courses/ee421L/f13/students/jake/lab1/, the
report will be, again,
lab1.htm.
The figures will be generated using the snipping tool (Start ->
All Programs
-> Accessories -> Snipping Tool)
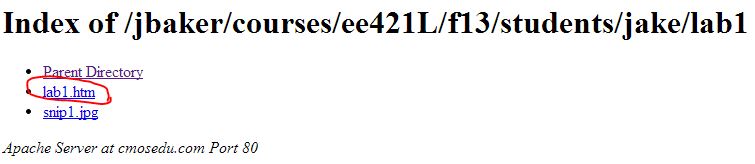
after clicking on lab1.htm we get
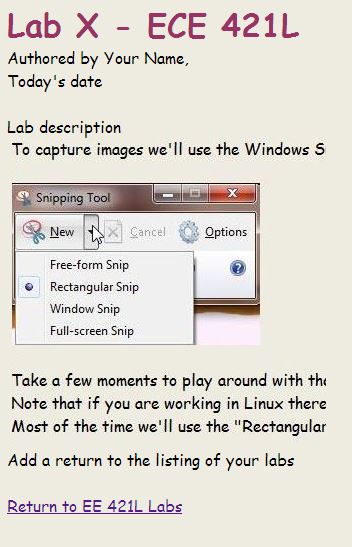
Ensure
that your html lab report includes your name and email address at the
beginning of the report (the top of the webpage).