Lab 1 - EE 421L
Authored by Charlene Drake,
Email: drakec2@unlv.nevada.edu
September 01, 2021
Prelab:
Prior
to the lab, students will first review and get familiar with editing
and inserting images on CMOSedu.com with the provided material here.
Lab Description:
The purpose of this lab is to familiarize students with Cadence by following along with the provided Tutorial 1.
Lab Report:
The first task was to request
a Cadence account from Dr. Greg, and once that information had been
acquired we were able to login into the Cadence server through
MobaXterm.

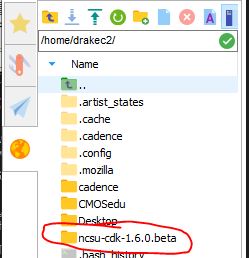
Next, we needed to download the NCSU Cadence Design Kit, extract the folder, and then move the folder to our home directory.
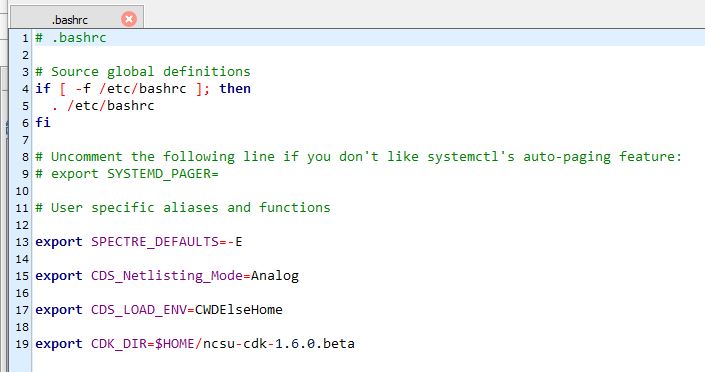
The following lines needed to be added to the .bashrc file, which could be done by opening the file with a text editor.
export SPECTRE_DEFAULTS=-E
export CDS_Netlisting_Mode=Analog
export CDS_LOAD_ENV=CWDElseHome
export CDK_DIR=$HOME/ncsu-cdk-1.6.0.beta
Once
the necessary files were downloaded and the .bashrc file was edited and
resourced, we needed to create a directory titled "CMOSedu." with the
command mkdir CMOSedu. In the CMOSedu directory we needed to edit file names, add lines to files, and delete a few files.
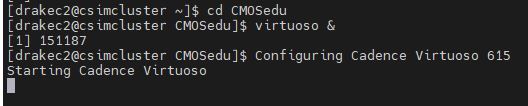
With the CMOSedu directory open, we type the command virtuoso & to run Cadence.
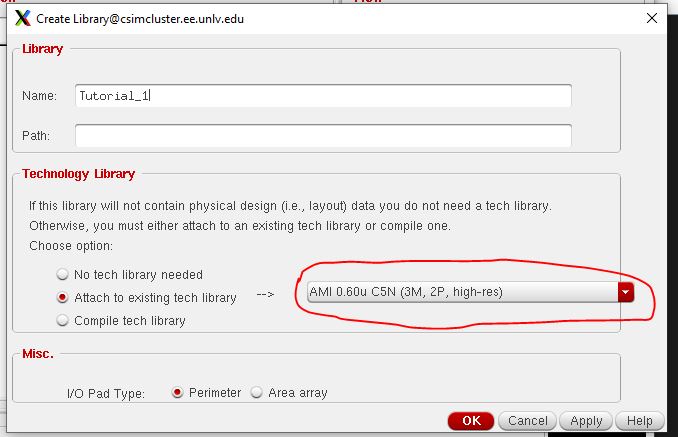
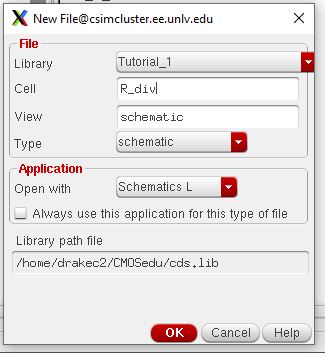
After
Cadence opens, we were asked to create a new library titled
"Tutorial_1," and attach it to the existing library AMI 0.60u C5N (3M,
2P, high-res).
In that library we will create a new schematic titled "R_div."
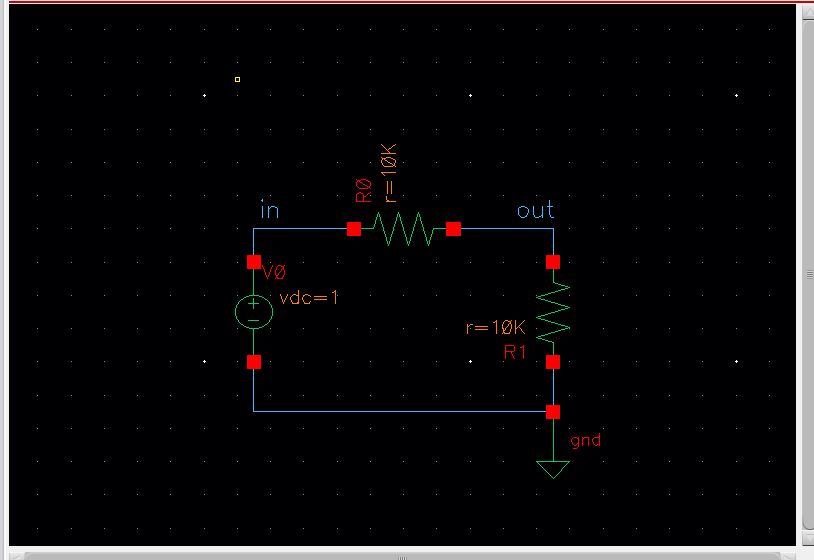
The
following schematic was created. Components were selected from the
NCSU_Analog_Parts library.
**Cadence Hot Keys: **
~ i - add instance
~ w - add wire
~ l - create text and label compontents
~ q - edit properties
~ f - zoom to fit
~ u - undo
~ z - zoom
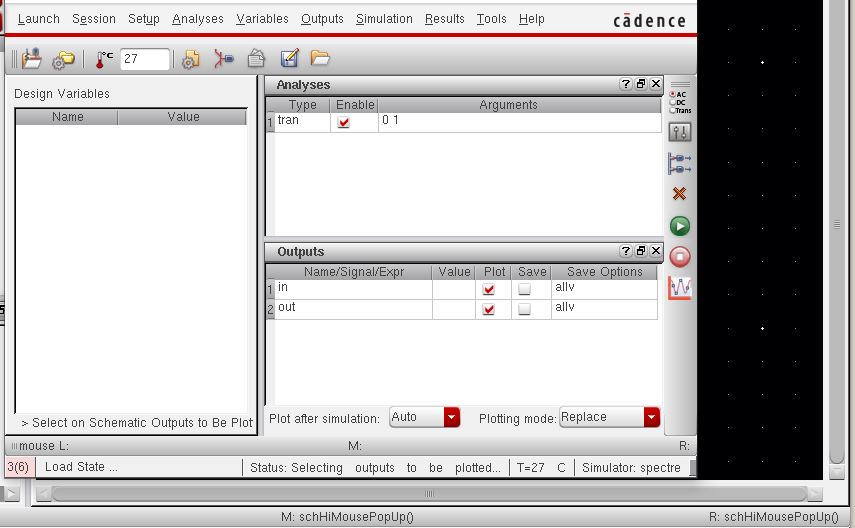
Once
the schematic is created and we launched the Analog Design Environment
(ADE), we can select what it is that we want to be simulated. In this
case we wanted a transient response that ended at 1 second, and then
for the input and outputs to be plotted.
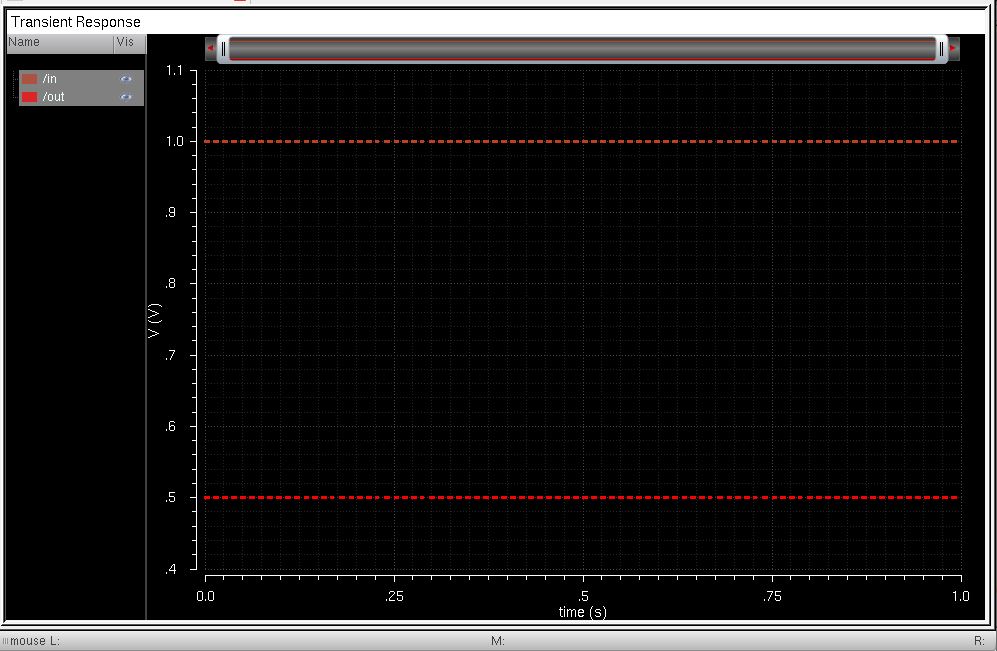
This was the final simulation.
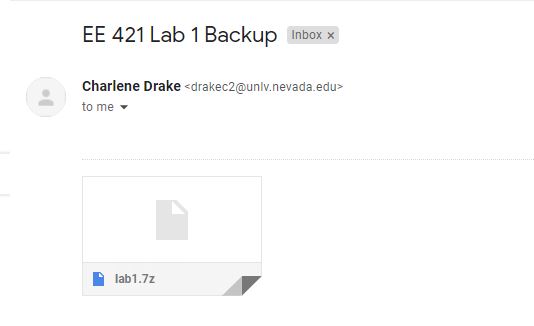
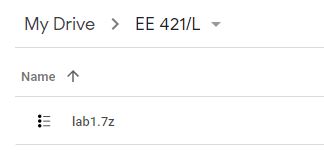
In order to backup my files,
I will be zipping them and emailing them to myself. Then, just so I do
not need to search my email whenever I need to access a backup, I will
create a folder in my Google Drive where I can easily access these
backup.
Return to EE 421L Labs