Notes
for using a laptop to record lectures using Camtasia and IPEVO Ziggi USB Doc Camera.
Your
laptop's screen resolution may be 1600 x 900.
Change
the resolution, before recording, so that it's 1280 x 720.
If
you are connecting to an overhead projector then your screen resolution may
drop to 1024 x 768 (and this is what you should use when producing the videos
below).
Start
your document camera (the camera needs to be plugged into the USB port of the
computer ;-)

and
set the resolution of the camera to 800 x 600.
Make
sure that the AF (auto focus) is not in the continuous mode (C), there is a
switch on the camera head (move it to S, single).
If
the camera is in the C mode then every time you move your hand under the
document camera it will change focus, which is a problem when trying to focus
on the lecture notes.
Position
the camera and then hit the focus button on the camera head to focus on the
lecture notes paper.
When
running the doc camera in the full screen mode simply left click on the display
to toggle the on-screen menus on/off.
Next
plug your headphones and microphone into the laptop.
Camtasia
8 setup (see here for
some older information)
Start
Camtasia Recorder
Test
the volume, making sure you use the headphone's mic
and not the computers (unless echo is okay for your recording)
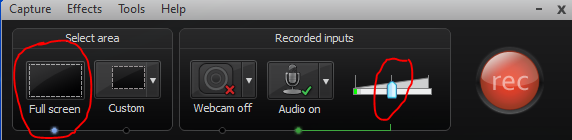
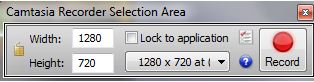
Select
the area, if you are using an overhead projector (e.g., in a classroom) your
screen is likely at 1024 x 768
For
the remainder of this setup we'll assume
that you have set your screen to 1280 x 720 (which is what I use when recording
lectures in my office)
as
a good trade-off between video file size and resolution. This size will also
work well when others are viewing your videos using their high-resolution
displays
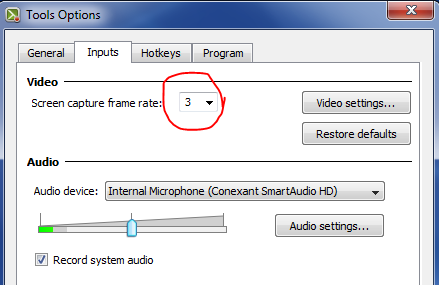
Under
Tools -> Options -> Inputs set the Screen capture frame rate to 3 (to
keep the file size small...very
important if you are uploading the videos)
Note
that if you want the videos to be less “jerky” then you can increase the frame
rate at the cost of file size
Hit
the red “rec” button above to start recording
When
finished hit F10
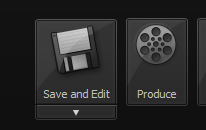
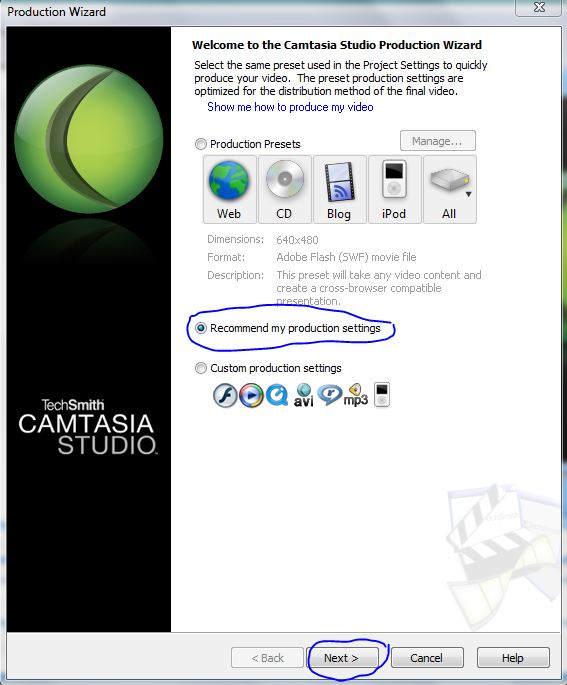
Next
you can select Produce, below, to produce your video
However,
if you are teaching courses (recording lectures) back-to-back you'll have to
produce the video later so
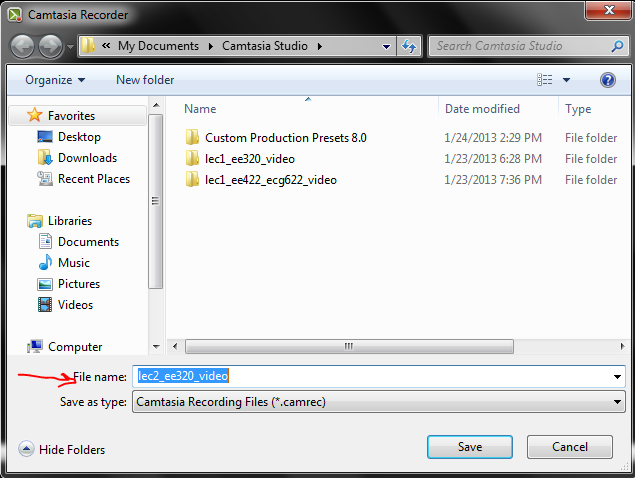
hit
the arrow below Save and Edit to "Save As" the *.camrec
file of the video you just made (what you'll produce
for
posting on the web later)
Now
you can record another lecture by pressing the red “rec”
button
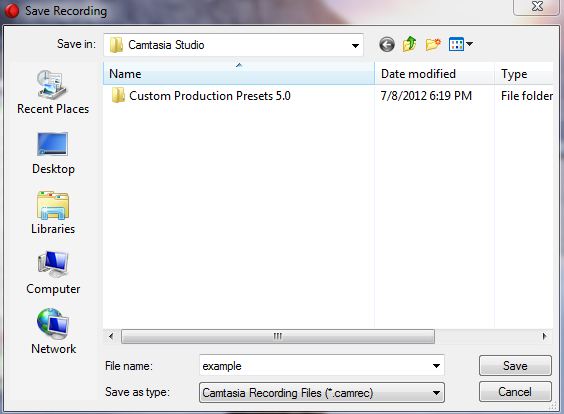
Below
shows where the *.camrec file can be saved
To
produce a video (at this point you have your *.camrec
file(s) so it's okay to close Camtasia Recorder) start Camtasia Studio
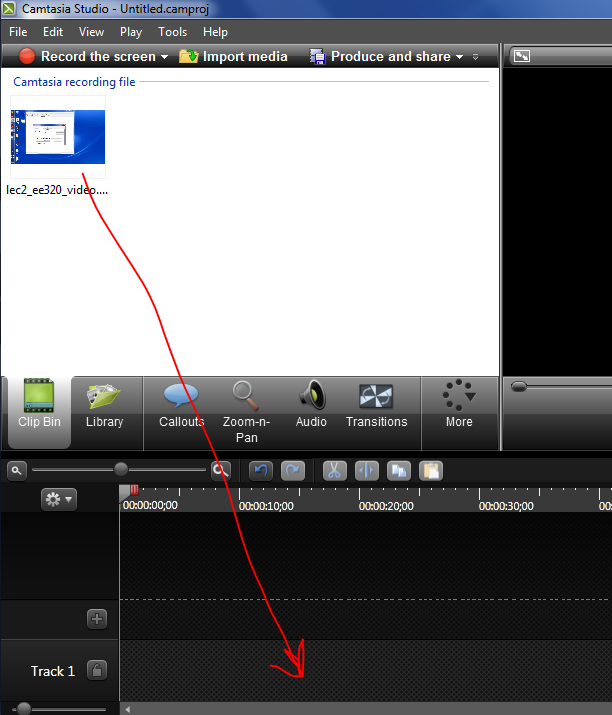
After
starting Camtasia Studio select the center icon below, that is, "Import
media" or File -> Import media (or Ctrl+I)
and import the *.camrec file
Next
drag it down (with the mouse of course ;-) to the bottom of the studio as
indicated below (or, for smaller screen resolutions where you can't see
the
portion of the screen seen below, right click on the image and select "Add
to Timeline at Playhead")
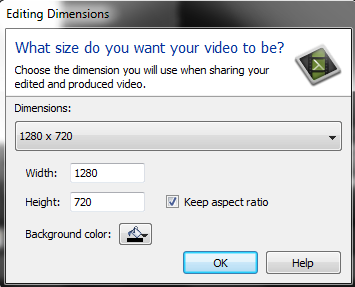
After
dragging the file down the following window will pop up
Set
the dimensions to 1280 x 720 (the size that we recorded...unless the projector
set it to 1024 x 768 as it does in my classroom lectures)
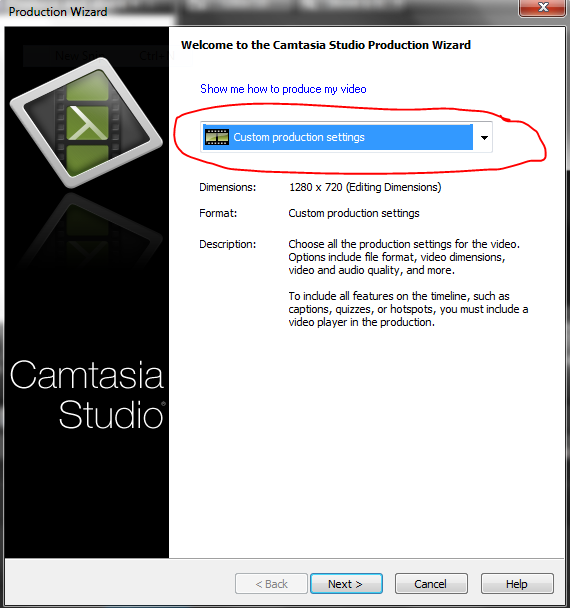
After
hitting OK click on the "Produce and Share" icon (or the menu items
File -> Produce and Share)
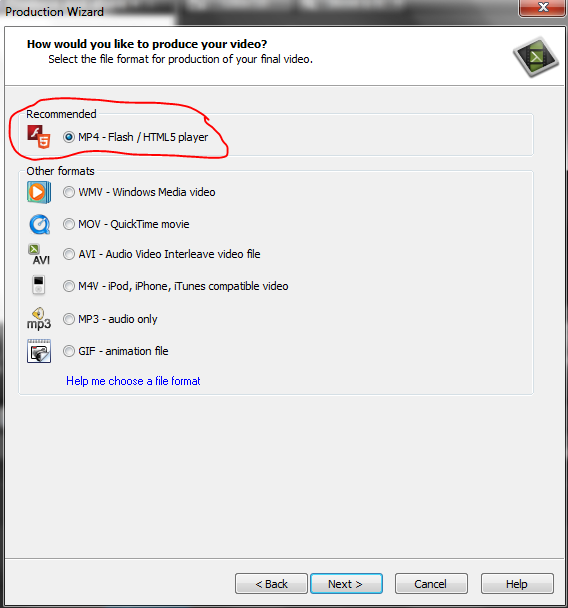
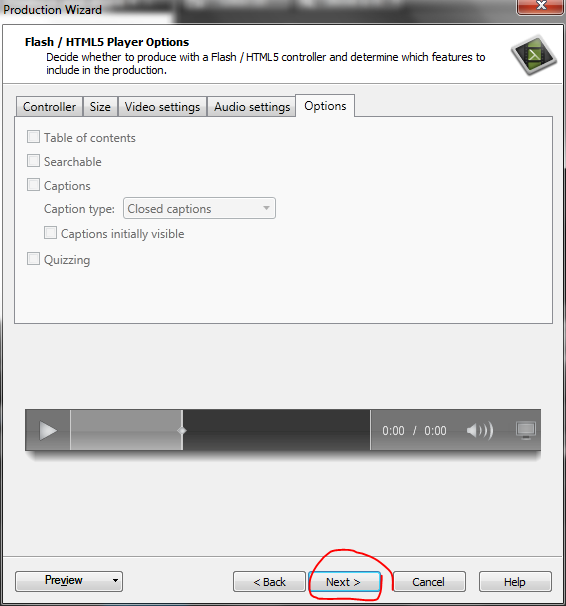
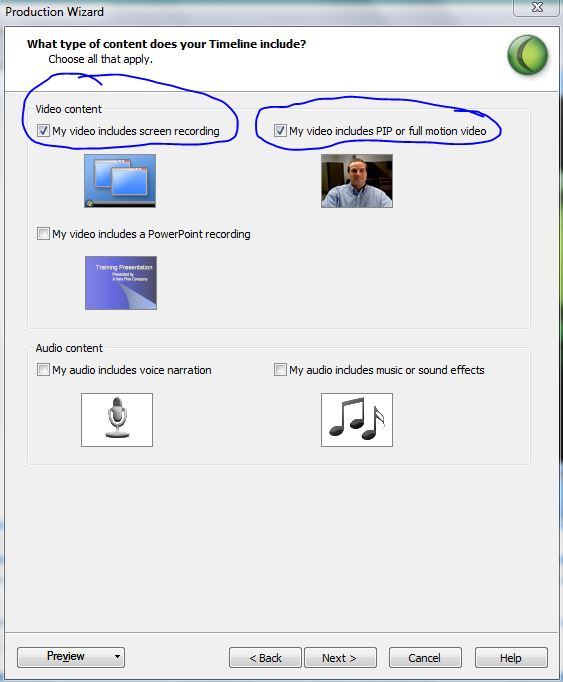
Select
Custom production settings as seen below.
Hit
Next > then MP4 - Flash/HTML5 player as seen below (best for posting)
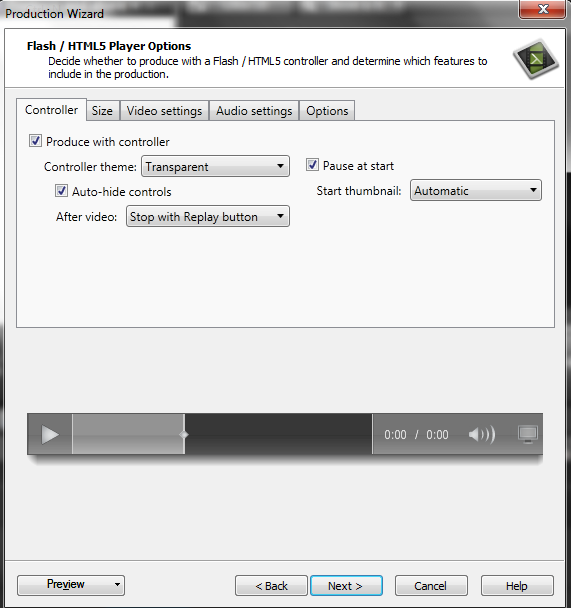
Hit
Next > again to get the following
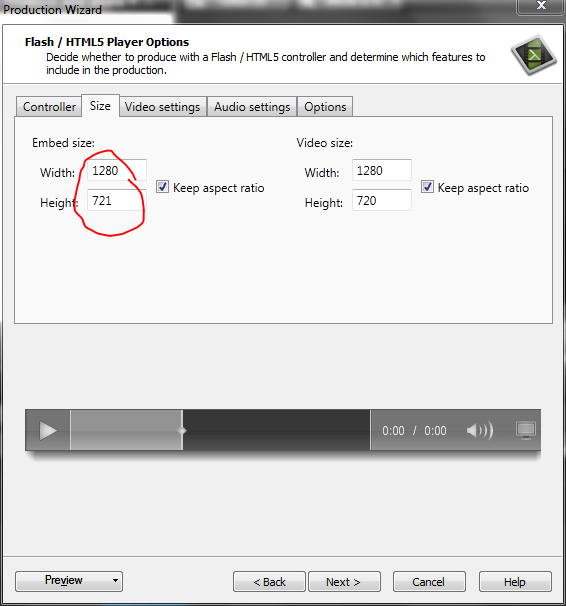
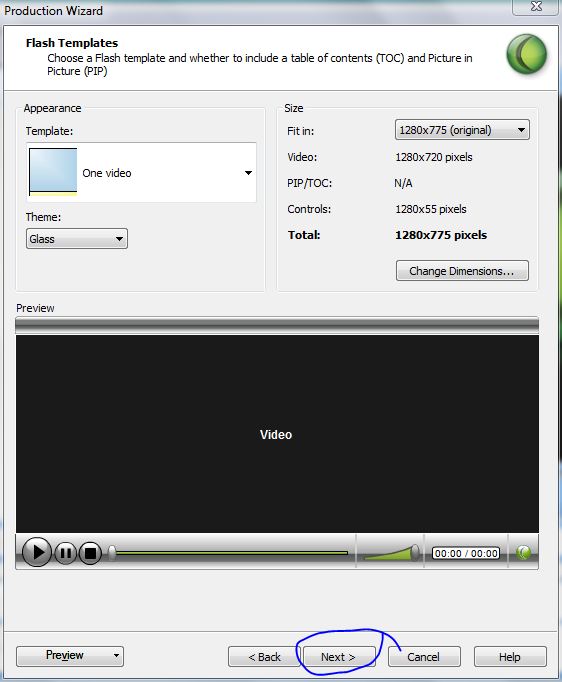
Select
the size tab and set the dimensions back to 1280 by 720 (what's up with the
721??? ;-)
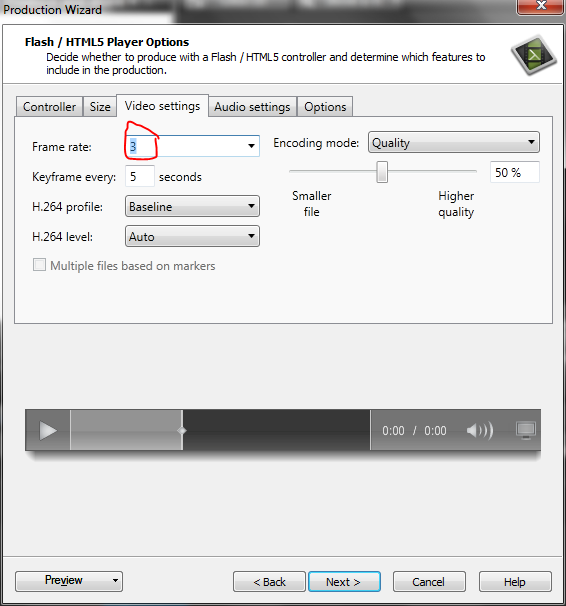
Then
hit video settings and set the Frame rate to 3 (you did this earlier
too...again, important for small size videos)
3
frames/second works fine for lecture notes but you may want to increase the
rate if recording a board lecture (someone standing and the board lecturing)
Hit
Next> again
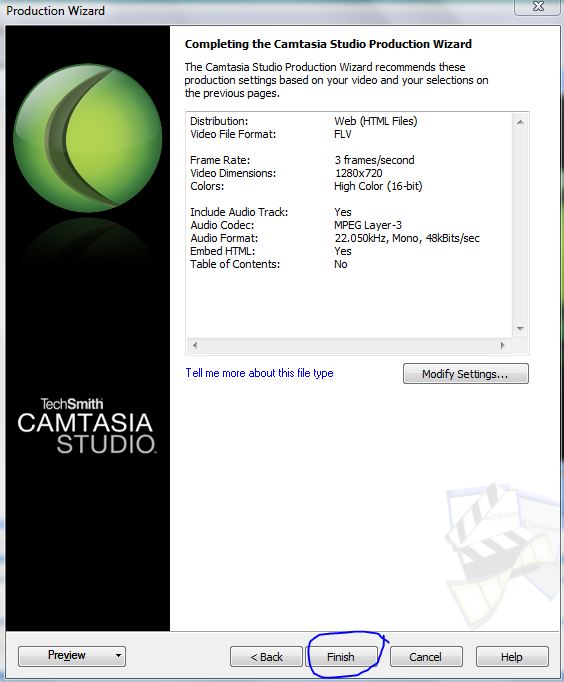
After
hitting Next> again we get the following.
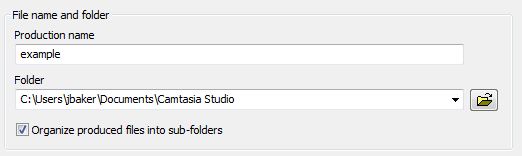
Enter
the name of your video
I
always use the same name as the *.camrec file to
reduce the burden on my memory ;-)
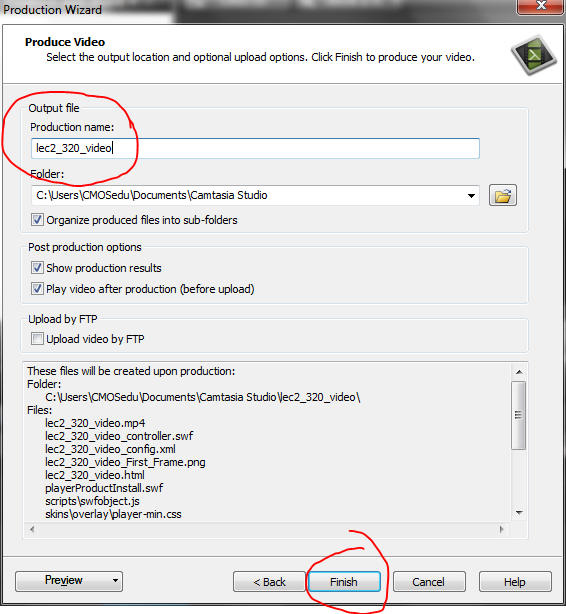
Hit
Finish to start the production.
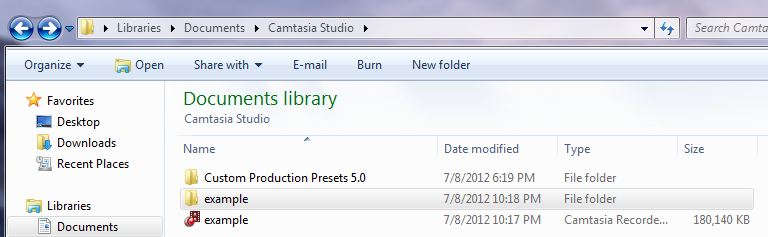
When
Camtasia Studio finishes generating the video there will be a folder, here for
example, called lec2_ee320_video.
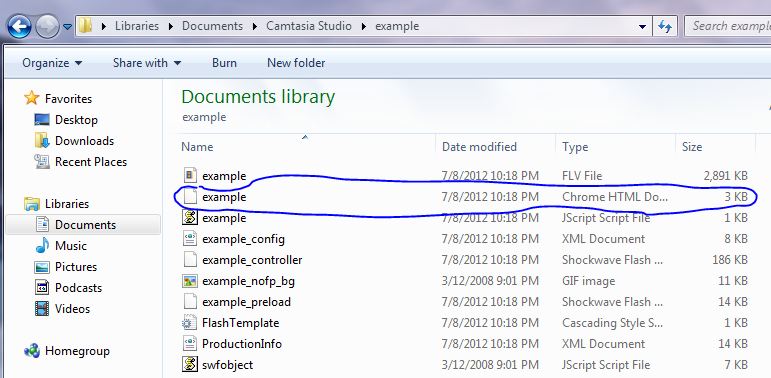
Within
this folder is an html file called lec2_ee320_video.html
that you can link to, after you have uploaded the folder, to run the video.
Hope
this was useful!
Start
the Camtasia recorder
Adjust
the microphone volume, click on audio adjustments for further help.
Note
that this step, ensuring that the microphone is connected and the volume is set
correctly, is VERY IMPORTANT!

Next
click on Camera options, above, and then Video, below.
Set
the screen capture rate to Manual, 3 frames/sec (to keep the video file small).
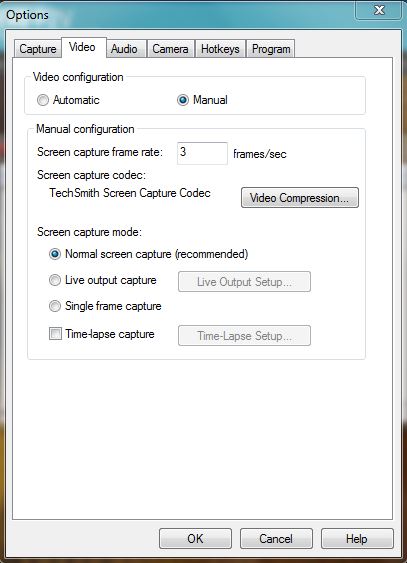
Hit
OK and then select the entire desktop by hitting "Select Area to
Record" and then clicking directly on the desktop, not an open window
including the doc camera window.
Since
you've selected the entire desktop the width and height of the recorded area
should be 1280 x 720.
When
finished hit F10, or F9 to pause.
You
can also click on the red flashing Camtasia icon on the task bar to stop
recording.
Save
the video as a *.camrec file, here we save it as example.camrec.
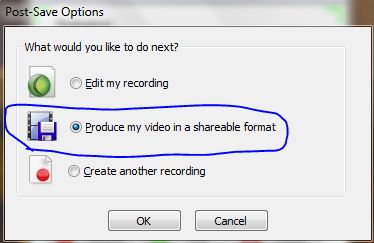
Next
select "Produce my video in a shareable format" as seen below and hit
OK.
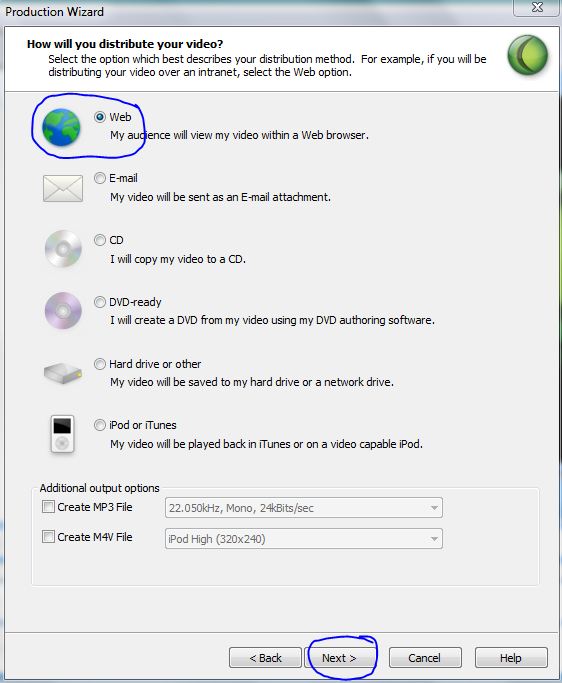
Convert
the example.camrec file into a format that can be
played in a web browser.
At
this point you can change the laptop's screen resolution back to 1600 x 900
(which is recommended).
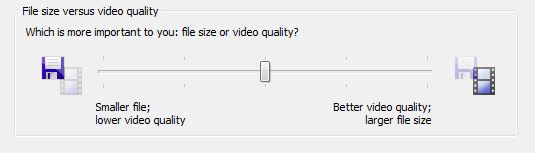
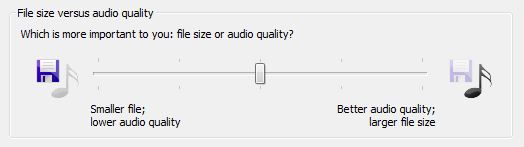
Further
reduction in the file size can be achieved by reducing the audio and video
quality.
I
find that mid-range is a good balance between quality and file size, as one
would expect.
Select
the name of the video, here we select the same name as the *.camrec file.
The
last step is to start converting the
Below
shows the location of the files.
Link
to the example.html file seen below (move the entire "example"
directory to your website) then link using, for example:
http://mywebsite.com/example/example.html
Using
this technique the size is roughly 6 MB/1 minute of video, much less if you
don't use the document camera much.
The
raw, *.avi, files are stored in a directory located in
C:\Users\jbaker\AppData\Local\Temp (for example).
This
is useful if the computer crashes and you have to manually convert, using
Camtasia Studio, the *.avi files (of course you can watch the *.avi files
directly but they are huge).
It's
very important, if you are making a series of recordings, to delete the files
every so often (after making backups of what you care about on some external
storage media) in (for example):
C:\Users\jbaker\AppData\Local\Temp
(where the temporary video files are stored) or
C:\Users\jbaker\Documents\Camtasia Studio (where *.camrec
and the production videos are stored)
These
files can be huge and fill up your hard disk (THIS IS IMPORTANT!) since the
failure (your HDD becoming full) can (will) happen in the middle of a
recording.