Lab 1 - ECE 421L
Authored
by Dominique Anguiano
Email: anguian3@unlv.nevada.edu
8/30/2016
Lab
description
The lab for this week consists of following part of Tutorial 1 up to a certain point and simply
taking a few screenshots while progressing through the tutorial to
place on the report. In addition to this, the first lab is
meant to introduce us to Cadence and setting up and editing webpages.
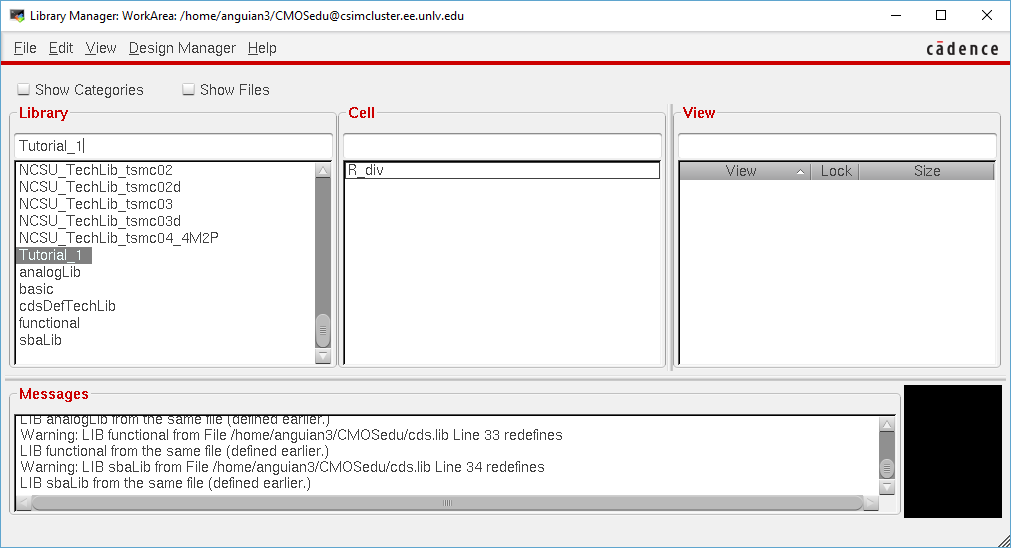
Image 1
The
above image is from beginning of the tutorial which asks the user to
create a new Library named "Tutorial_1". This library contains
the cell "R_div" which is what we were working on.

Image 2
The
above image is the menus that were seen while adding the components to
the schematic. In this image, I added the 10k resistor seen in
the middle of the image and it's value was set in the window on the
left.

Image 3
This image is what the completed schematic looked like after adding all of the components.
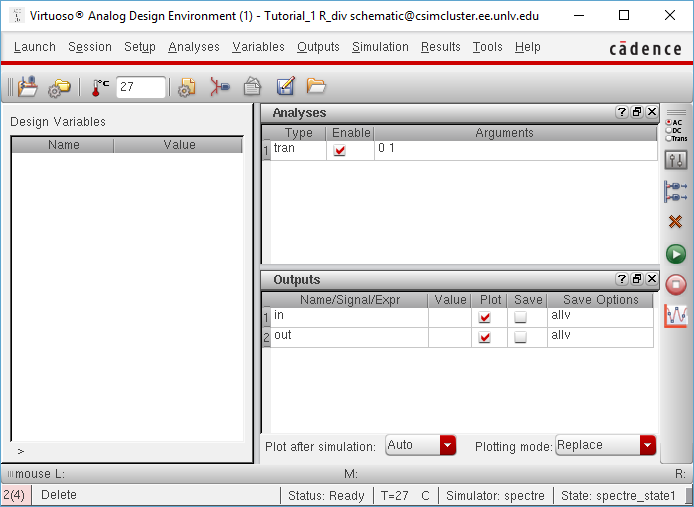
Image 4
The
Analog Design Enviroment seen in the image here is used to run a
simulation by clicking on the green button. This simulation is
run with spectre and plots the values of the in and out voltages.
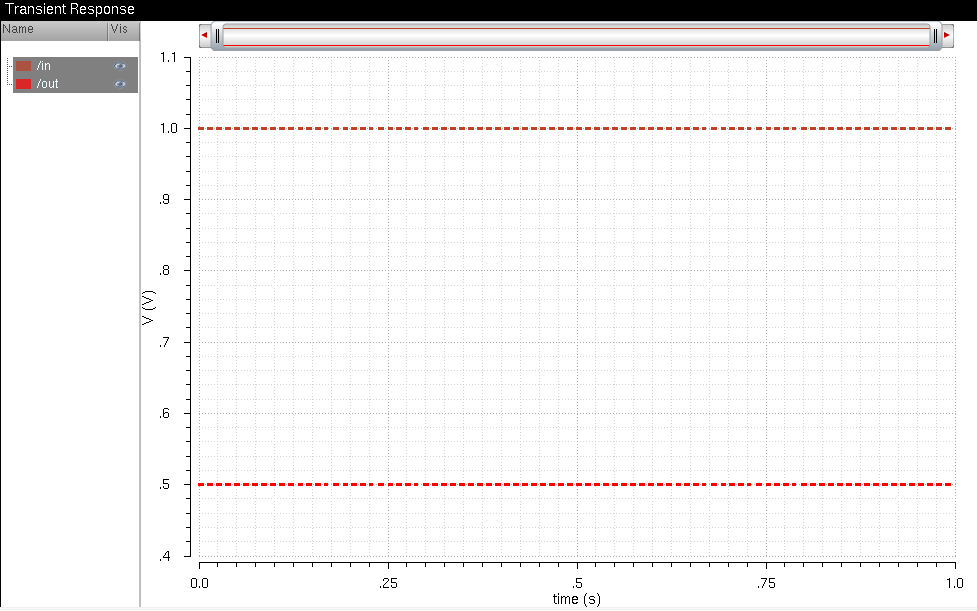
Image 5
The
image seen above is the window that appeared after running the
simulation and plots the voltages of both the input and output with
respect to time.
Regular backups are needed to help prevent the regular loss of work in this class. In order to do this, we can first download the files using mobaXterm
and zip them to be uploaded regularly to Google Drive. The
downloading of the files can be done by right-clicking the folder,
which is seen in the image below.
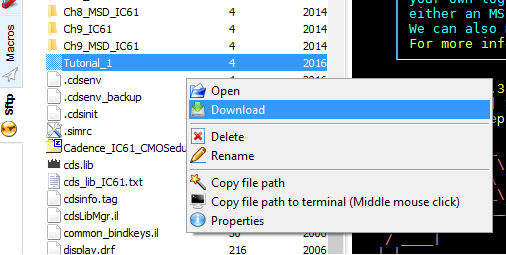
Image 6
The folder can then be uploaded to Google Drive as seen in the following image.
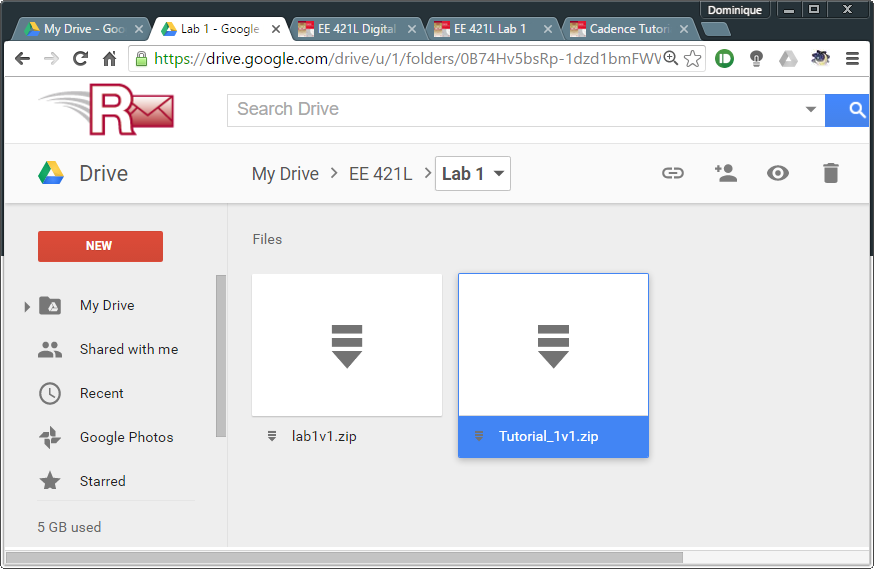
Image 7
After
the files were uploaded to drive, I added a v1 to end of the file name
in order to indicate that it is the first backup of that project.
I also uploaded the image files as well as the .htm file in a
seperate zip file to back up those files as well.
Return to EE421L Labs