Lab 1 - ECE 421L
Cassandra Williams
Willi131@unlv.nevada.edu
August 31, 2015
Pre-Lab:
- First request log-in information and account access for CMOSedu.
- Second, request log-in and account information for Cadence.
- Read through web editing tutorials
Lab 1:
-This lab follows through the first part of Tutorial 1 for the use and navigation of Cadence from the CMOSedu website. Also, this lab is designed to help us learn and get familiar with editing web pages.
- Basic steps are followed to build a schematic and do an analysis using Cadence.
-Then information is published to our Lab webpage.
-Finally proof and steps to take in backing up all work is shown..
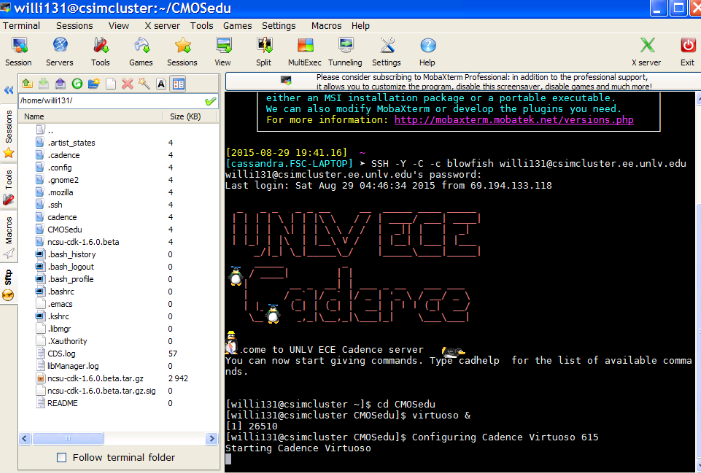
I. Setting up Tools for lab:
- MobaXterm: All necessary files and libraries were down loaded.
- UNLV's Cadence server account set up. Below you can see libraries added, including thie Tutorial 1 for this lab.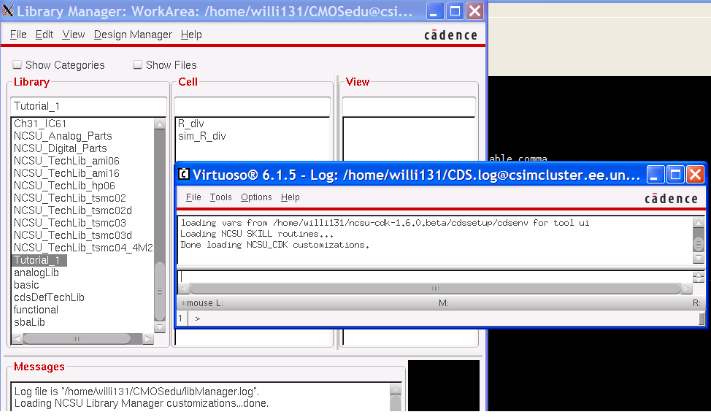
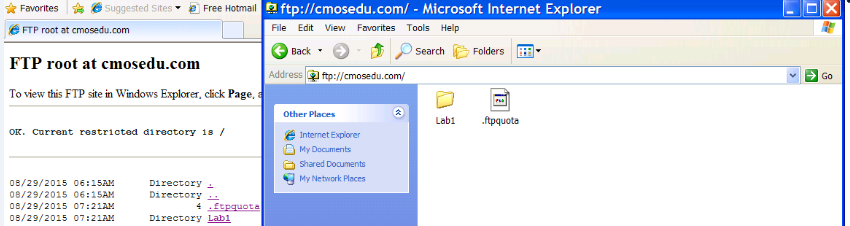
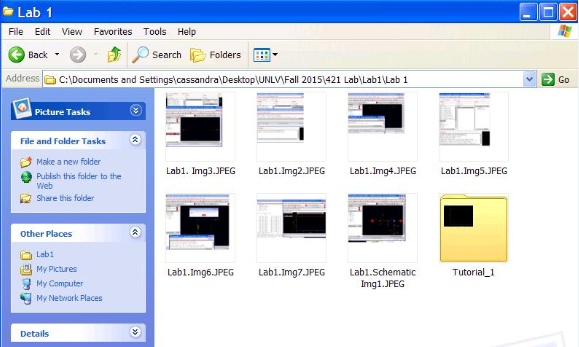
-Publishing steps taken for Lab report to be published under Lab1 file.
II. Utilizing tools in Cadence:
-First we built a simple circuit utilizing component directories. We ran a transient analysis seen in the image below.
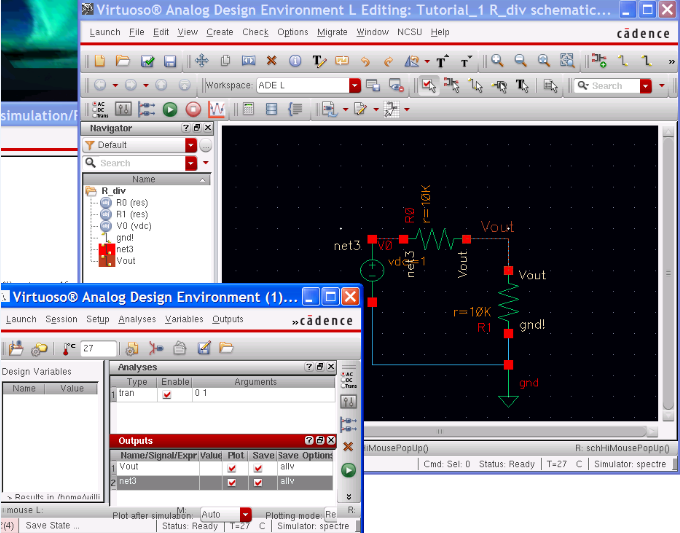
-You can see the netlist, schematic, and graph shown below.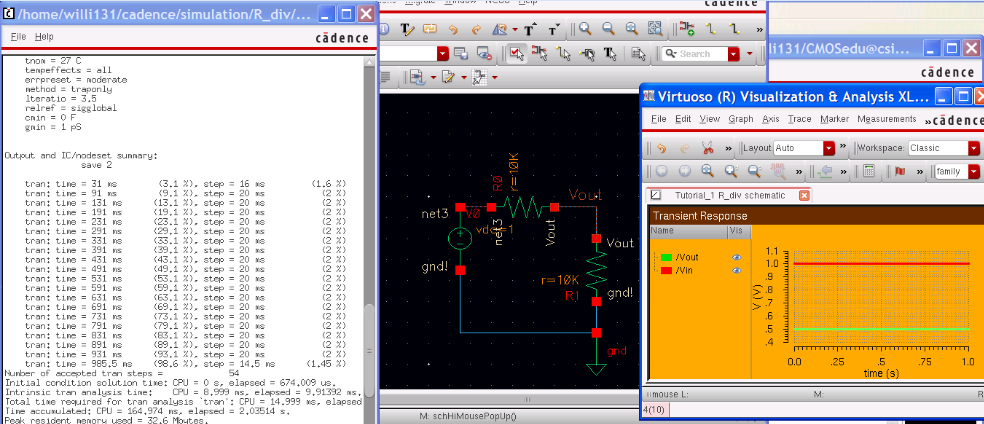
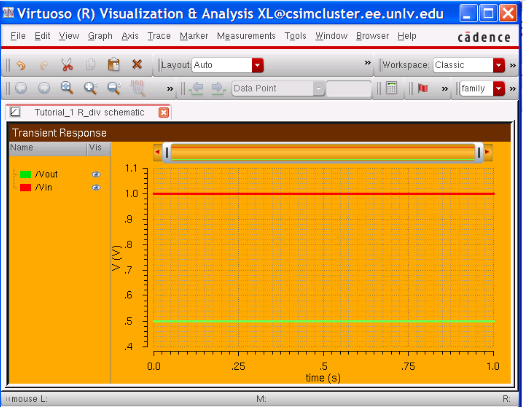
Below is closer look at the simulation results from the above circuit...


II. Backing up Report files
- Below are steps taken to back up and save my work in case of a data-loss disaster...
1. Saving to a file on my labtop
2. Emailing myself the saved file of work...
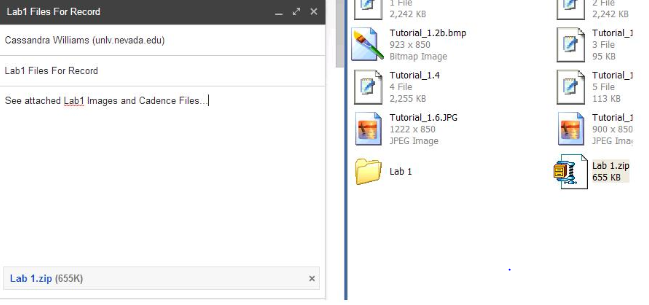
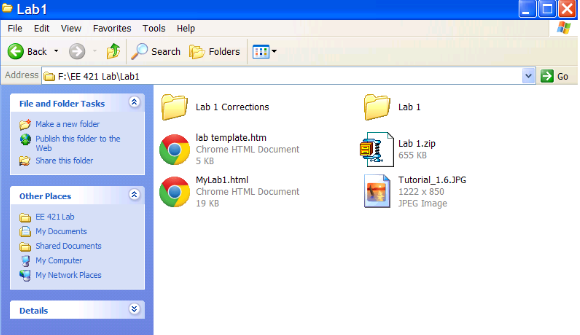
3. Also the files are all saved to my flashdrive as shown below...
Conclusion:
-This
lab was very helpful in teaching how to navigate through and use
different tools in Cadence as well as publishing to a webpage, and the
importance of backing work up.
Return to EE 421L Labs