Lab 1 EE 421L Fall 2014

Add a return to the listing of your labs
Lab 1
Lab 1 will go through Tutorial 1 which can be found here.
Please note: I will be using MAC to complete this tutorial.
Using x11 ssh into the server:
ssh -Y -C -c blowfish usernameATcsimcluster.ee.unlv.edu
Download Filezilla and sftp into the server:
Host: sftp://csimcluster.ee.unlv.edu
Username: (Provided username)
Password: (Provided Password)
Port: 22
Download and extract the NCSU Cadence Design Kit (CDK) version 1.6.0 beta.
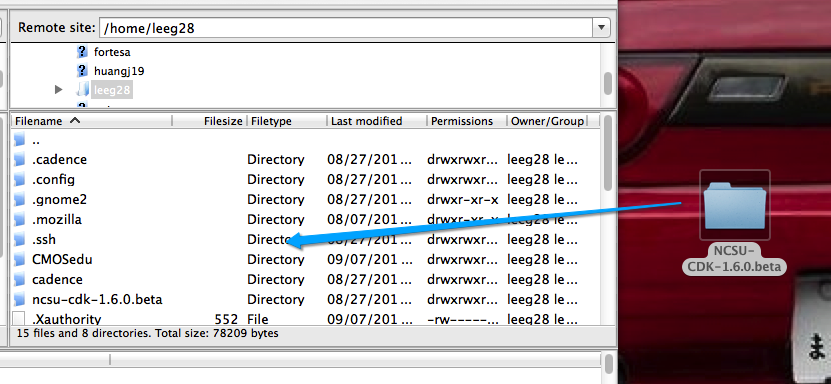
Move the extracted folder to your Home folder using FileZilla.
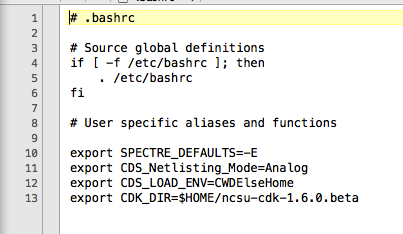
In your home directory, open the .bashrc file and add the following lines:
export SPECTRE_DEFAULTS=-E
export CDS_Netlisting_Mode=Analog
export CDS_LOAD_ENV=CWDElseHome
export CDK_DIR=$HOME/ncsu-cdk-1.6.0.bet
Upon completion, in a terminal window in your home directory, type
“. .bashrc” (period, space, period bashrc) to re-source the .bashrc file.
Make a working directory in your home account called CMOSedu
Copy everything in the directory $HOME/ncsu-cdk-1.6.0.beta/cdssetup into $HOME/CMOSedu
In CMOSedu, rename cdsinit, simrc, and cdsenv to .cdsinit, .simrc, and .cdsenv.
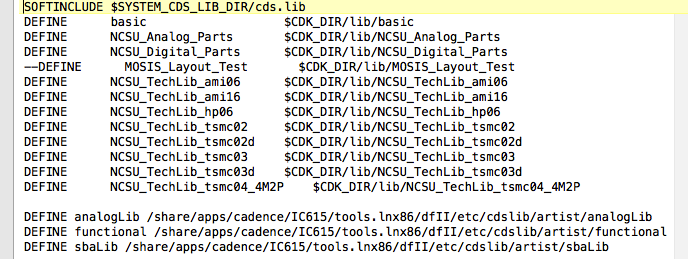
In CMOSedu open the file cds.lib and add the following lines to point to the built-in Cadence libraries.
DEFINE analogLib /usr/cadence/IC615/tools.lnx86/dfII/etc/cdslib/artist/analogLib
DEFINE functional /usr/cadence/IC615/tools.lnx86/dfII/etc/cdslib/artist/functional
DEFINE sbaLib /usr/cadence/IC615/tools.lnx86/dfII/etc/cdslib/artist/sbaLib
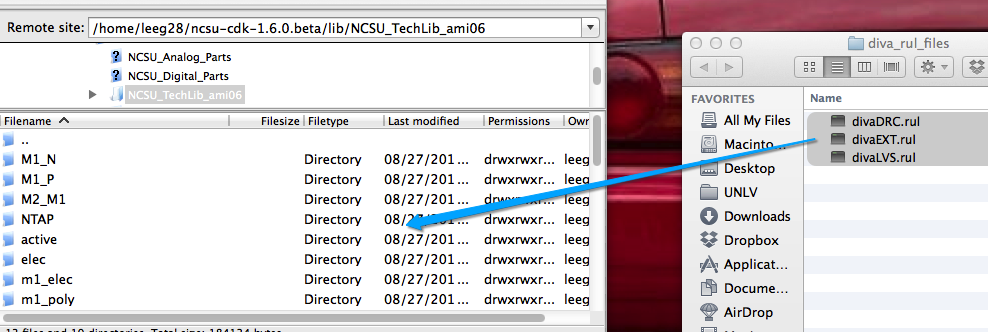
In $HOME/ncsu-cdk-1.6.0.beta/lib/NCSU_TechLib_ami06 delete the files divaDRC.rul, divaEXT.rul, and divaLVS.rul.
Save and extract diva_rul_files.zip to your desktop.
Move extracted files (divaDRC.rul, divaEXT.rul, and divaLVS.rul) into $HOME/ncsu-cdk-1.6.0.beta/lib/NCSU_TechLib_ami06
We are now ready to start Cadence!
Open a terminal window, change directories to CMOSedu and type virtuoso & to run Cadence.
Create a new library "Tutorial_1" File -> New -> Library. Call the tutorial Tutorial_1 and attach
the AMI 0.60u C5N process.

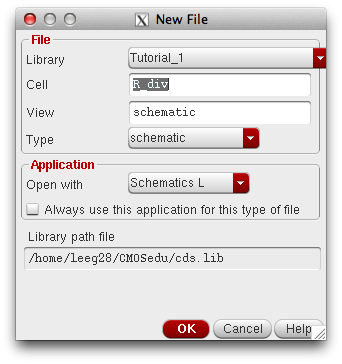
Next select the Tutorial_1 library in the Library Manager and create a new cell view File -> New -> Cell View. Use the parameters below:
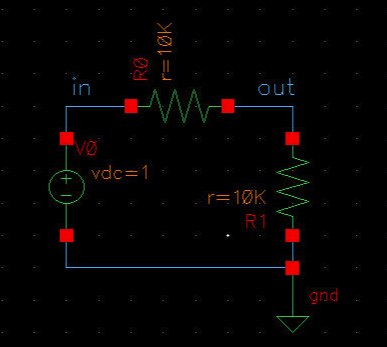
Create the schematic below using "I" to add components and "Q" to edit object properties.
Other useful keys include: Right-Click -> Rotate, U-> Undo, F-> Fit to Window, Esc-> Escape current mode,
W-> Add Wire, L-> Add Labels.
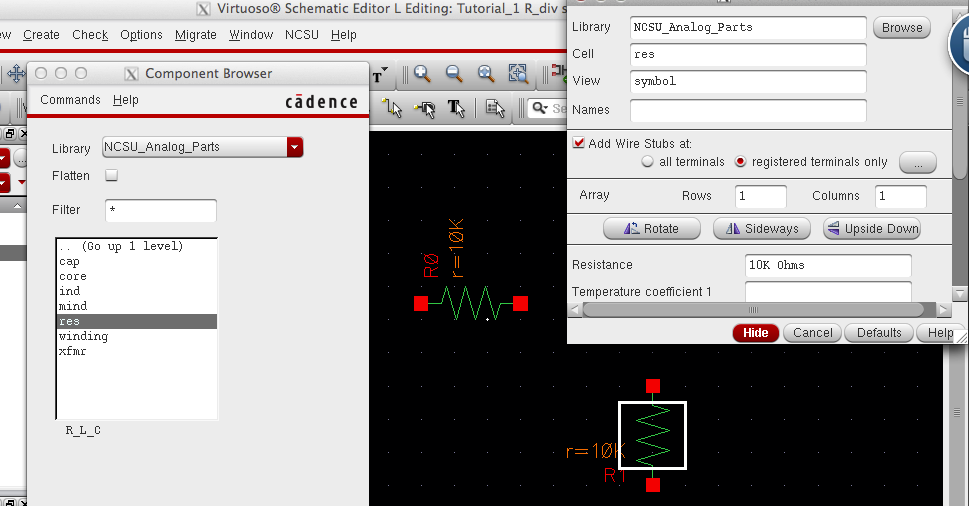
Add resistors, change resistance to 10k:
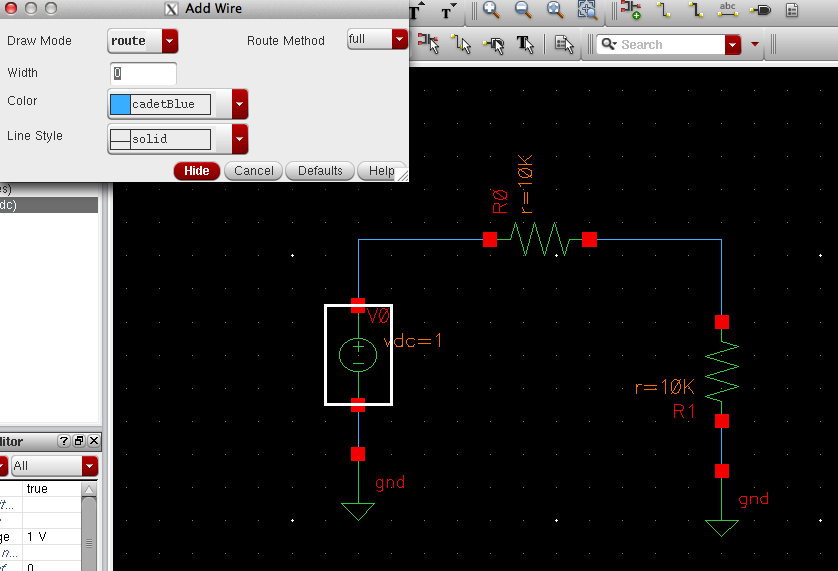
Add Voltage Source, DC Voltage= 1V, Ground and wire components together:
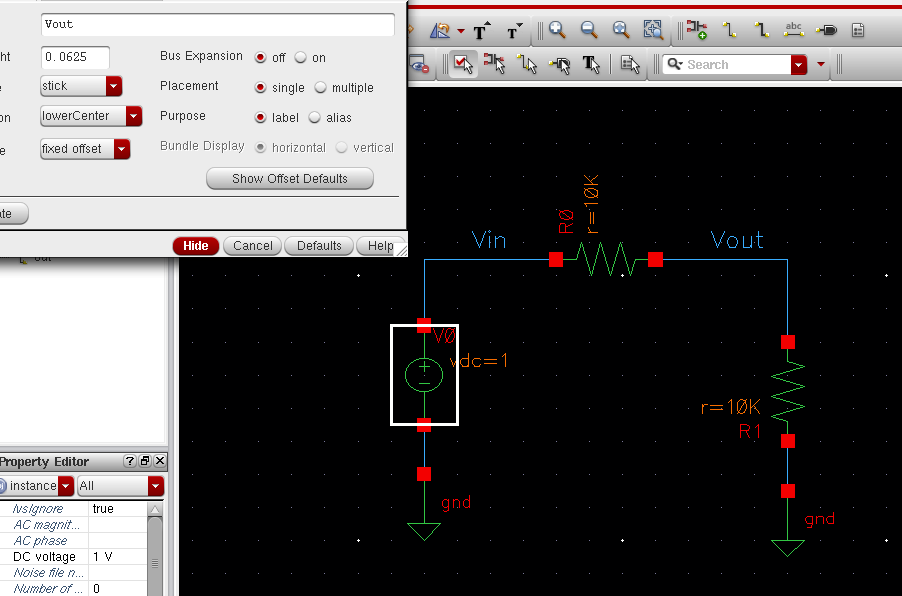
Add Labels:
We are ready to simulate the circuit!
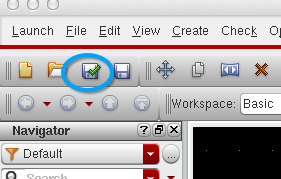
Be sure to always check and save and ensure there are no errors in the
Command Interpreter Window before proceeding to simulation

To start simulator: Launch-> ADE L.
To choose Analyses: Analyses-> Choose.
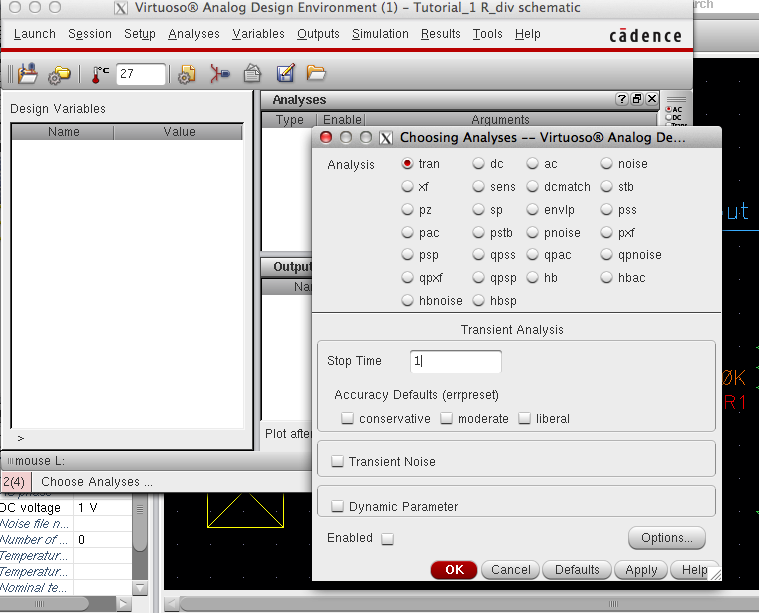
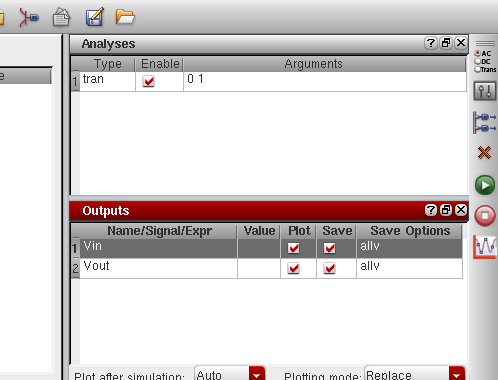
For this simulation we will be performing a transient analysis for 1 second, be sure parameters match image below:
Select outputs: Outputs-> Choose -> On Schematic.
Select Vin and Vout as outputs for simulation and ensure all boxes under "plot" and "save" are selected.
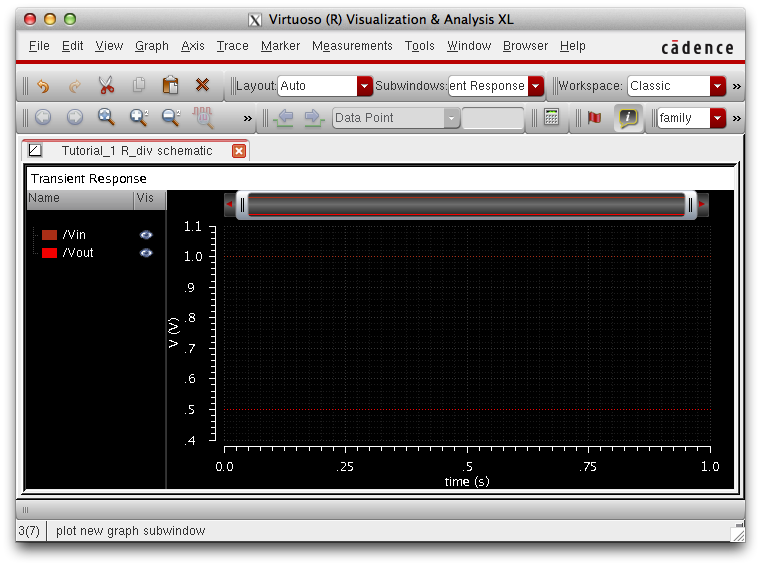
The simulation results!
Performing back-ups:
In case of emergency, Lab .htm work should be backed up regularly.
In the following images I will compress my Lab 1 directory and send it to myself
to back up my labs.
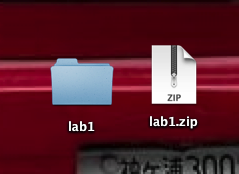
Compress the individual lab directory
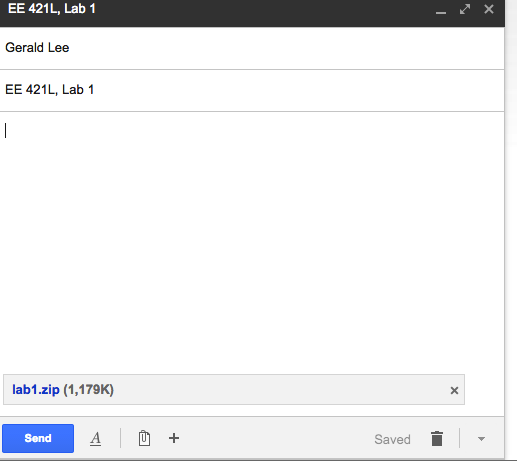
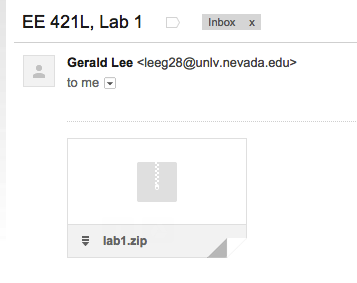
Email the compressed lab directory to myself
Confirm that the email has been received
Lab ends here...