Lab 1 - ECE 421L
Go to menu item Windows -> Color Schemes -> White Background Colors
This will save ink when printing images off Electric

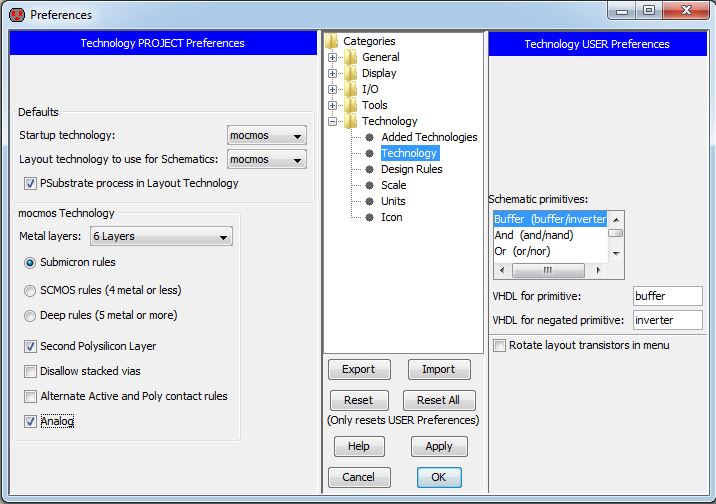
Next go to File -> Preferences -> Technology -> Technology (or click on the wrench and screwdriver icon on the top toolbar)
Now, check the Analog box to enable Analog preference
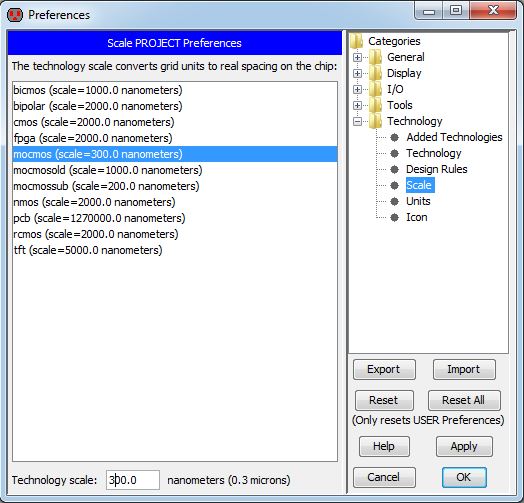
Set the scale by going to File -> Preferences -> Technology -> Scale and set the mocmos scale to 300 by editing it on the bottom Technology scale box.
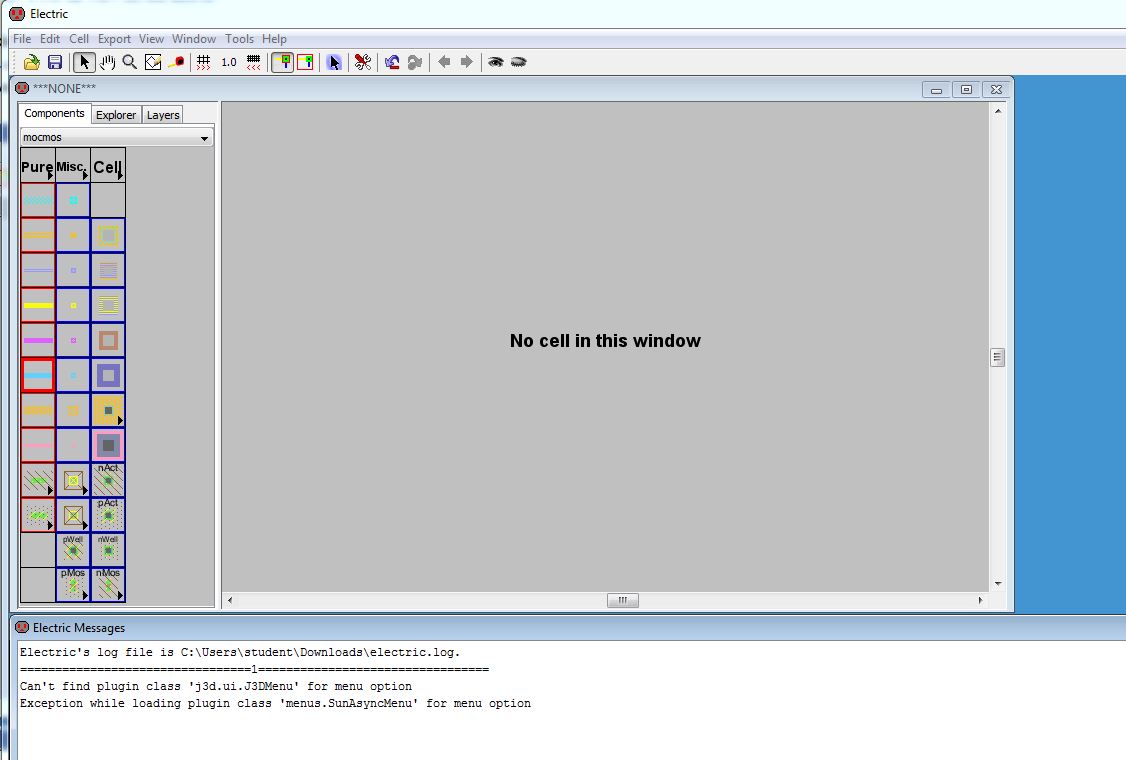
You will see a popup and select Mark All Libs.
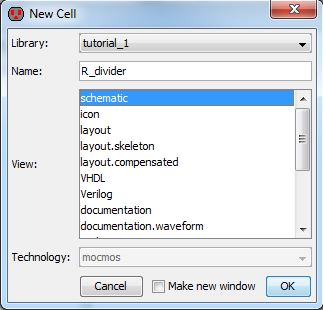
Now go to Cell -> New Cell and enter the name (R_divider) and selecting view (schematic) as seen below:
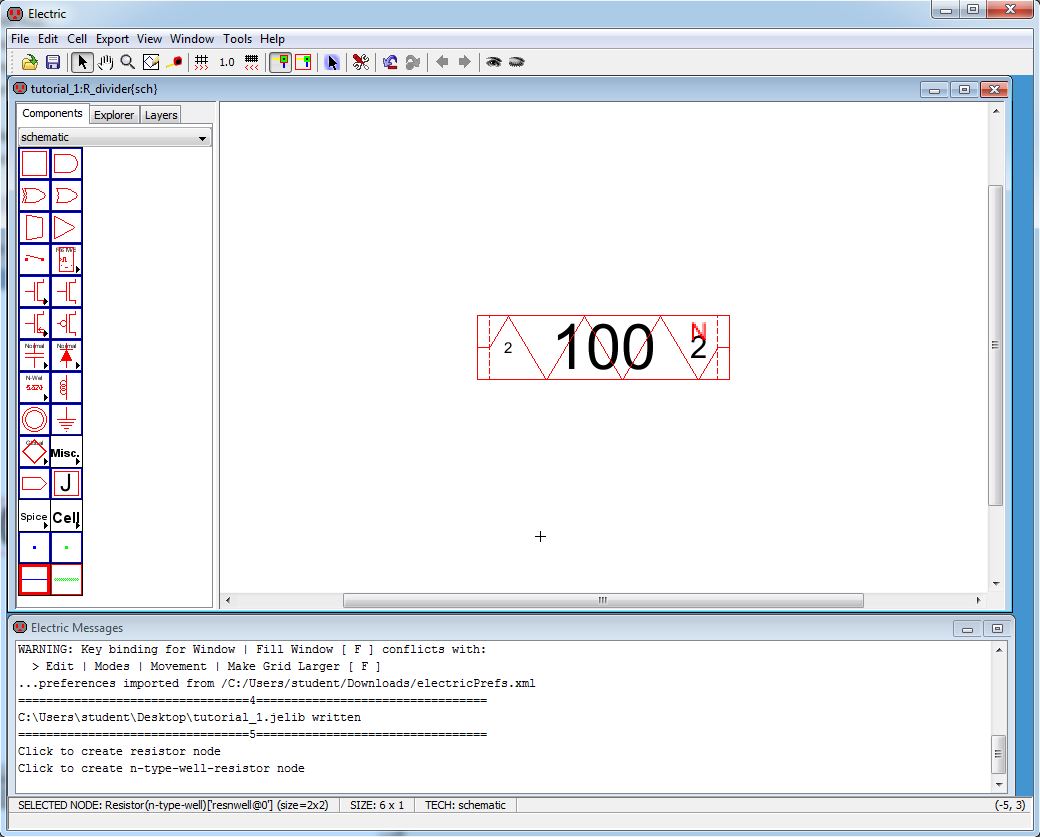
Select the Components tab in Electric as seen below:

Select the box with the Resistor and the word Normal as seen above by clicking on the arrowhead and select N-Well.
Place the N-Well schematic resistor in the drawing area as seen below by left clicking the mouse button to place it.
Use the window menu to zoon in and out or to zoom fit for your viewing preference.
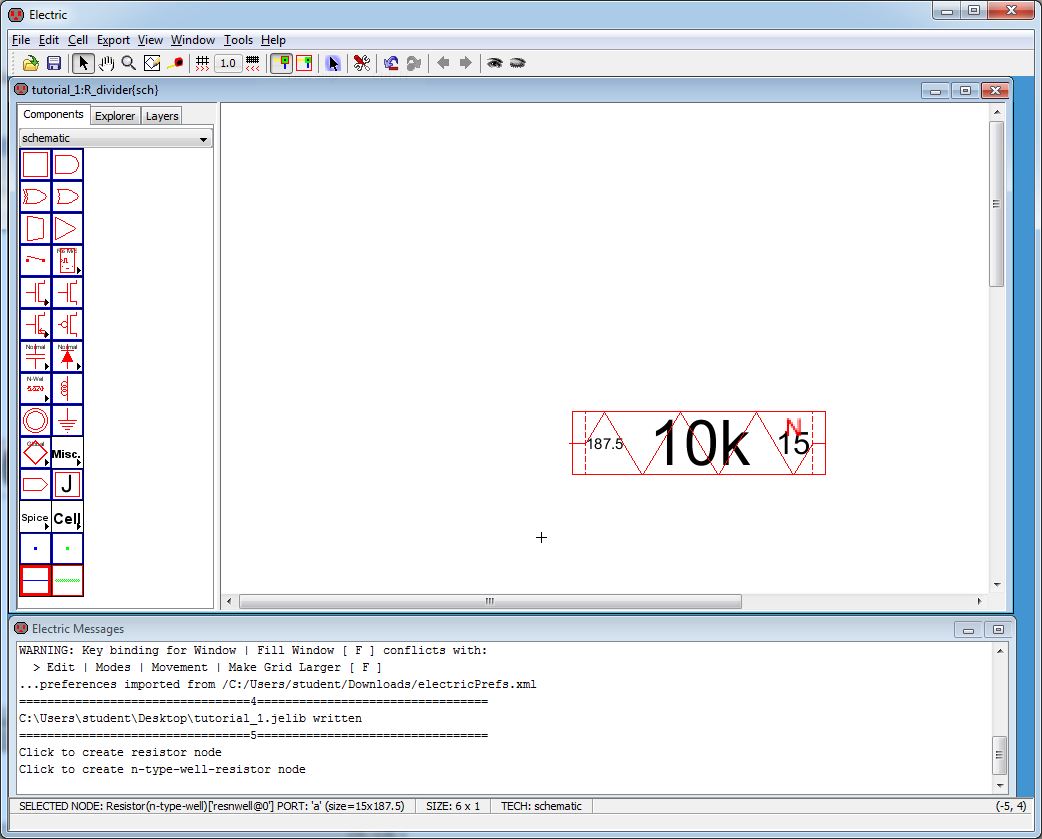
Click on the N-Well resistive Node. Go to Edit -> Properties -> Object Properties to edit the properties of this Node (or simply press CTRL+I)
Enter the values as seen below:
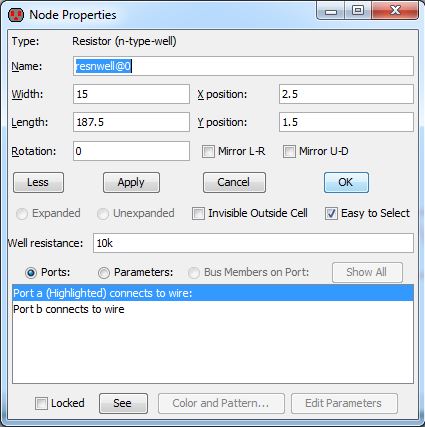
Click OK and the following image is a schematic representation of a 10k N-Well resistor: