Lab 1 - EE 421L
Authored
by Larin Lamoreaux,
Aug. 30, 2013
In this Lab we explore and practice putting images and text on to the Web. Our goals are
1. Fallow Dr.Baker turtorial 1 found here and upload the firs nine images of the turtorial
2. Discuss how to back up files for use in future labs
The Tutorial
Step 1: When I first opend Electric I changed the background to white
The white backgound seen below will be better for printing.
Step 2;
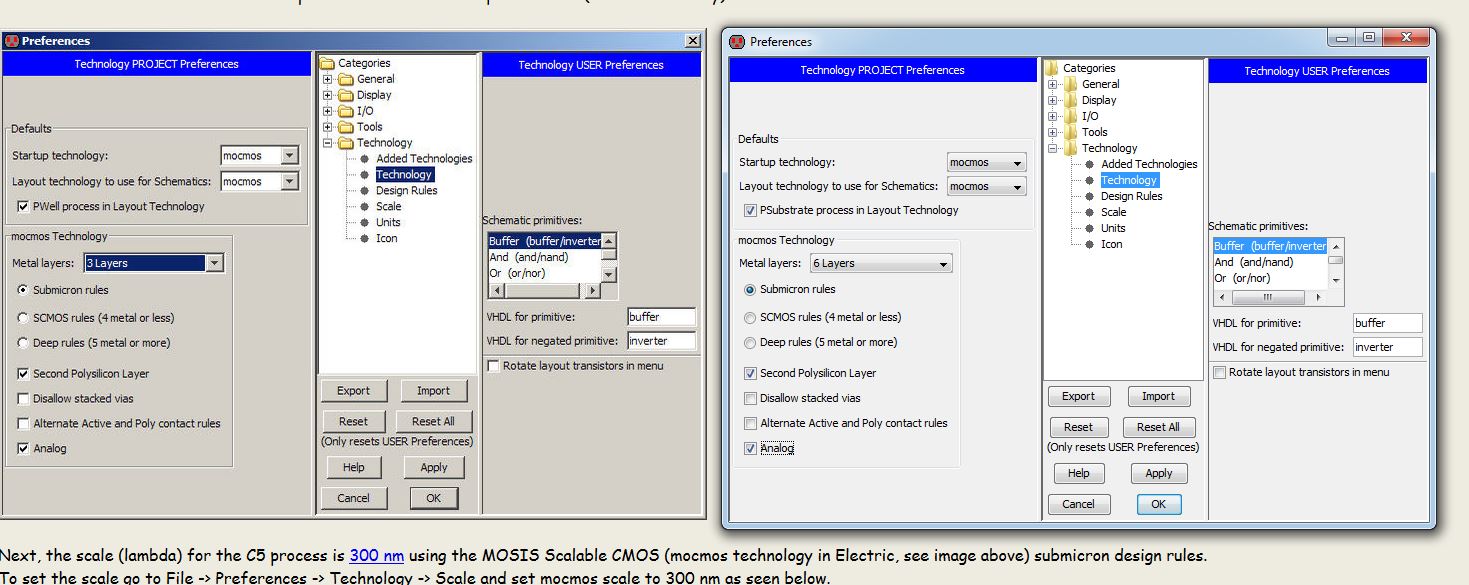
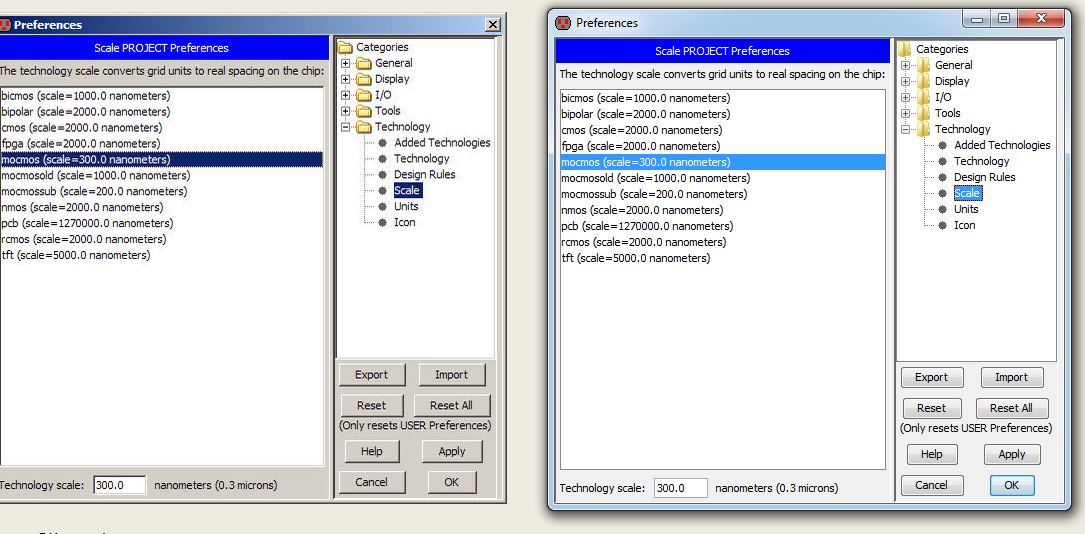
changed preference under the file tab to be compatiable with the hardware
we will be working with in lab. Here is my setting matching the tutorials.
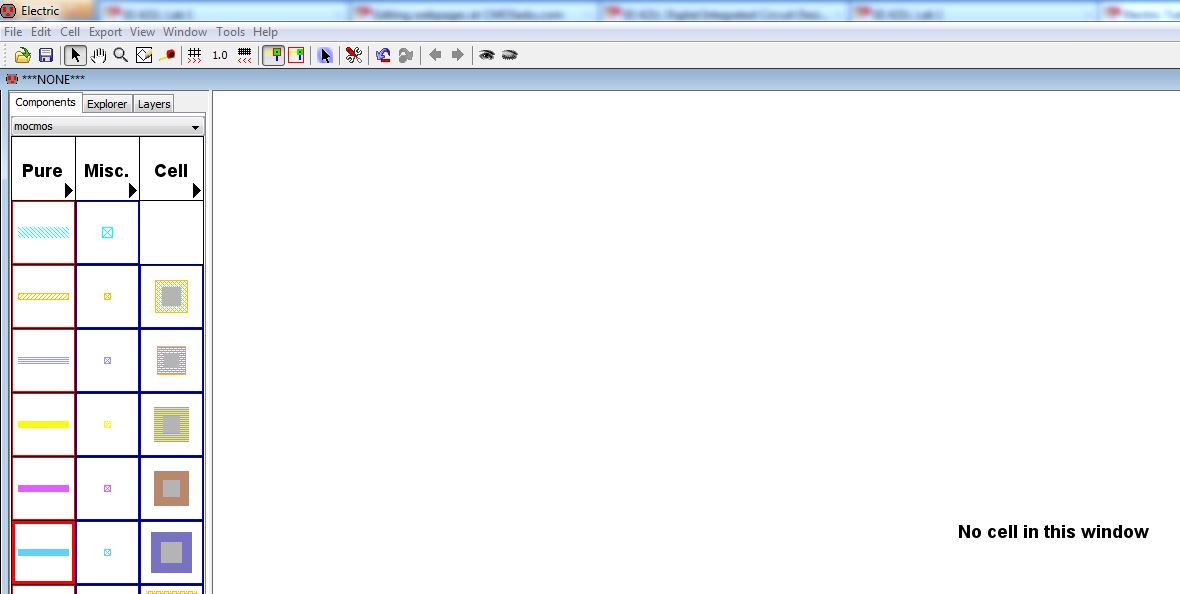
Step 3: I then opened a new cell and named it R_Divider. Clicked on schematic.
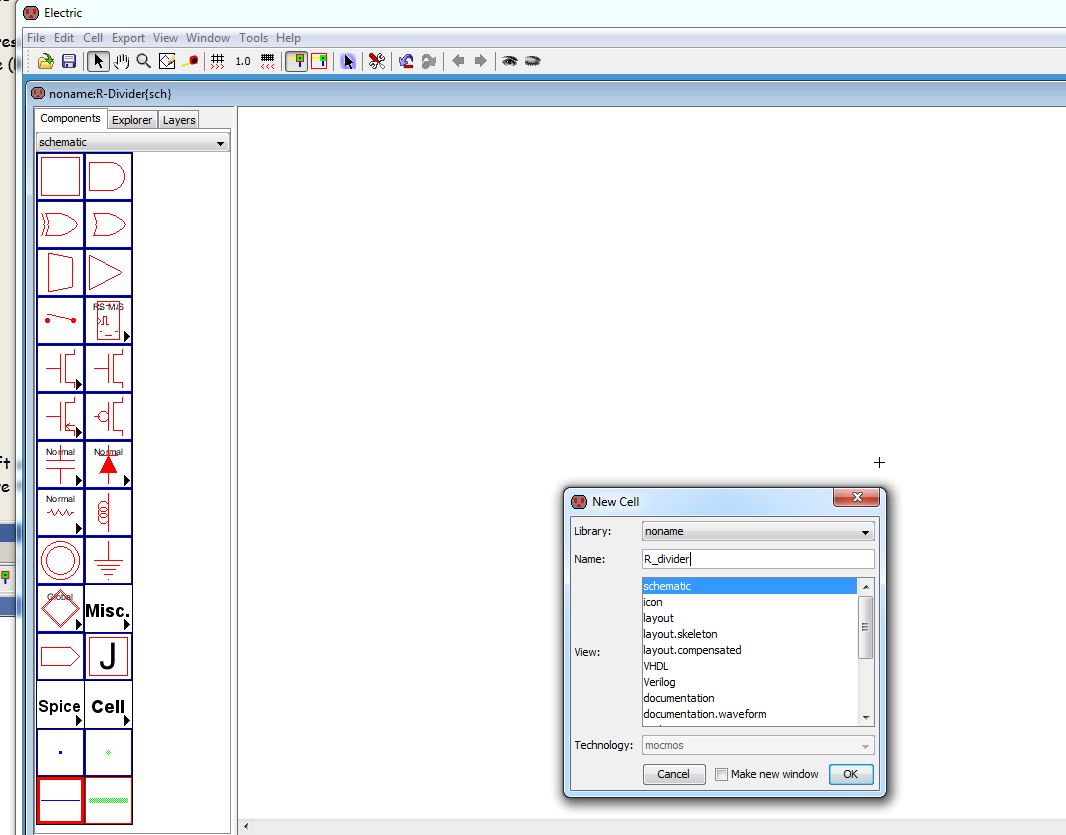
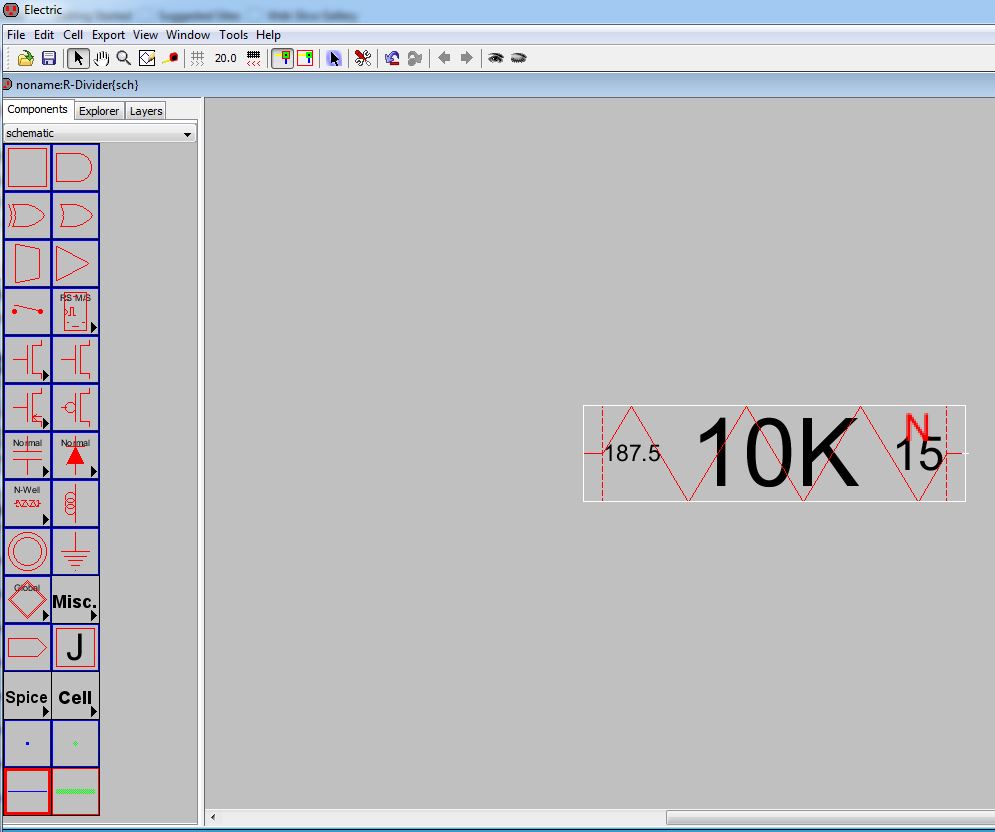
STEP 4: Selected a resister from the right side of the page. Click on the N in the uperleft of the Resistor
to change the properties.
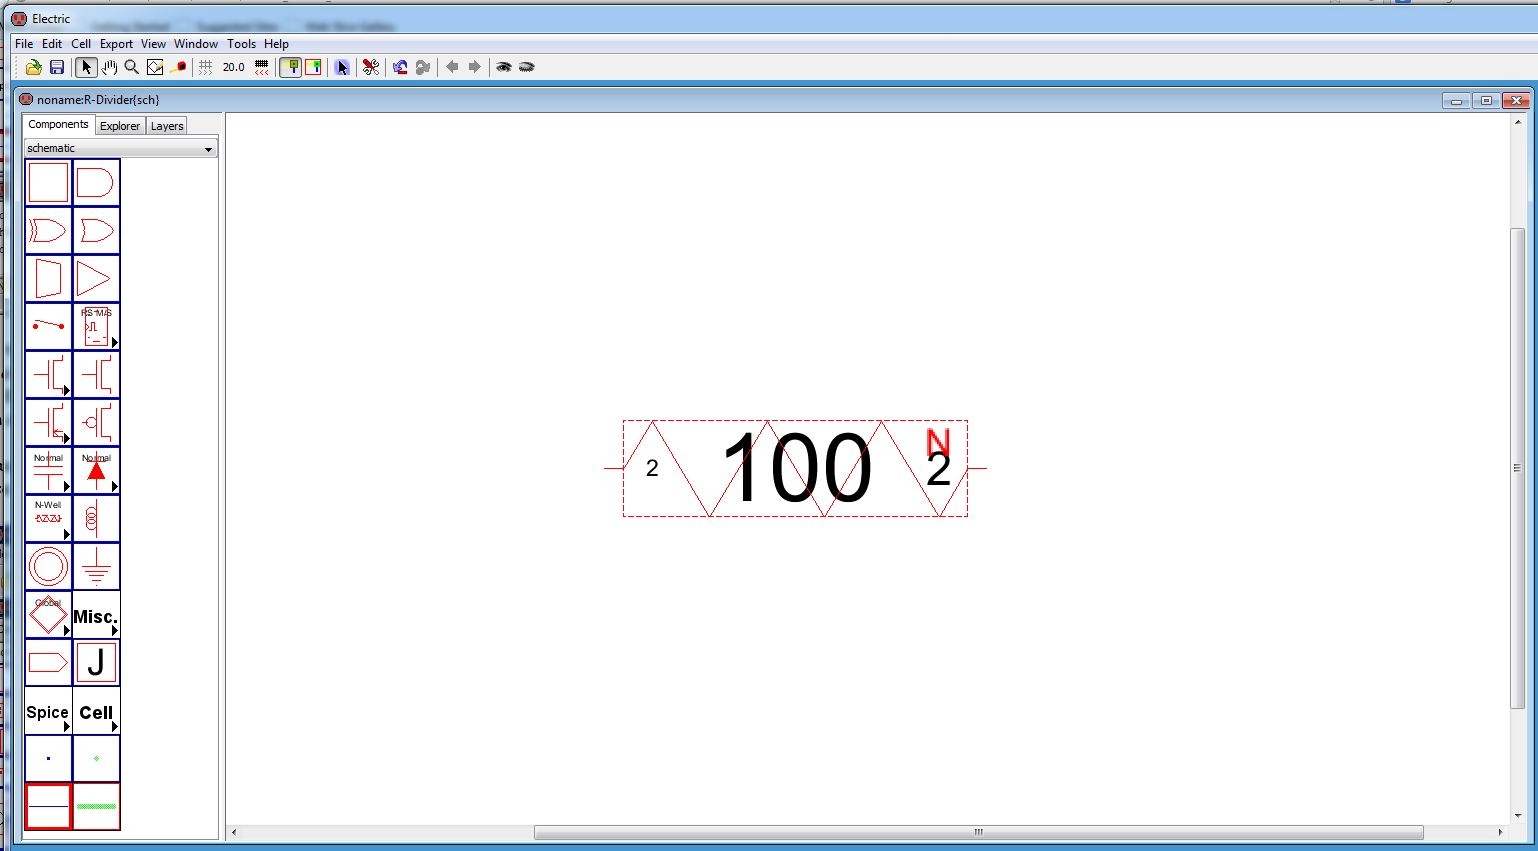
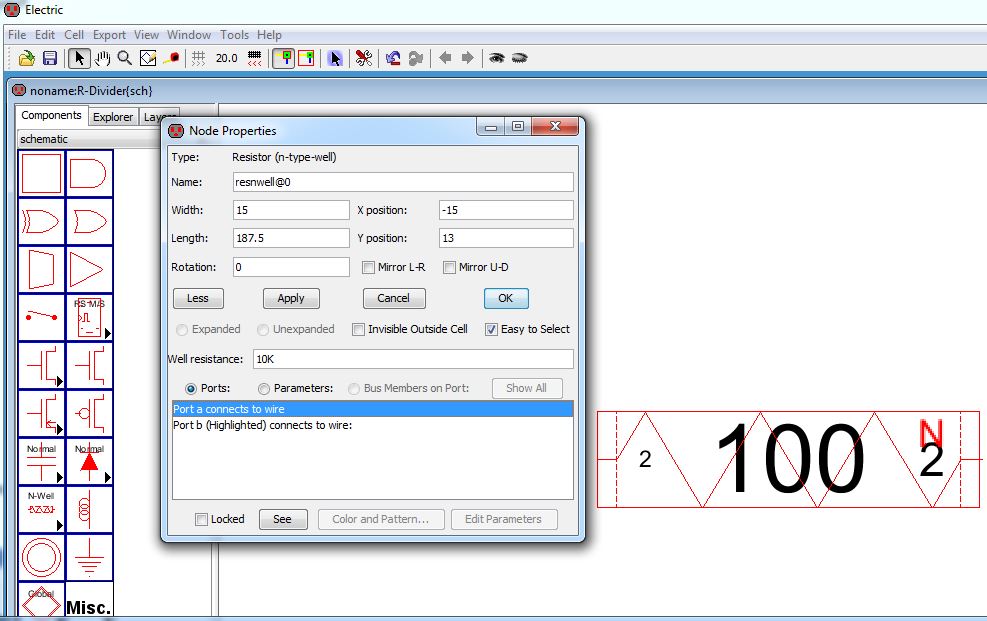
Change values to the ones seen above.

Now the completed resister with set values.
THE BACK UP
1. The first source is a thumb drive that I carry on me at all times.
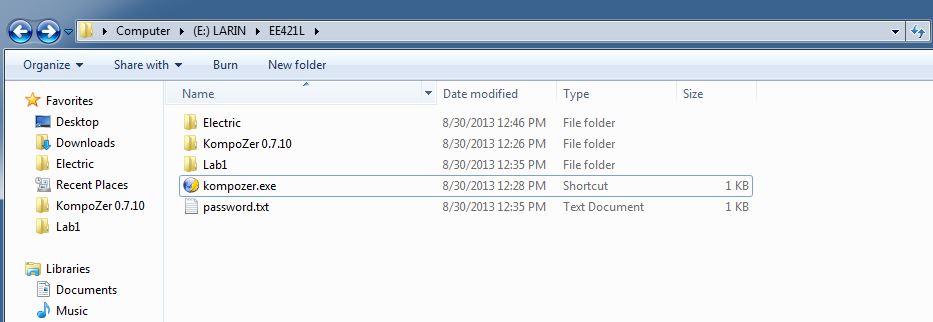
or compress the file and email to myself.
Return to EE 421L Labs