![]() PCB Assembly
PCB Assembly
Technician
Craft
Produced by Daniel Senda
Page Information
·
This PCB assembly page is
intended to demonstrate some technician work that Daniel has done while working
in the Dr. Baker Research Group.
·
A good number of these
boards were designed for graduate students, so the assembly process begins by
meeting with the appropriate graduate student. At times, it is more efficient
to just solder on the package, glue the chip to the package, wire-bond the chip
to package, and epoxy the wire-bonded chip (if necessary) before continuing
with the rest of the assembly process.
·
The next step in the process
is to gather all the components that will be needed. By doing so, Daniel gets a
better idea in terms of the order to populate the board.
·
Finally comes the populating
part, where all the components get soldered onto the board. The types of soldering jobs done usually
consist of through-hole and surface-mount devices (SMD).
·
Below is a series of
pictures that show the finished boards that are ready for use. Note: If the PCB
was designed by Daniel, the subheading will contain a link with more
information about the design.
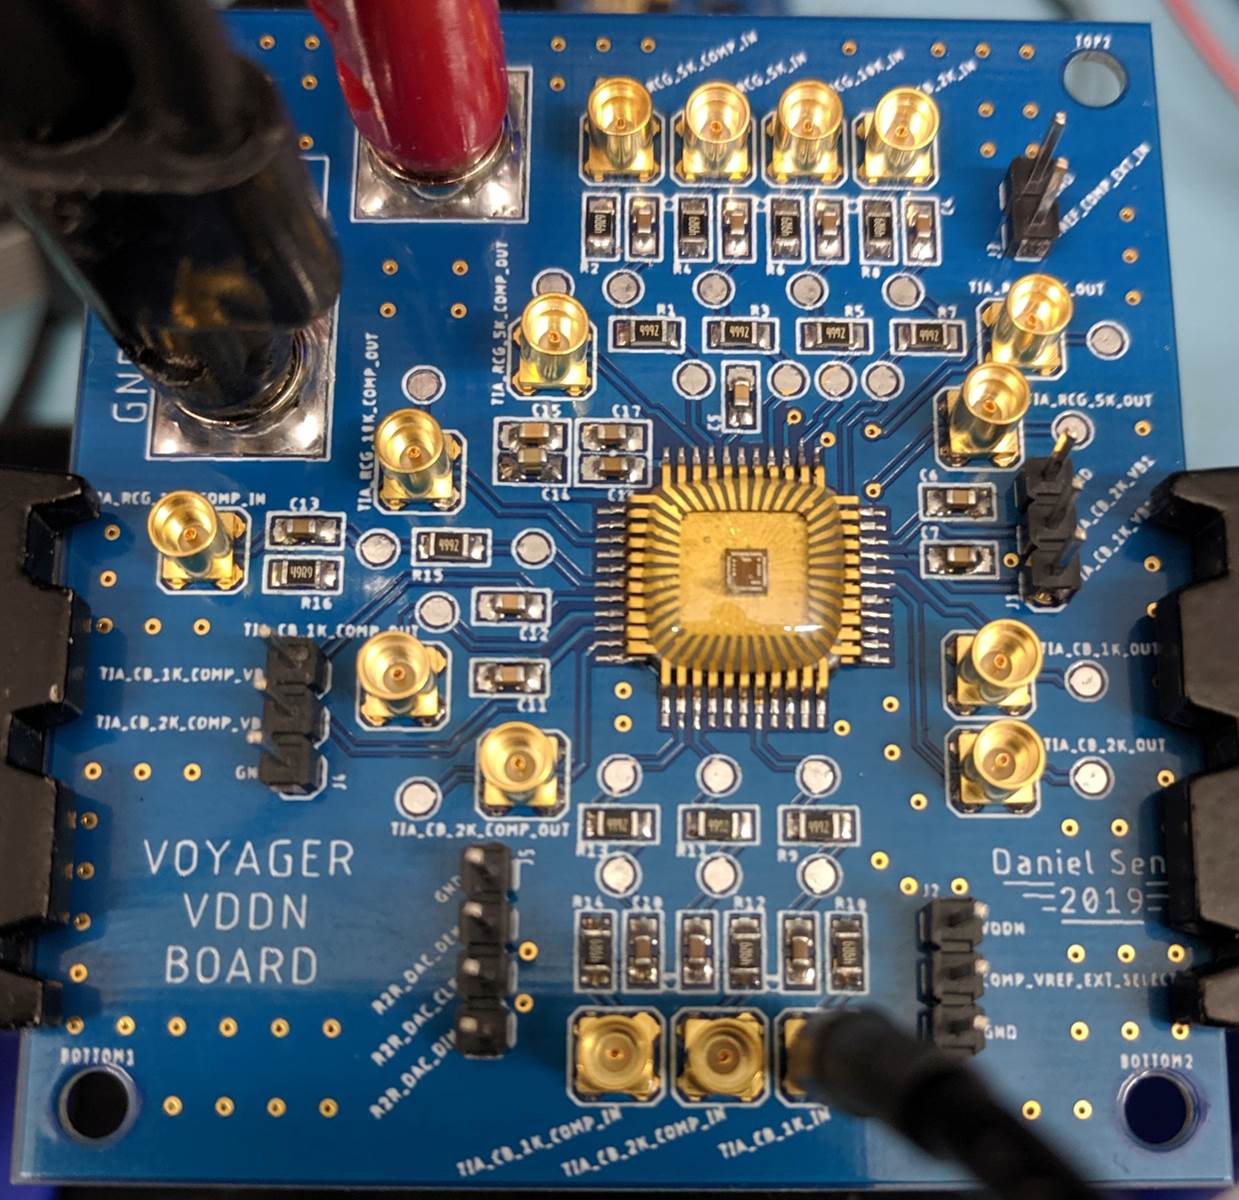
Voyager VDDN Board Assembled
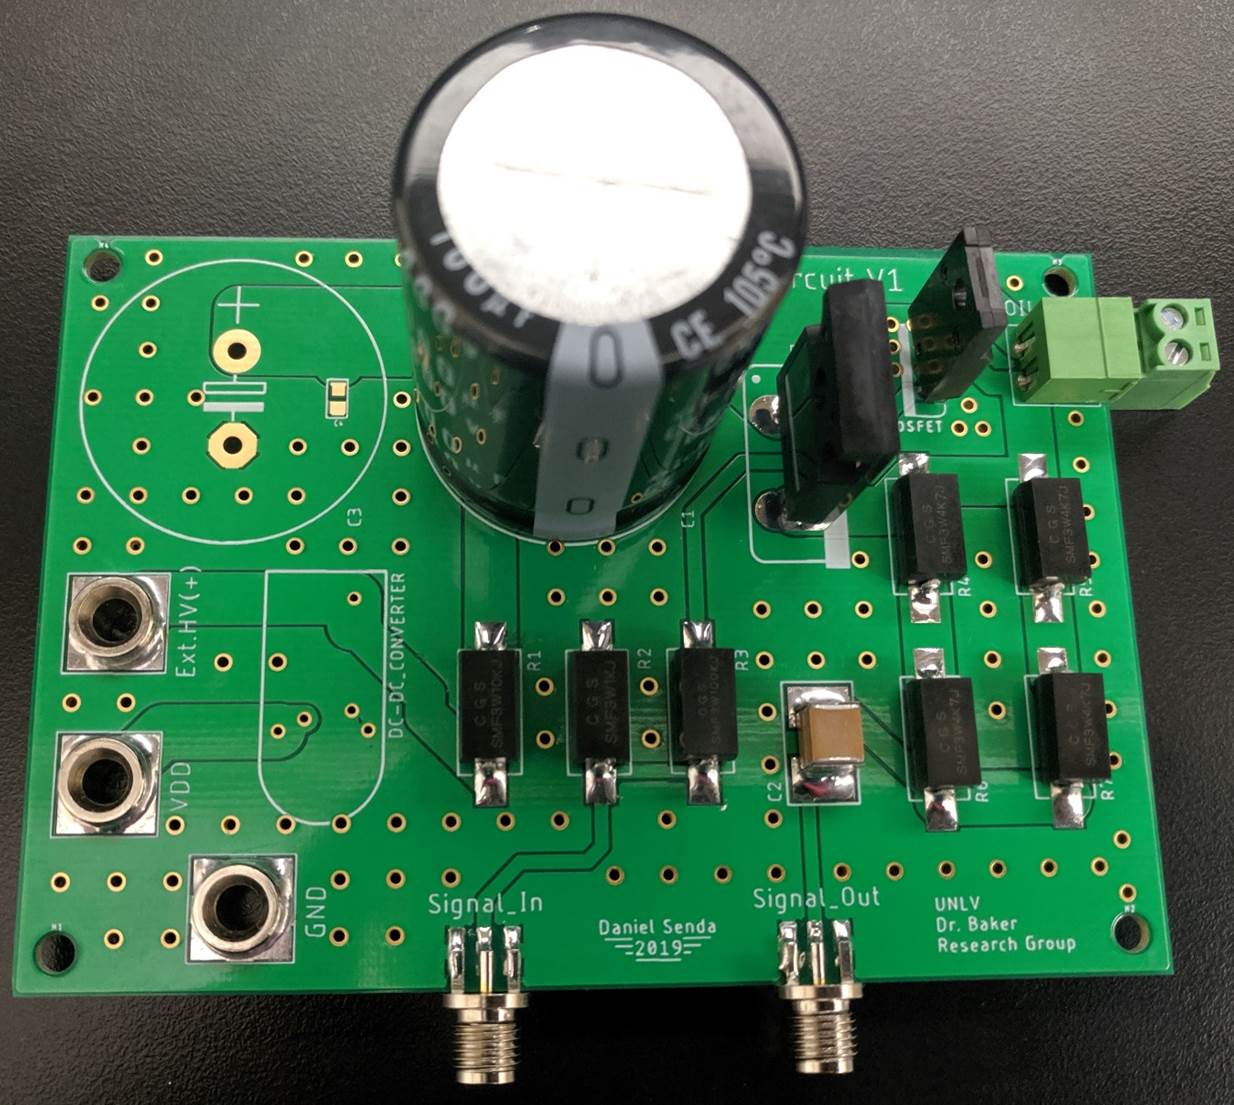
TMS V1
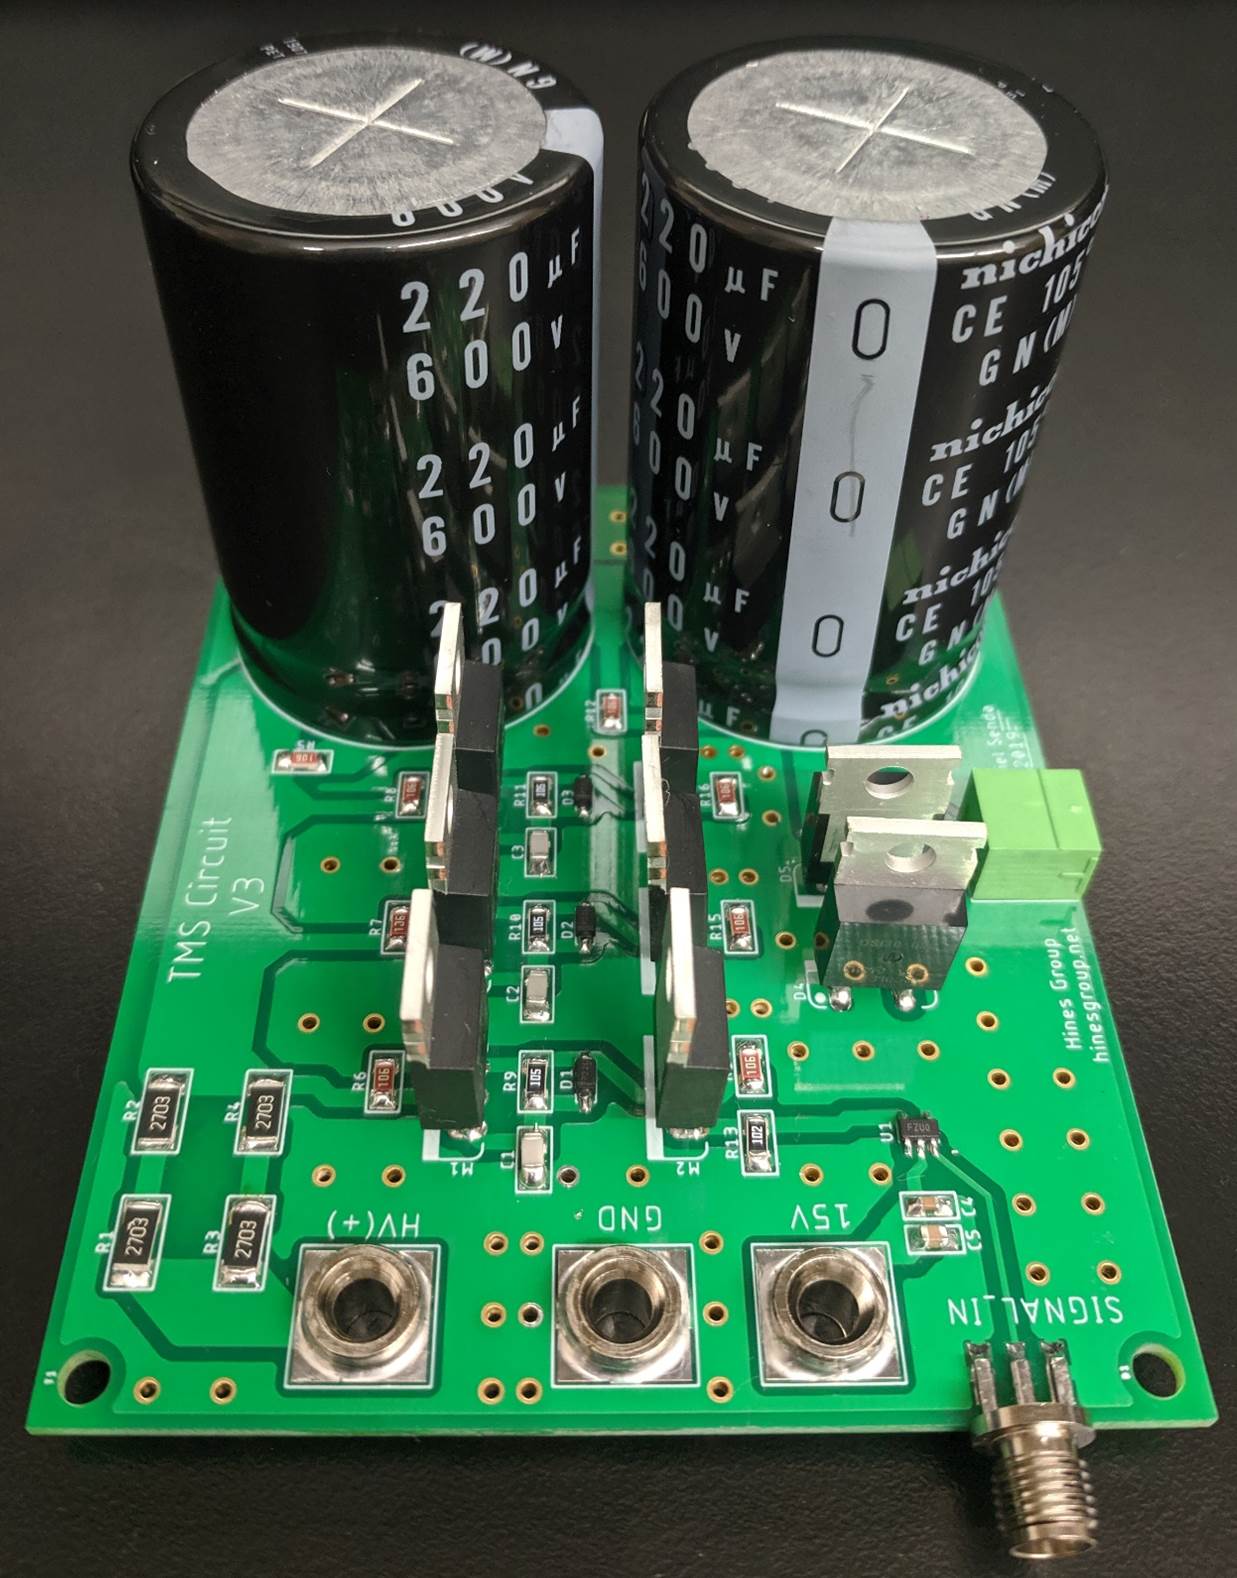
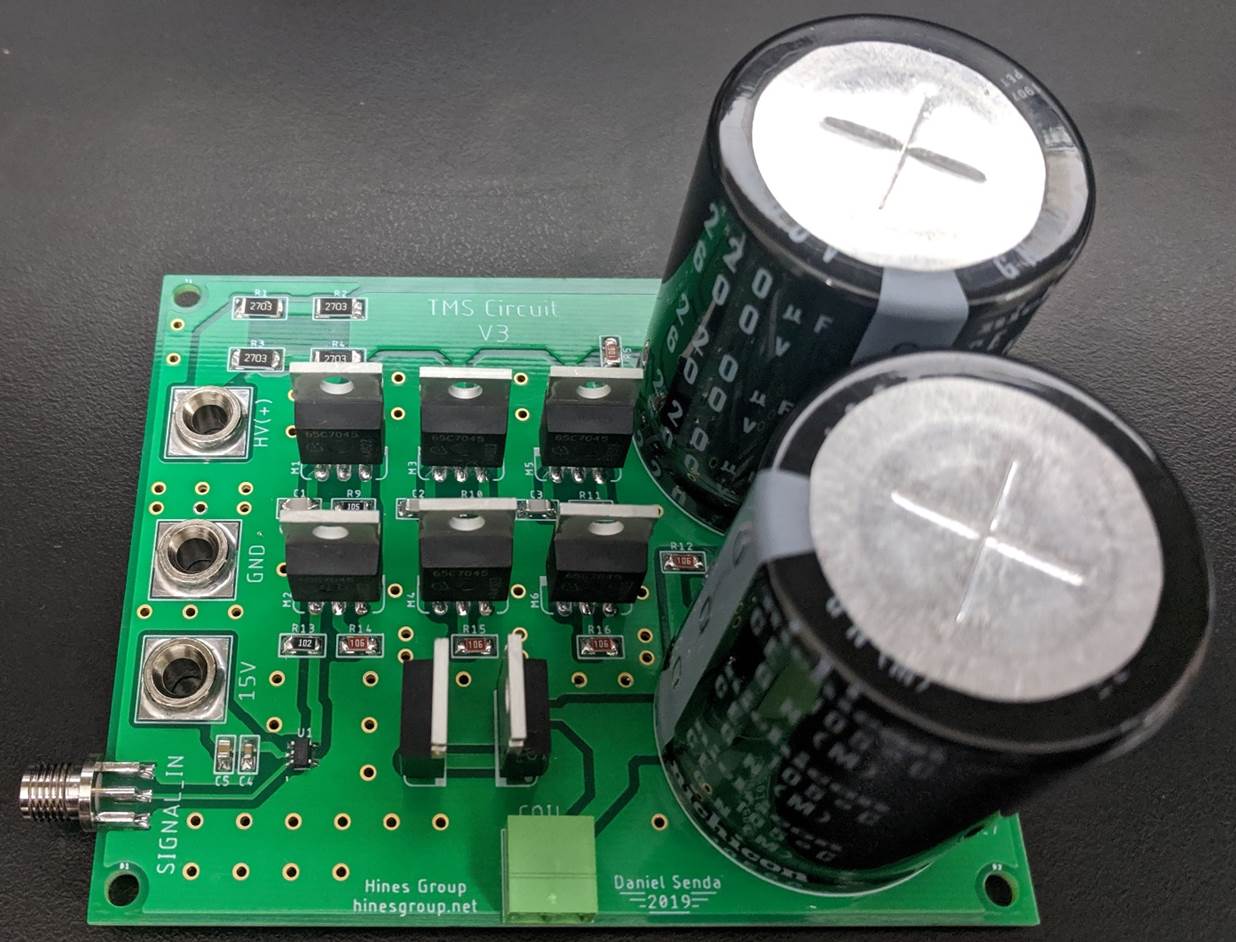
TMS
V3
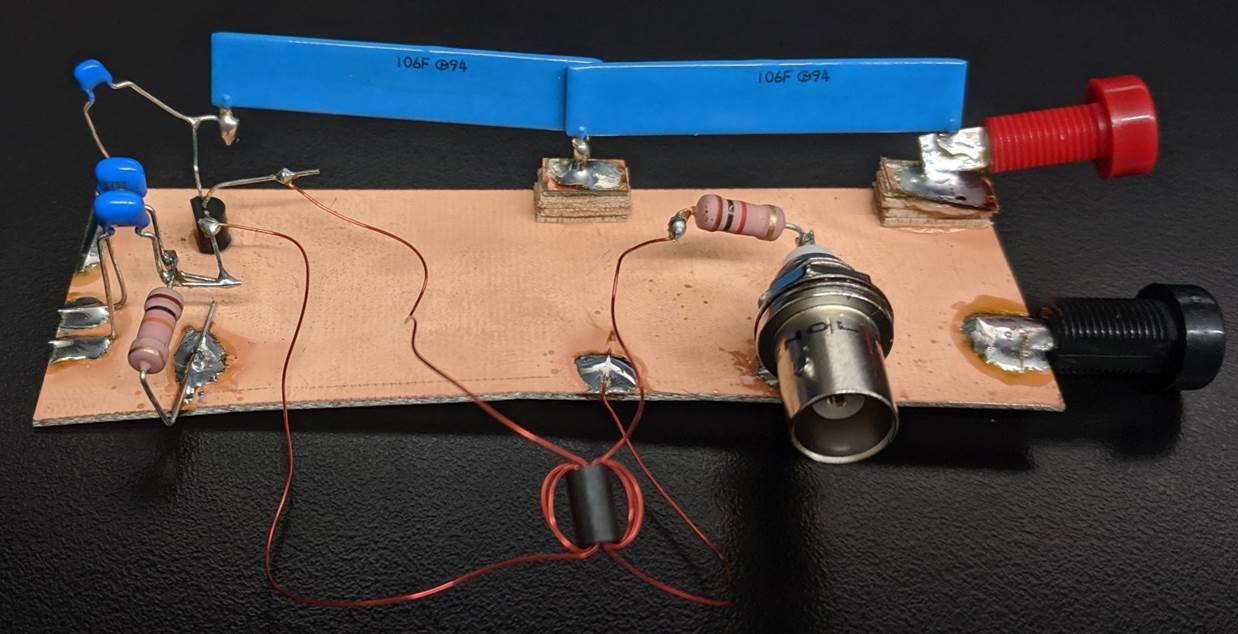
Avalanche
Pulser
TMS
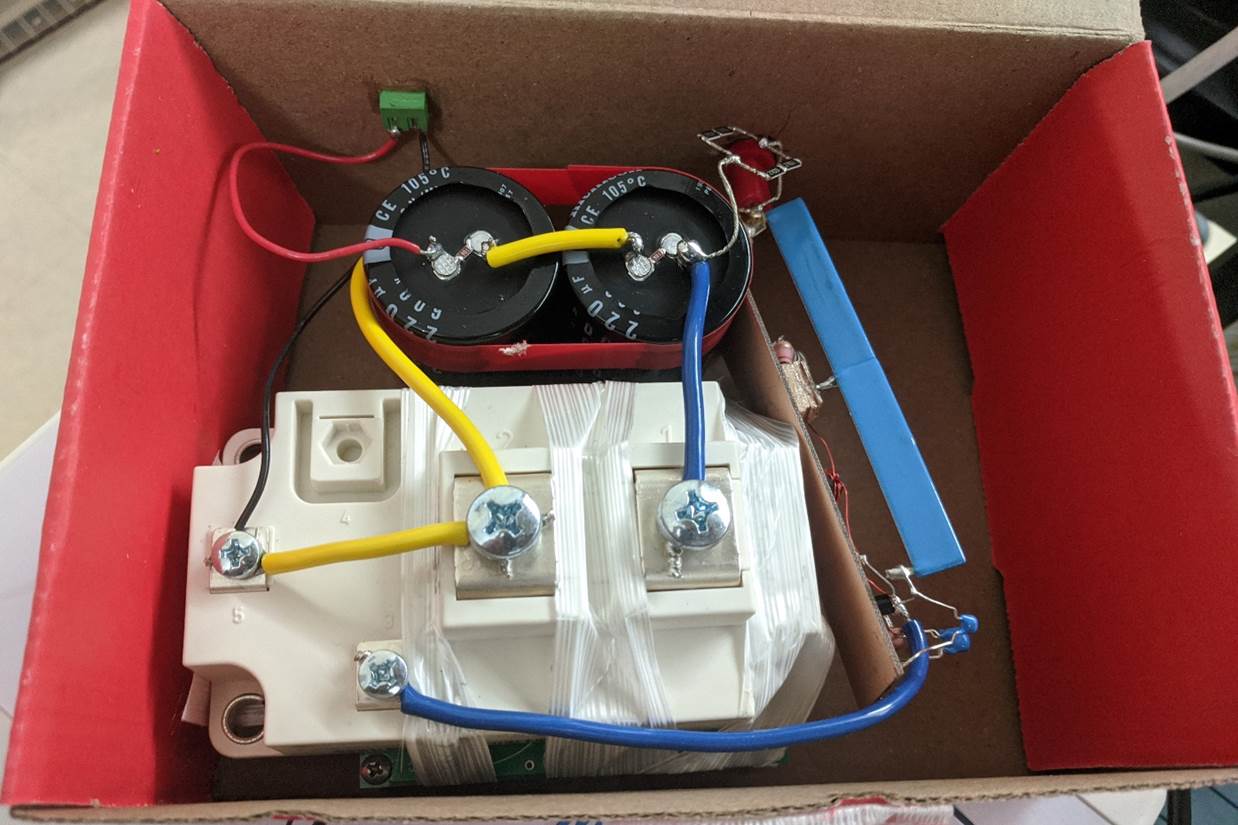
IBGT Prototype
Additional Links