Lab 1 - ECE 421L
Pre Lab:
Pre
lab assignment was reach out to Dr. Baker and request access to
CMOSedu.com. Also we had to download and install KompoZer and download
the lab template.
______________________________________________________________________________________________________________________________
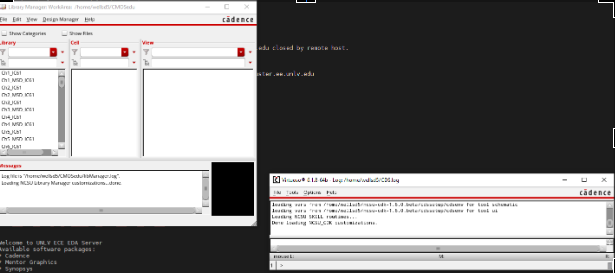
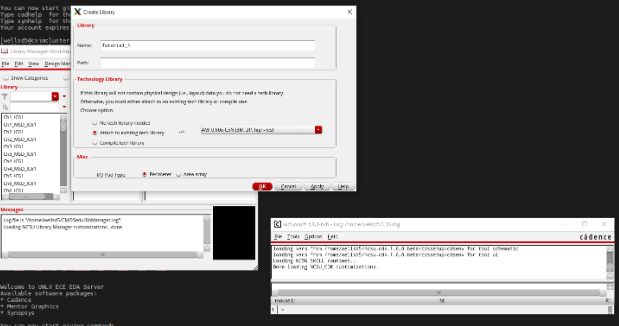
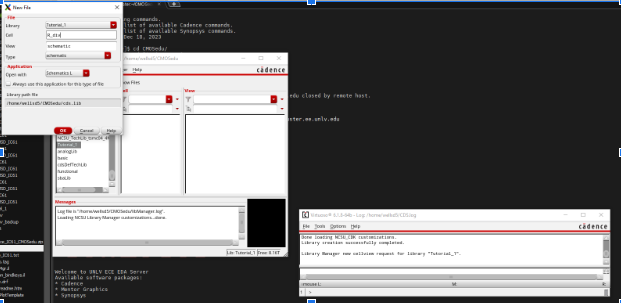
Next we had to create a library:
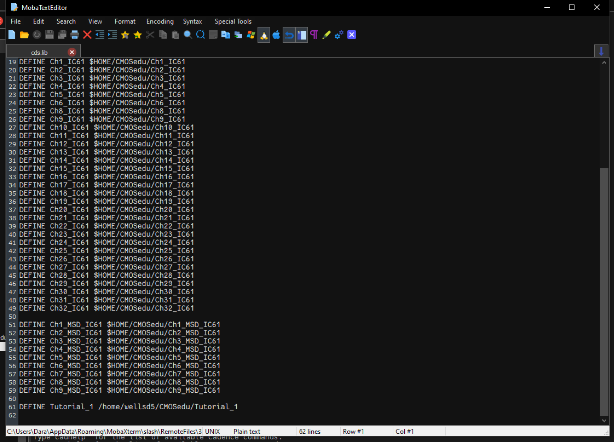
Following that we checked cds.lib to verify that the library we made was there, and also to see where we can add the libraries we can use for the problems from the textbook:
After that we created a cell that we would be using to create out circuit in:
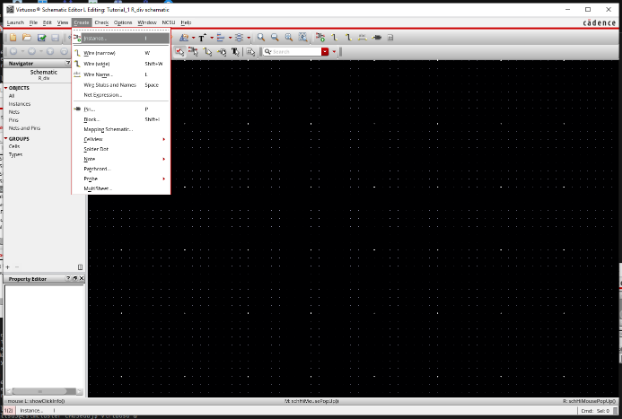
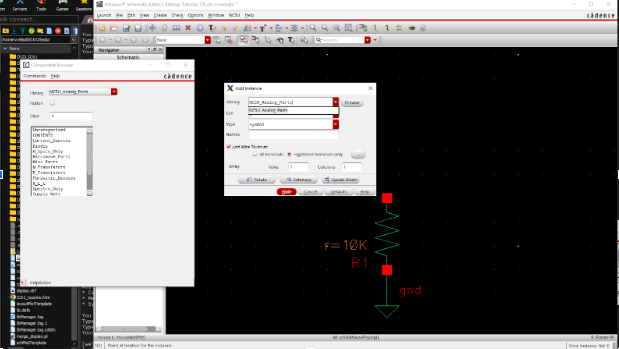
The next several steps were for creating/drawing the circuit. The tutorial showed us how to create an instance which can be done through the tool bar as shown below, or by pressing I:
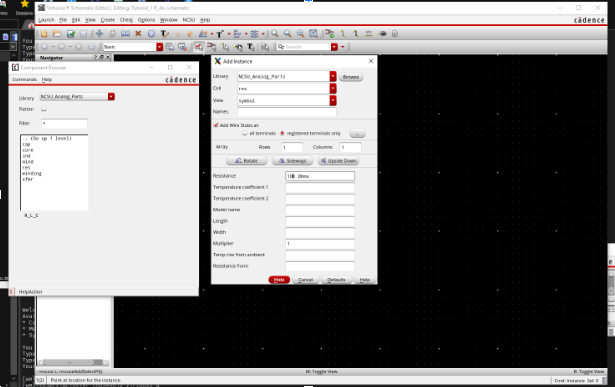
After we created the instance we selected a resistor:
Then we placed two resistors:

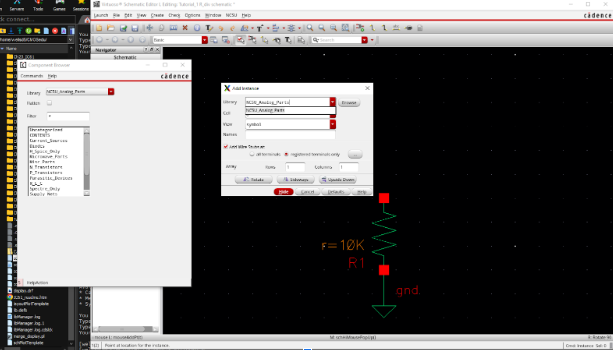
After that we added ground:
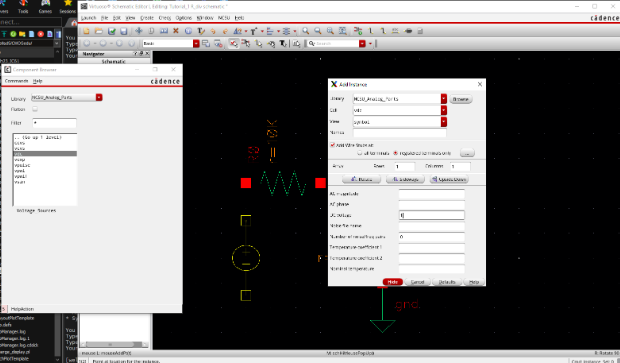
The next two images show the similar steps that were used for the resistors, but this time we are finding and placing a voltage source:
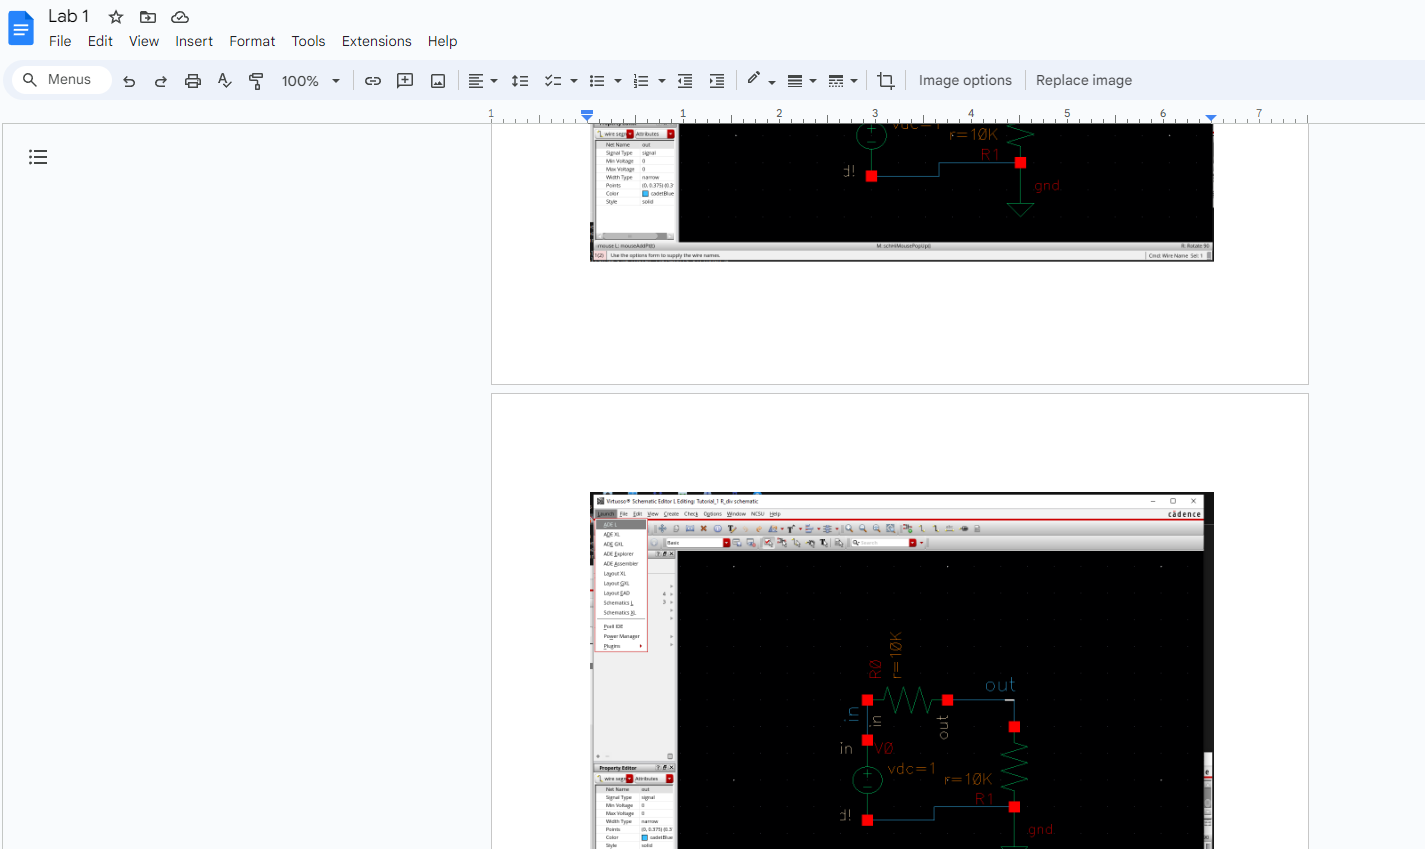
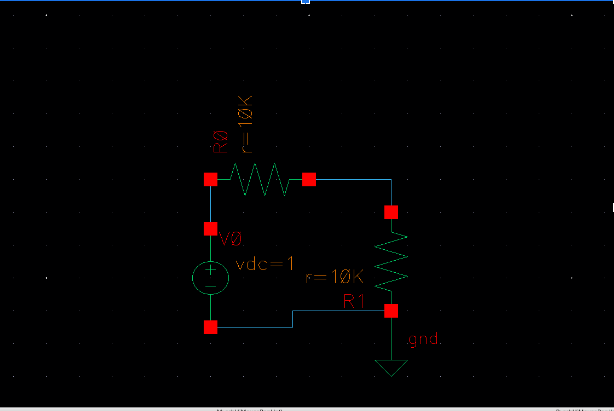
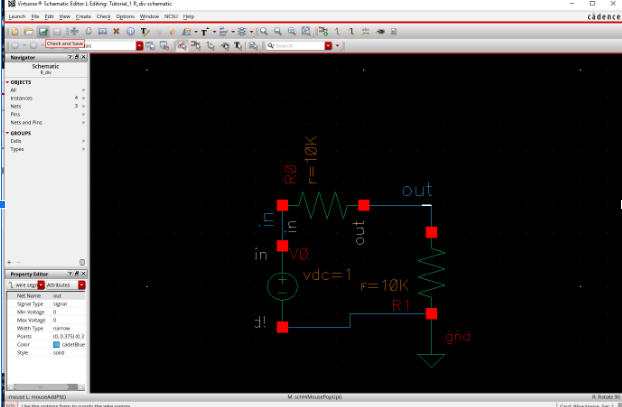
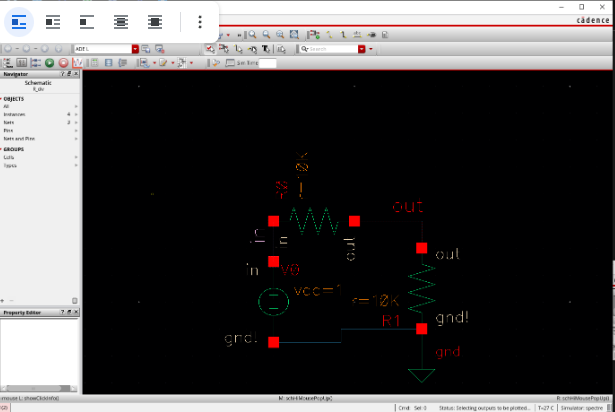
The next step we needed to take was to connect all our components with wire which can be done quickly by pressing W:
After the circuit has been drawn, we need to check and save our circuit as shown:
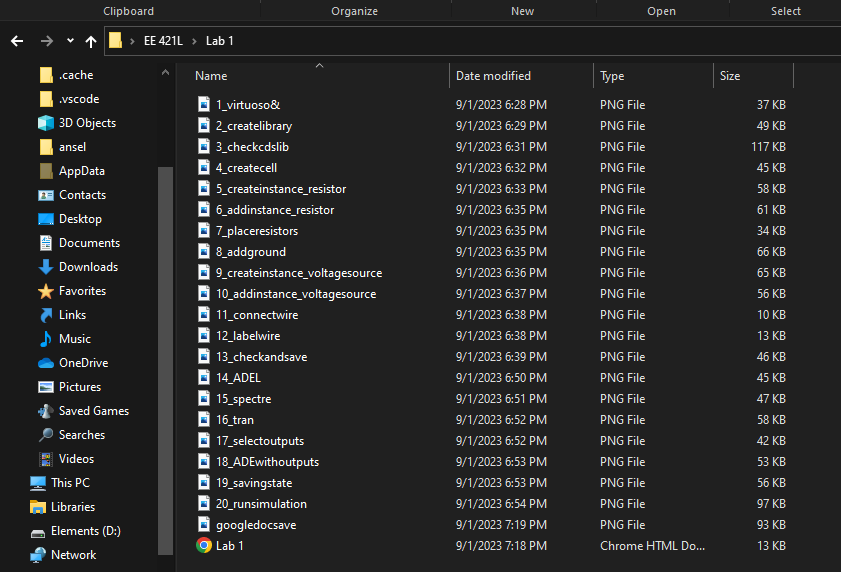
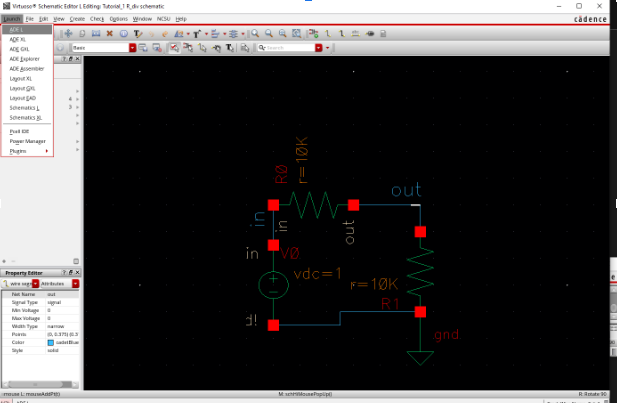
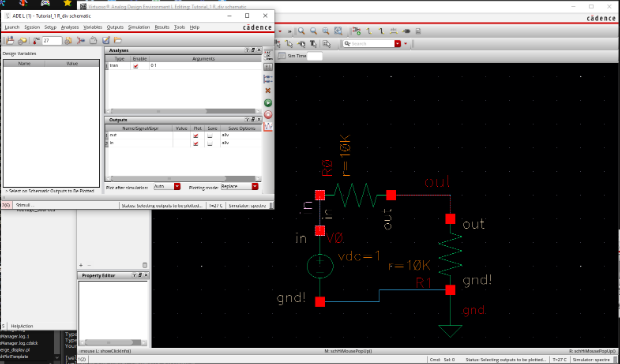
The next several steps lead up to running our simulation. First we need to launch ADE:
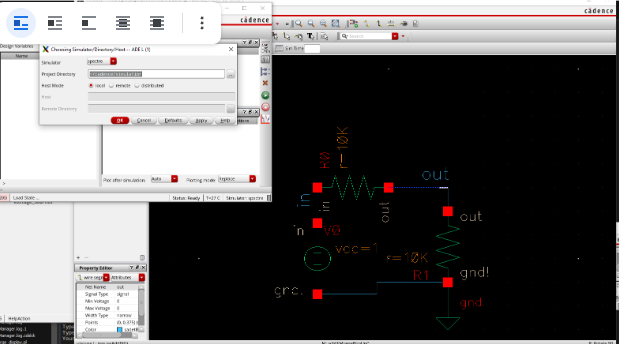
Then we need to make sure we are running in spectre. I have set my system up to default to spectre, but here is where you would change it if need be under setup -> Simulator/Directory/Host:
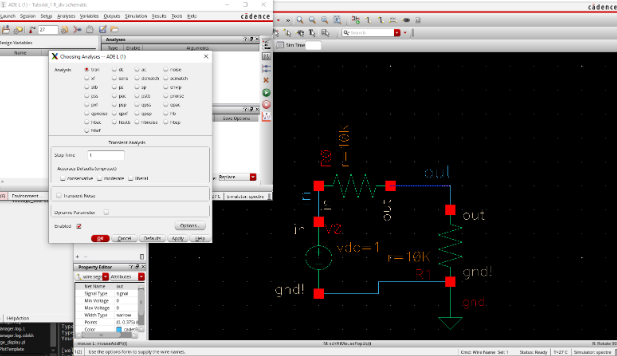
After that we need to select the type of simulation we want to run, in this case is transient. Under Analyses -> Choose we get the following window:
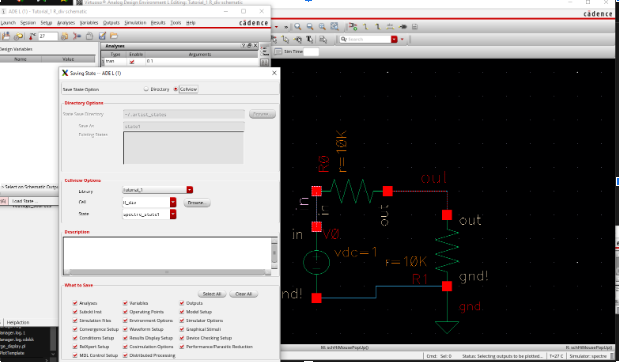
Next we need to select the outputs we want to plot, that is done by selecting Outputs -> To Be Plotted -> Select on schematic, then you click on the places you want to plot and return to the ADE window:
Now, we need to save our state in case we want to come back to it and run it again:
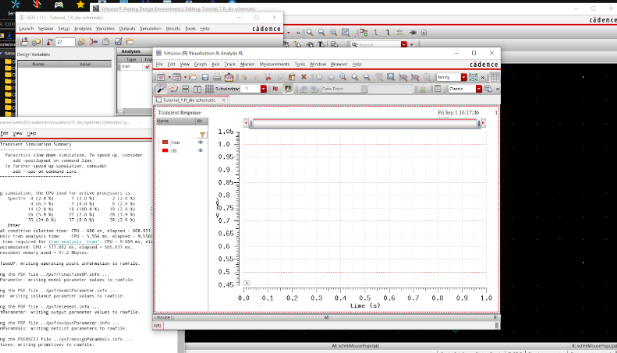
Finally we want to run out simulation by clicking the green play button and we get the following window:
Throughout this process of going through this tutorial, I utilized google docs to quickly store snipits of my images I needed for the lab where later I could turn them into .png files for upload. Throughout creating this lab, I frequently saved and stored a copy of my html file in case of power lose or network failure so that I did not lose my progress.