Lab 1 - ECE 421L Fall 2023
Pre-Lab:
-The pre-lab instructed prior to the first day of lab, to acquire a CMOSedu account from Dr. Baker.
-Then review the material given here for editing webpages.
Lab 1 procedures:
The first step is to delete 3 locked files named divaDRC.rul, divaEXT.rul, and divaLVS.rul within the directory NCSU_TechLib _ami06 and replace them with the unlocked versions.
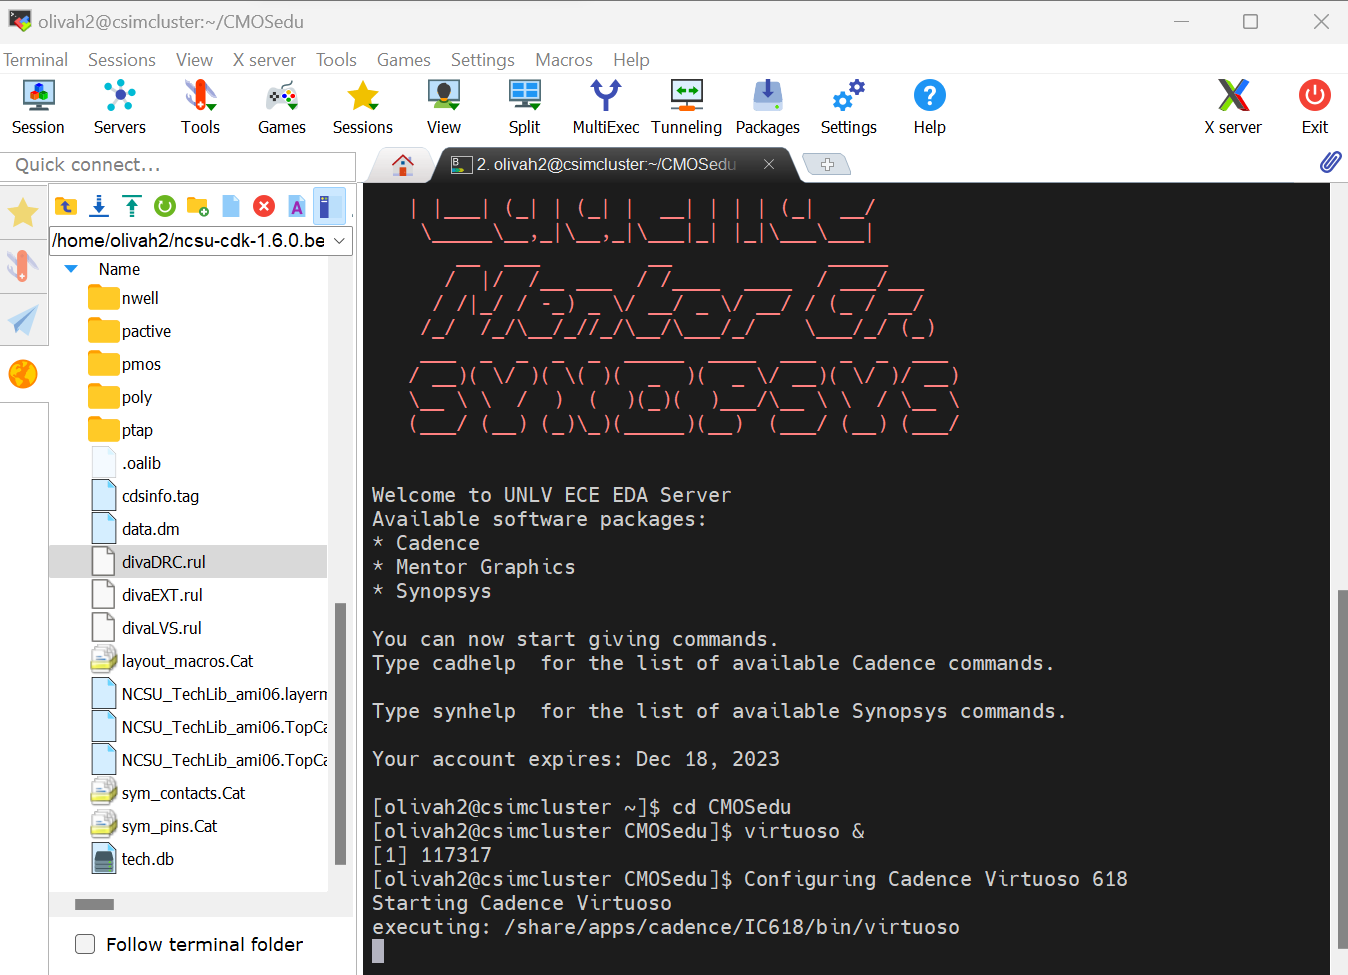
The next thing is to start Candence by entering cd CMOSedu command to enter the directory, once there we then type virtuoso & for Cadence to start up.
Now that Cadence has start we will be presented with its Command Interpreter Window, as well as its Library Manager.

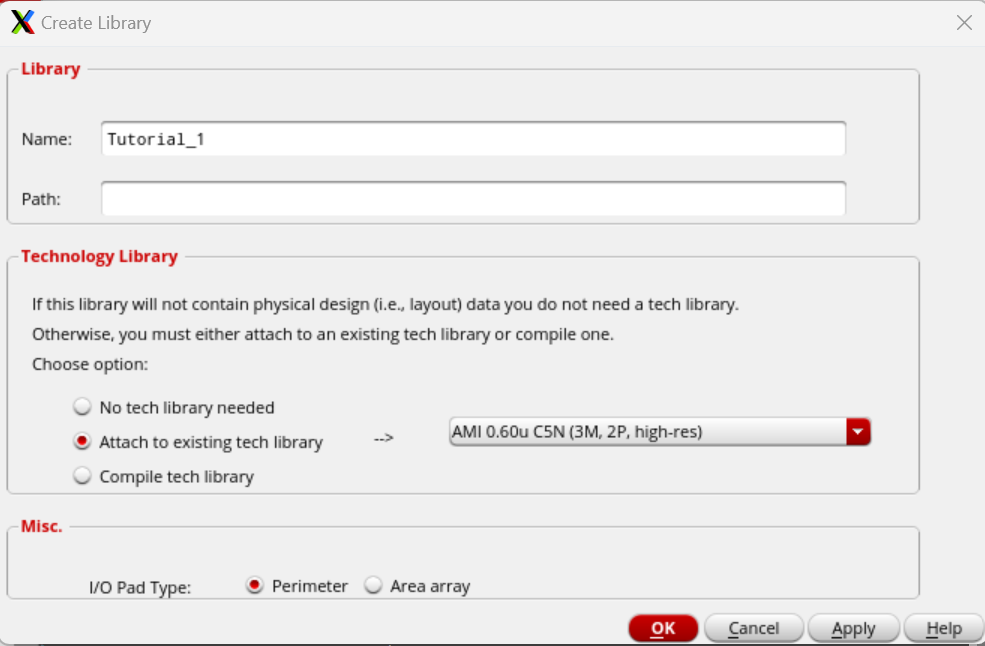
The next step is creating a new library by going to the Library Manager, File -> New -> Library. This will then open a new
window that we will name the library as Tutorial_1, set the attach library to AMI 0.60u C5N, and hit OK.
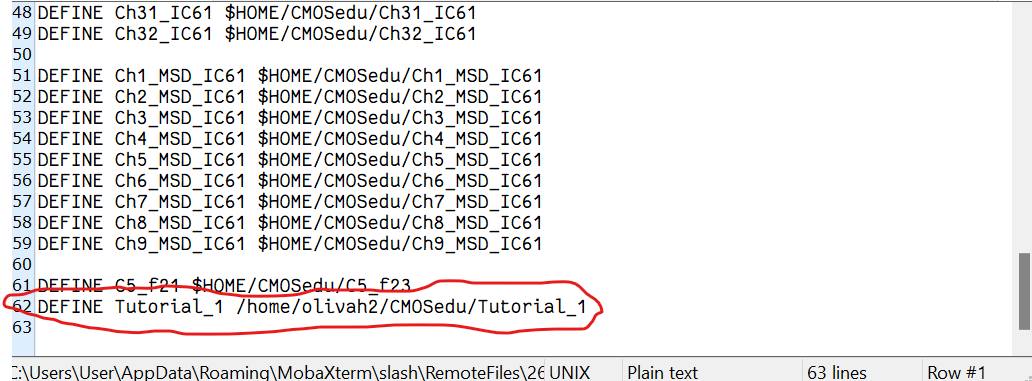
We now go to cds.lib file in the CMOSedu directory and open it with the default text editor. This shows us how the library that was just made earlier is added to the file and has a define line.
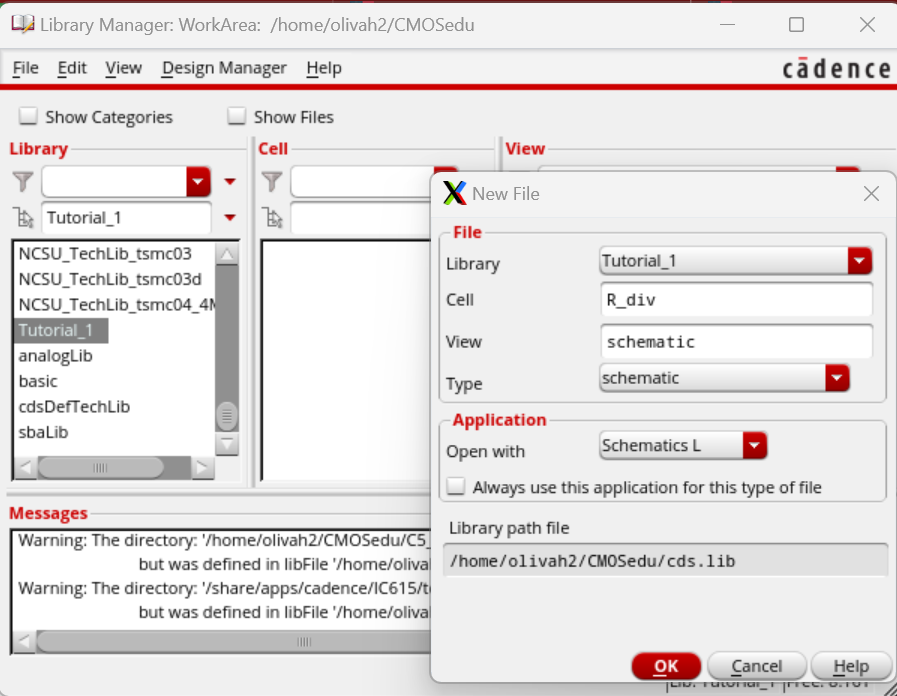
The next step is to now select Tutorial_1 in the Library Manager, then create a Cell View and enter the information below.
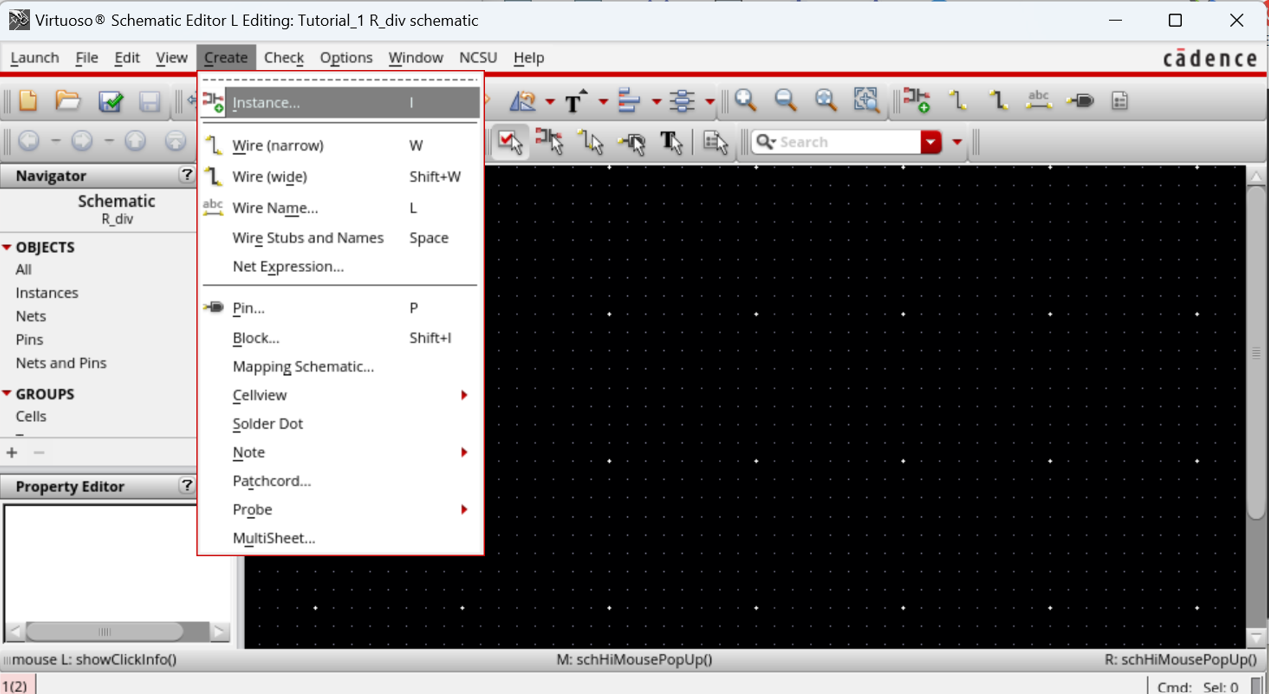
Following the creation of the Cell View, we go to the Create menu and select Instance (or press i).
The instance window will open after clicking instance, from this point I select in the Component Browser NSCU_Analog_Parts, next click res, and set the resistance to 10K.
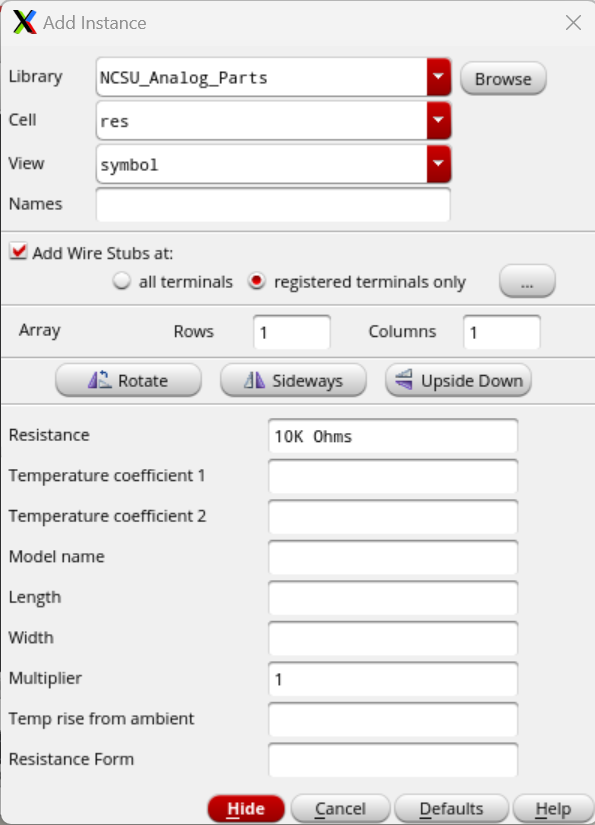
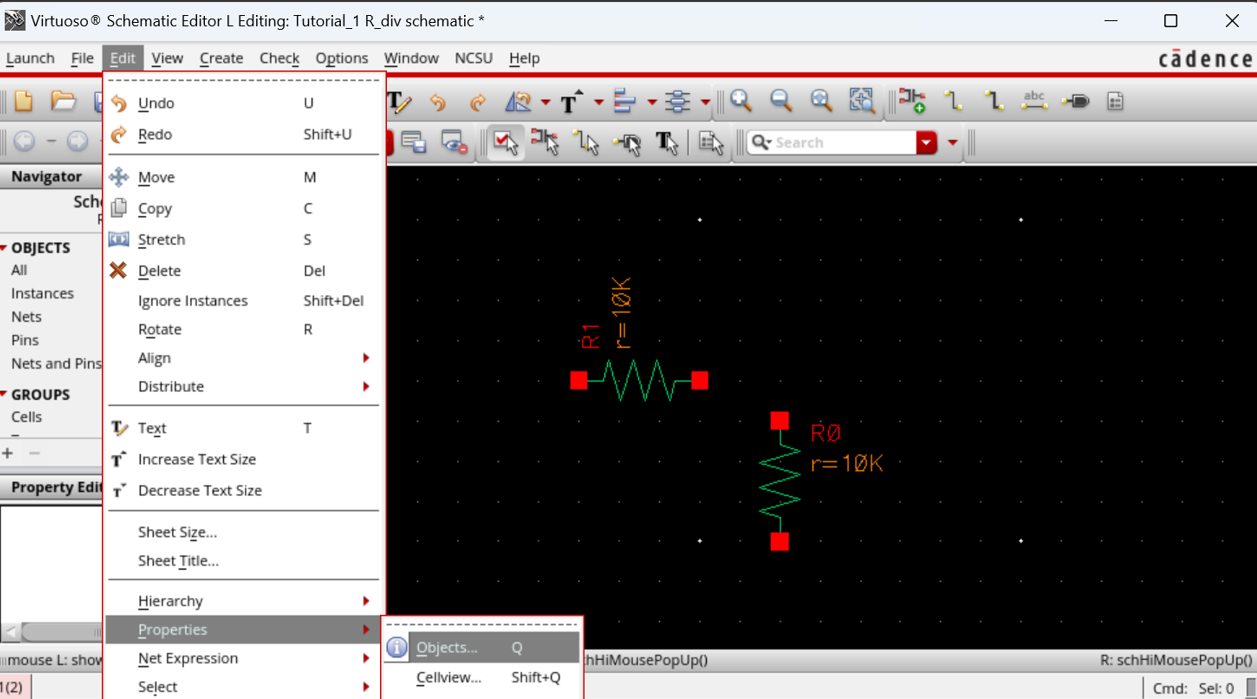
After clicking the hide button, I can see that I am able to place a resistor that is 10K ohm. Now, add two resistors, while making sure toright click the mouse button, so that a resistor is rotated.
Following this, go to the menu Edit -> Properties -> Objects (or press q). This will be used for changing the properties of the object you select.
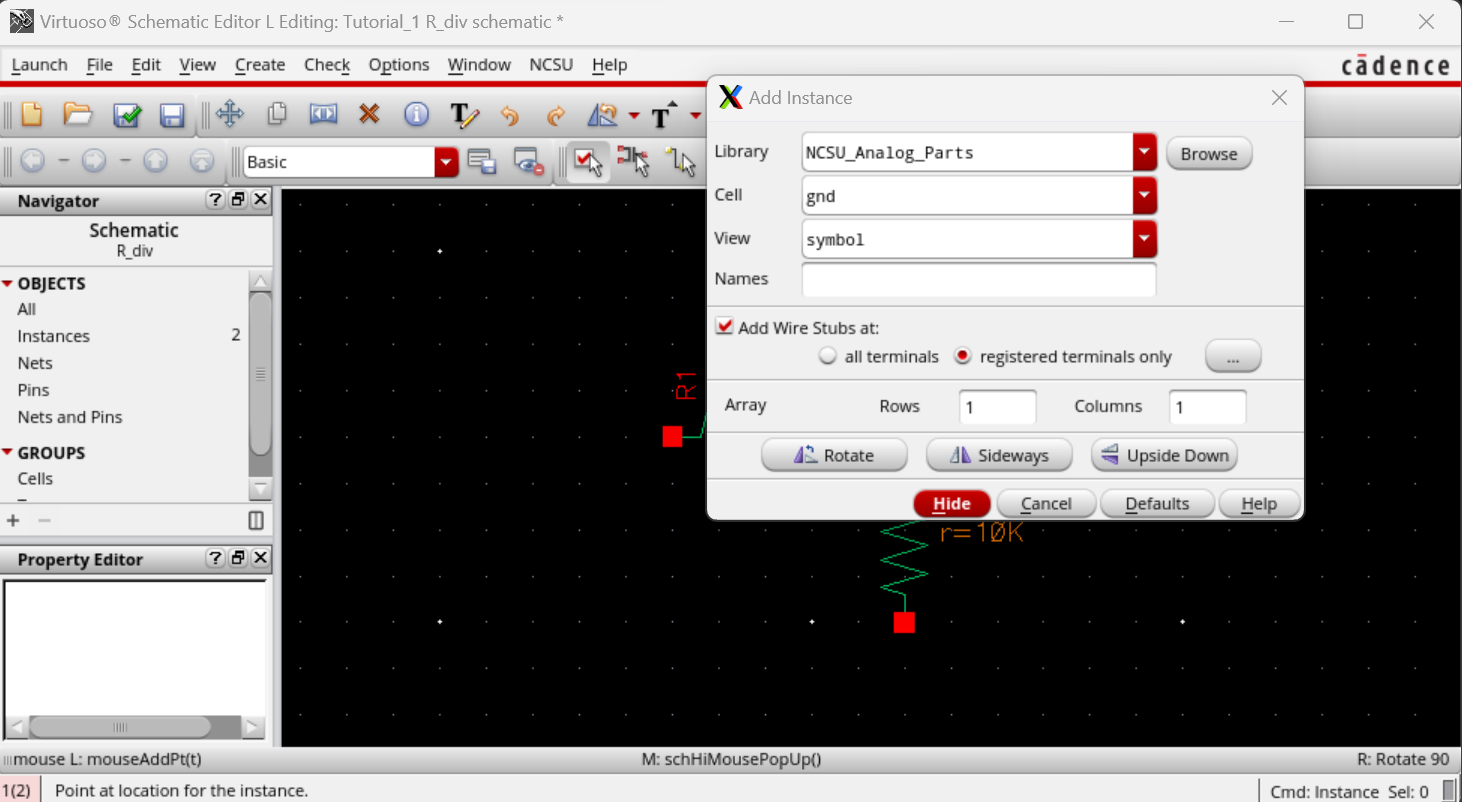
Now we add ground to the shematic by using instance with pressing i, this time we will go into Supply_Nets and select gnd and click on the schematic to add it.
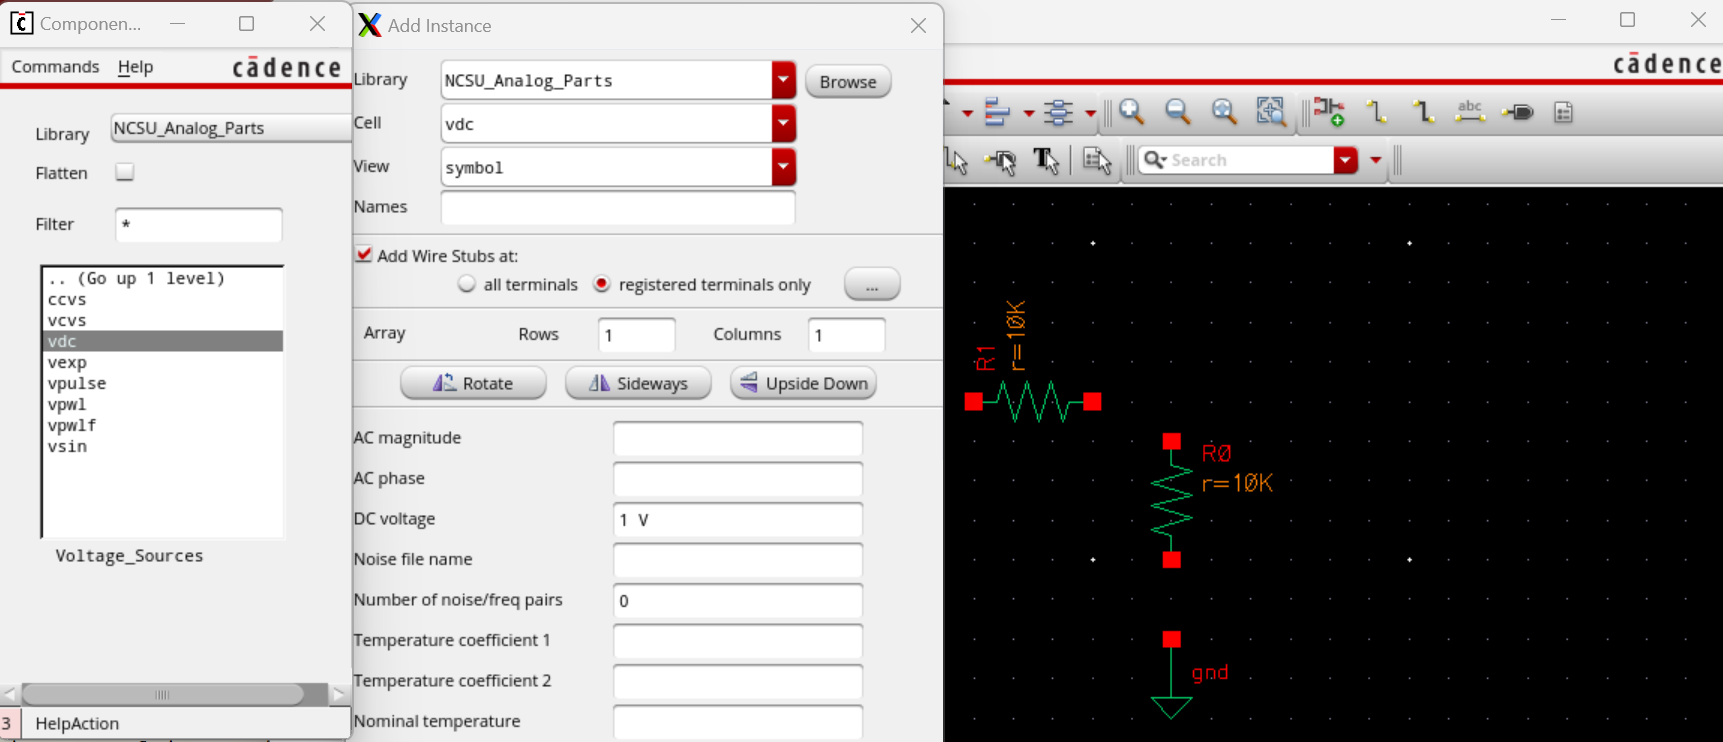
Now add the 1-V DC source to the schematic, by pressing i and under Voltage_Source select vdc.
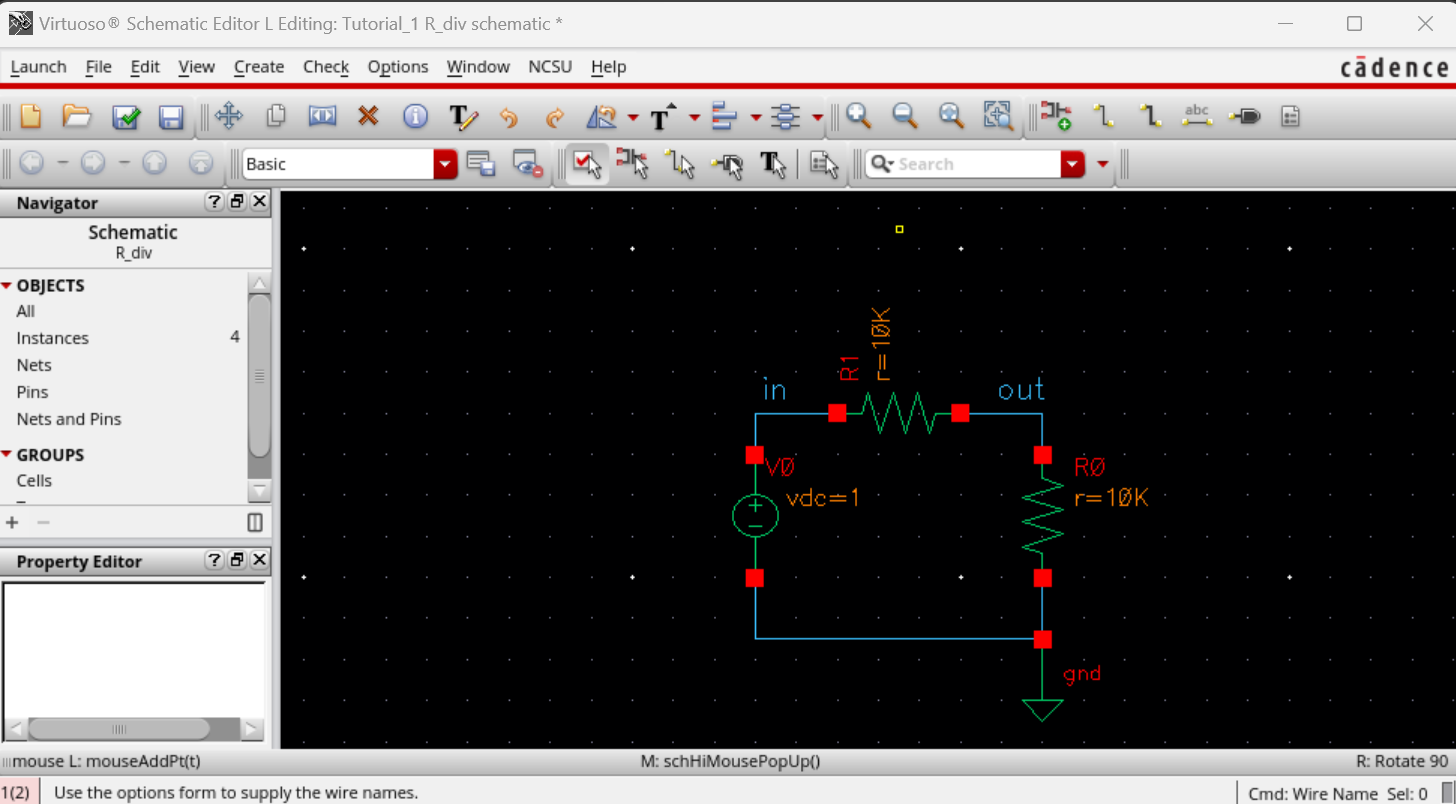
Following placing the voltage source onto the schematic. The next thing to do is press w for the wire tool and use it to connect the resistors, voltage source and ground together.
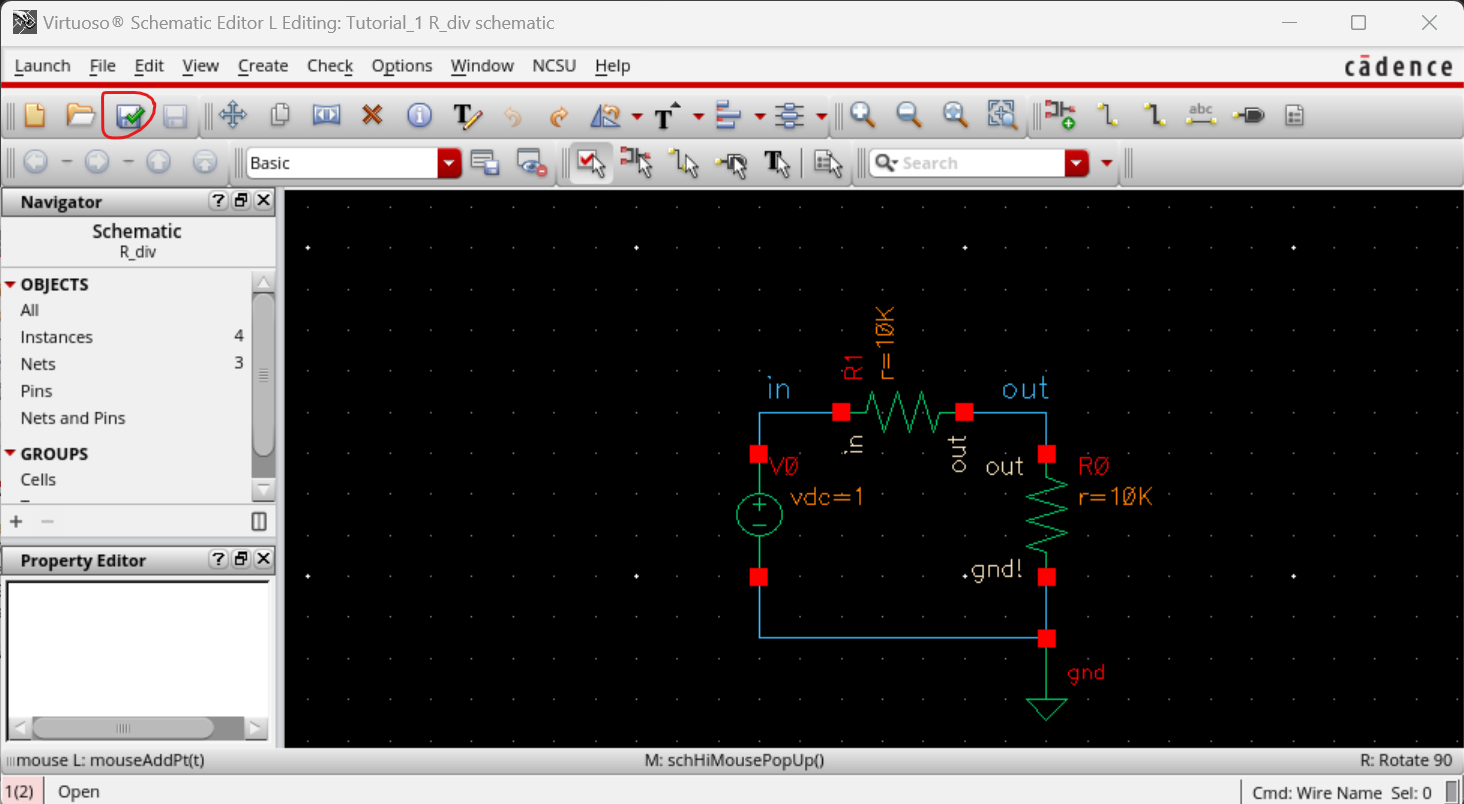
Now we label the wires by pressing lowercase L and label the side with the voltage source as in (vin) and the side without as out (vout).
At this point nearly ready to simulate the circuit. Hit the "Check and Save" first. The reason for this is because if you try to simulate the circuit without doing so, it will not work.
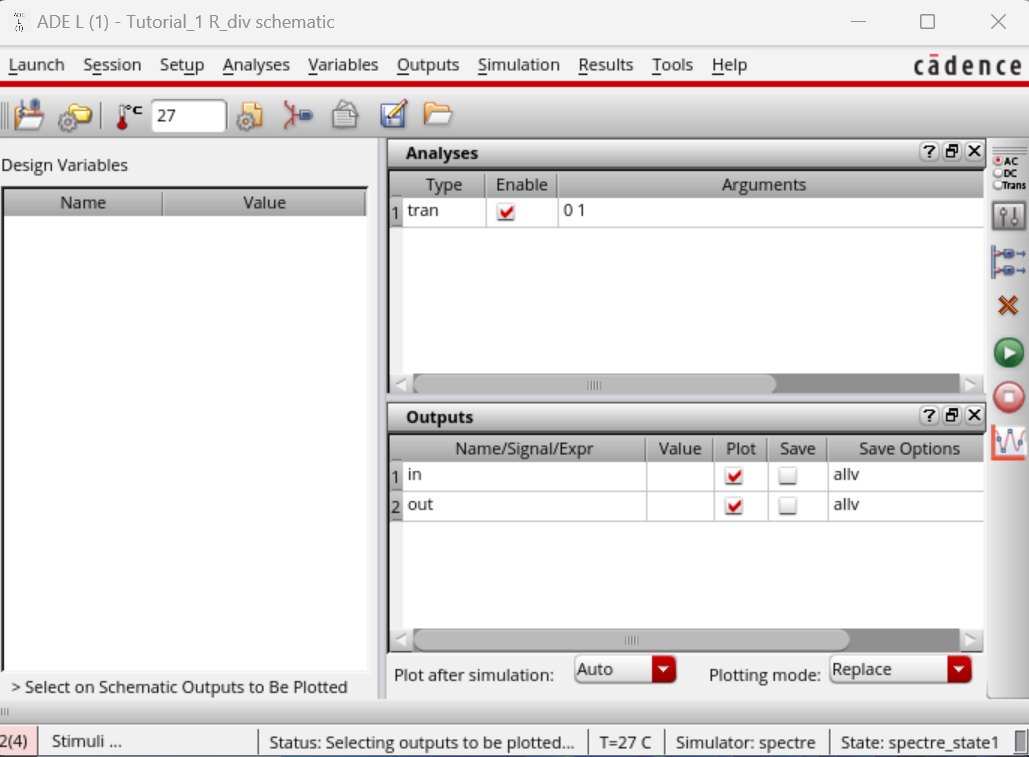
Now, go to Launch -> ADE L to simulate with Spectre (SPICE).
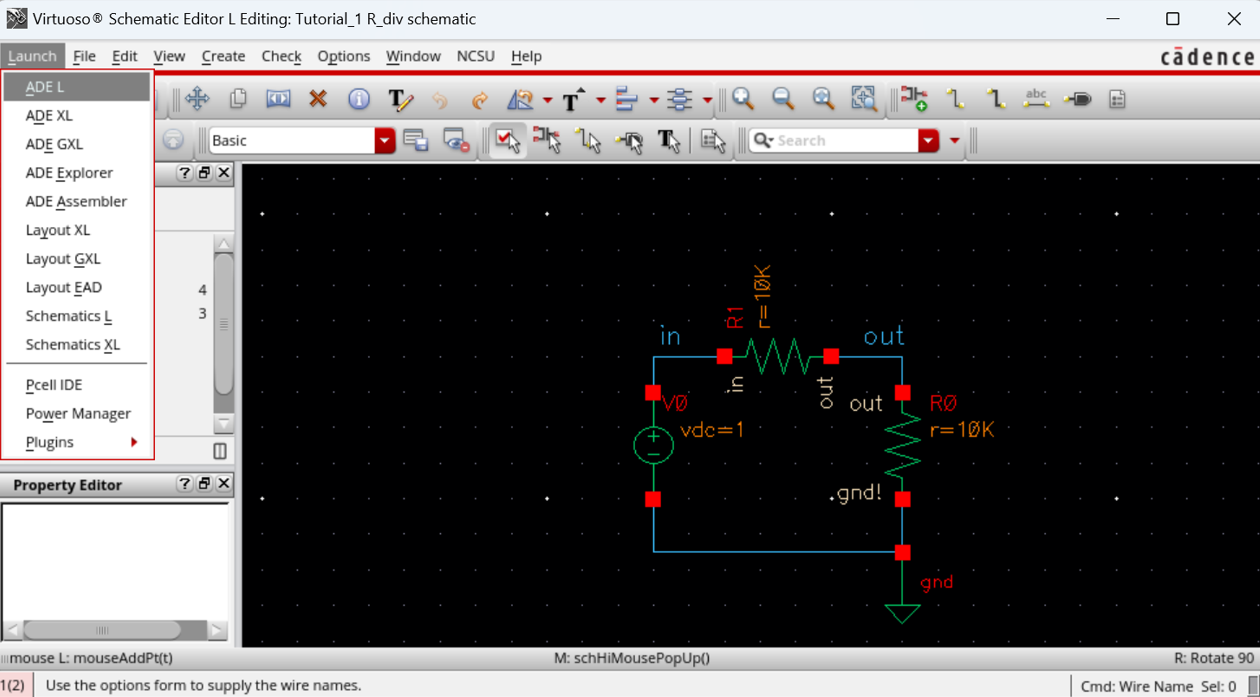
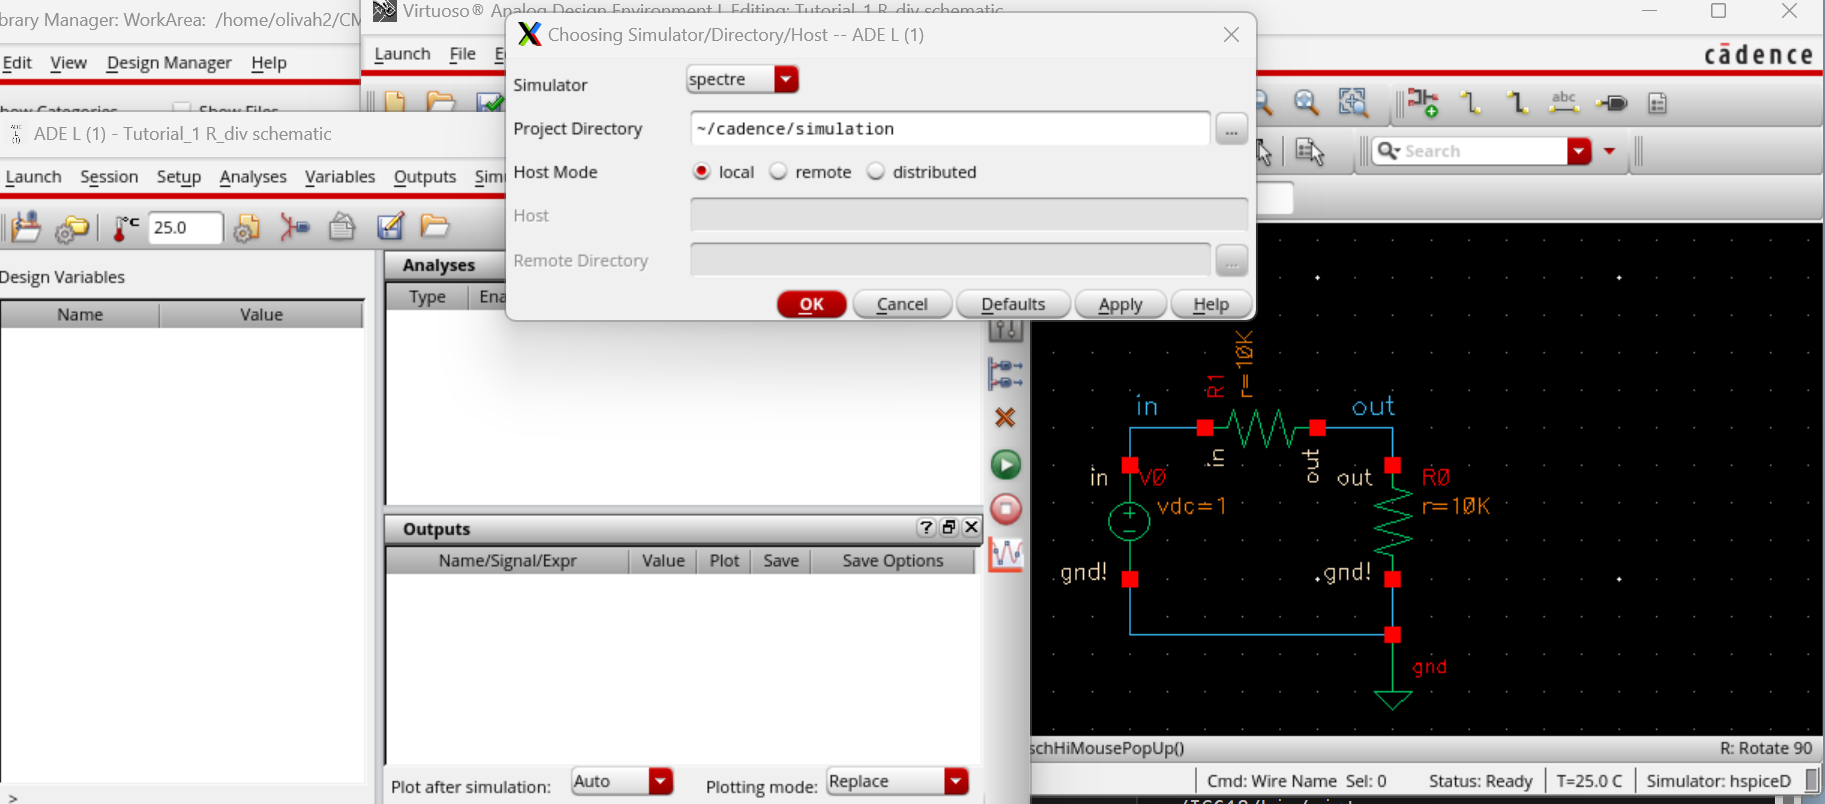
This will open another window named Analog Design Environment (ADE). Once its opened go to Setup -> Simulator/Directory/Host, then set the simulator to Spectre.
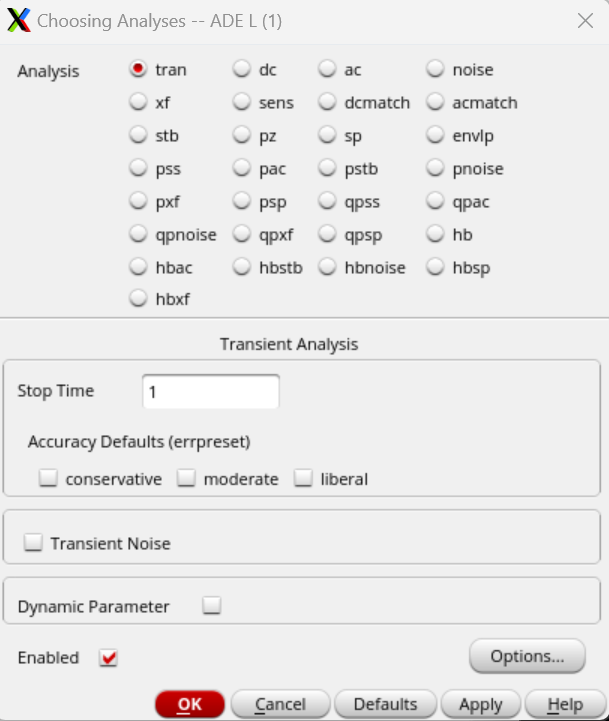
Next go to Analysis -> Choose, select transient analysis (.tran), then set the stop time to 1 second, and have enabled checked of.
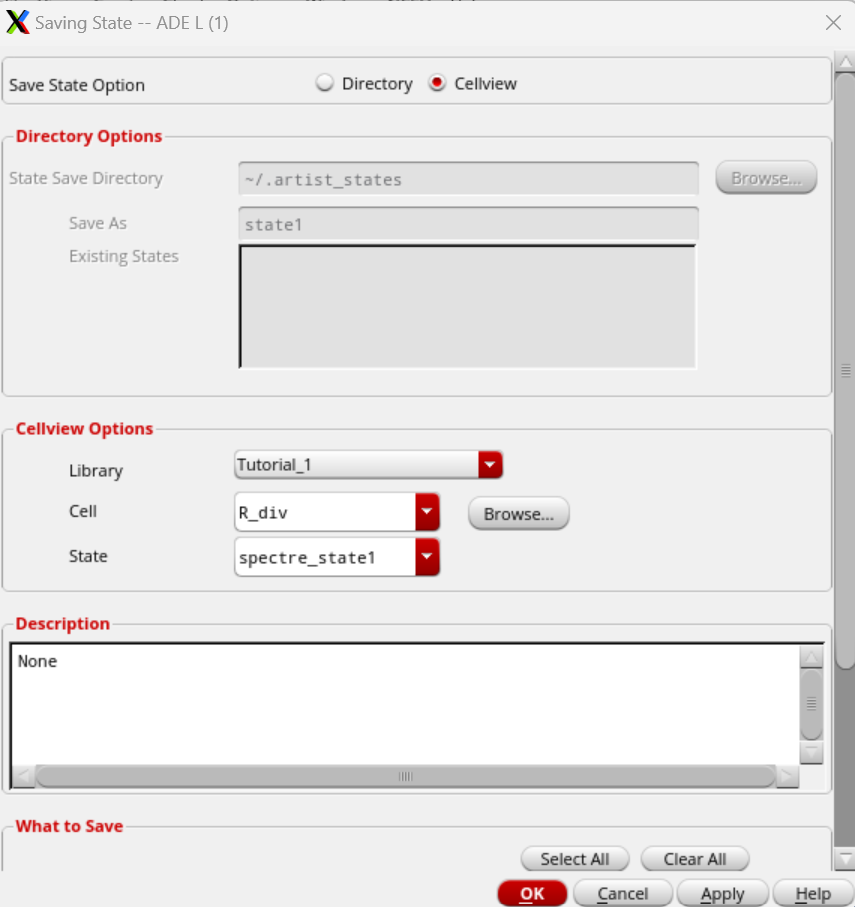
Next we go to Outputs -> To Be Plotted -> "Select on Design", then select the wires that are labeled in and out. Now we go to Session -> Save State and select Cellview then OK.
The reason for this is so we do not have to do the steps again.
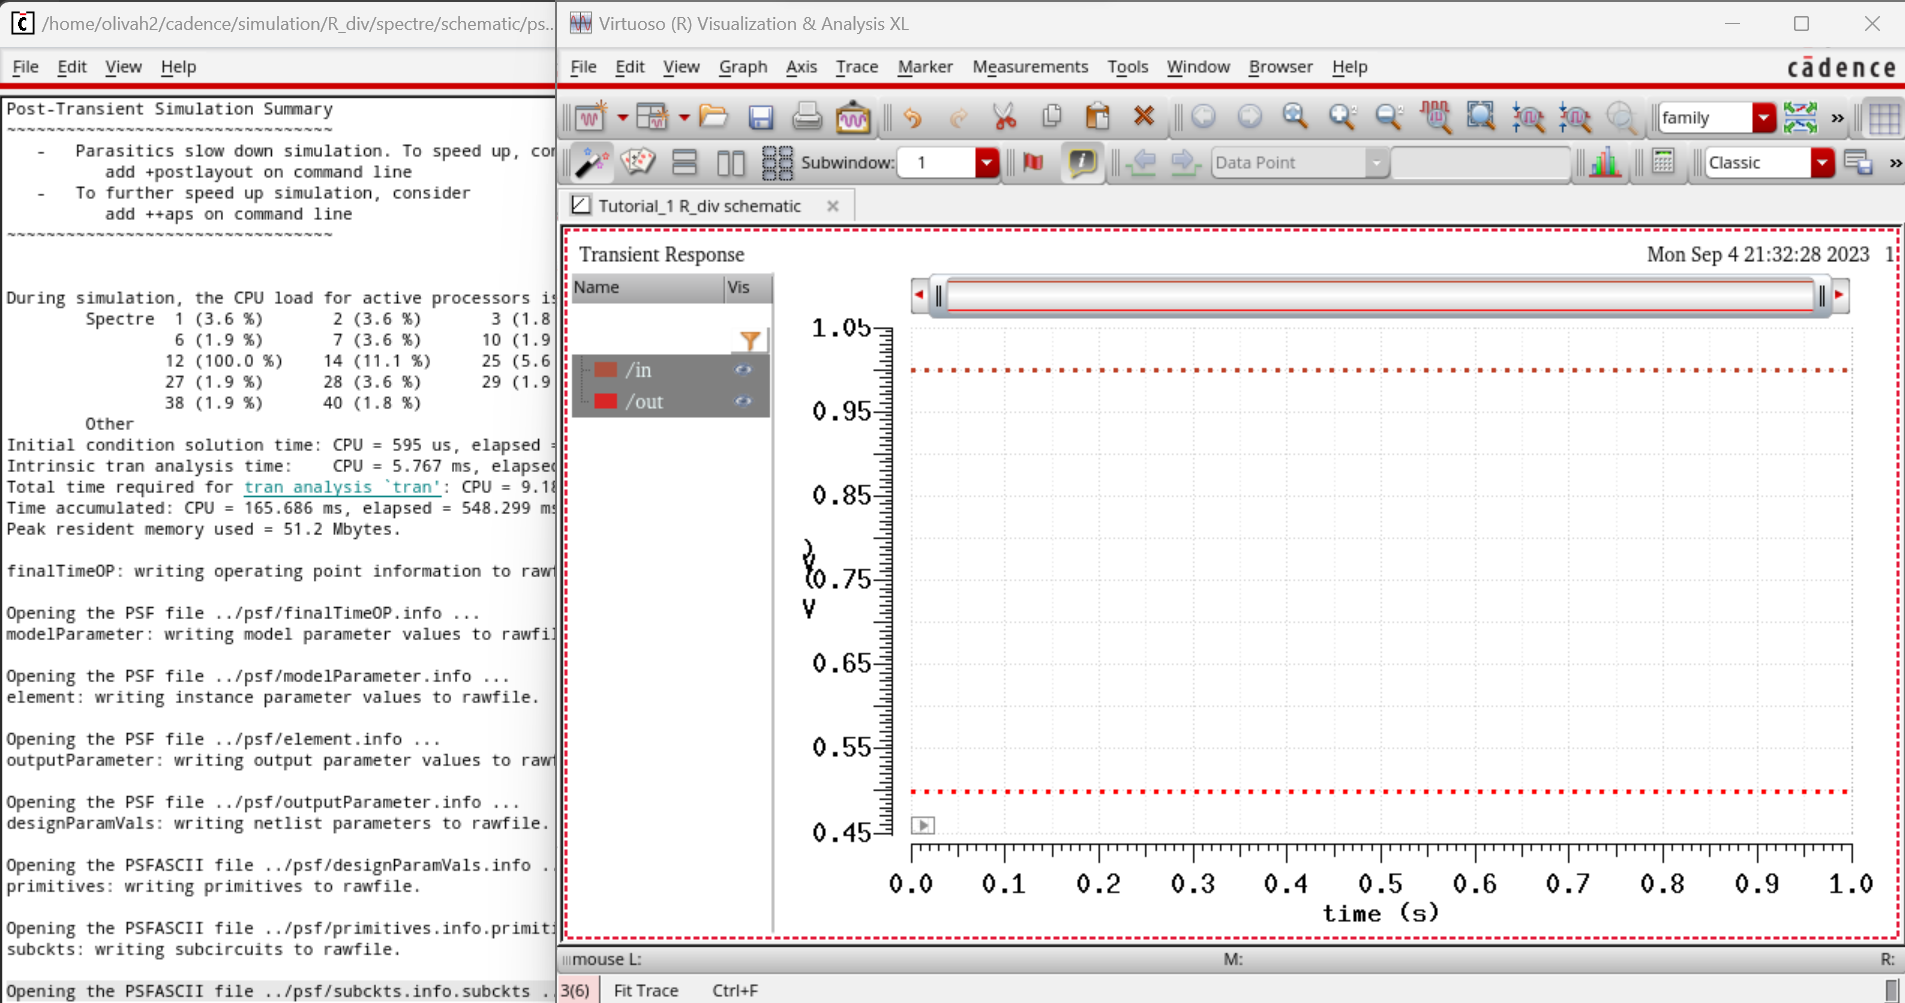
Now, press the green button and run the simumlation of the circuit.
The following image should be the results of the simulation.
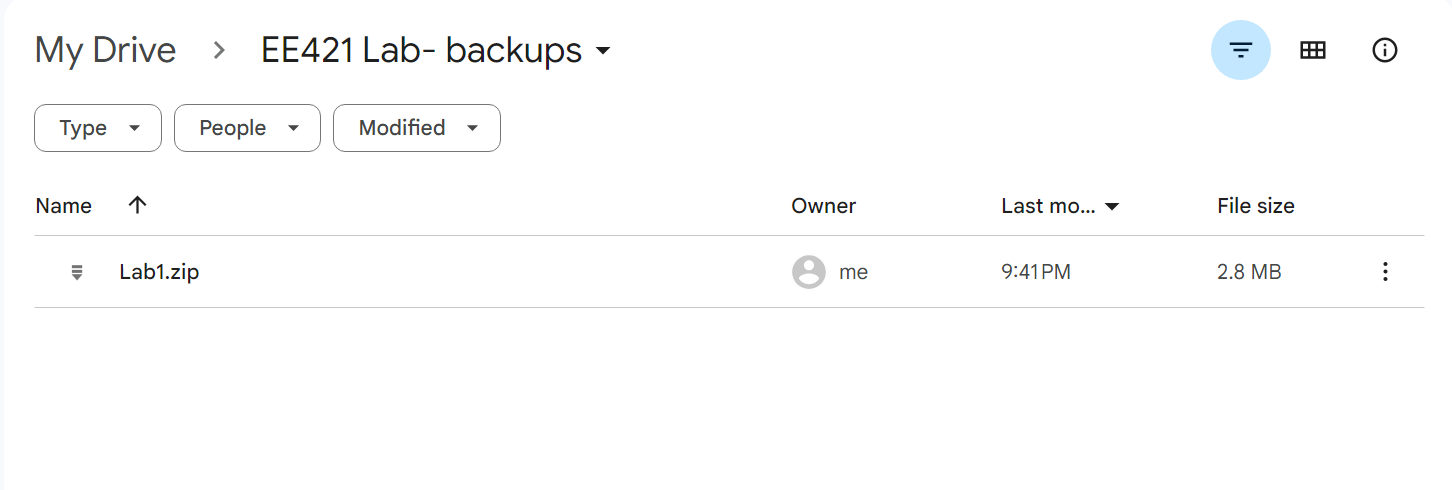
I will be doing regular backups by making a zip file of the lab and uploading it to my google drive.
It can be seen that my files are zipped.

The zip file was uploaded to my google drive.