Lab 1 - ECE 421L
For this first lab, we were responsible for emailing Dr. Baker to get our CMOSedu account login information. CMOSedu is where lab reports will be plublished for grading. Additionally, reviewing the lab safety video and reading the safety guidelines was advised.
Lab Work:
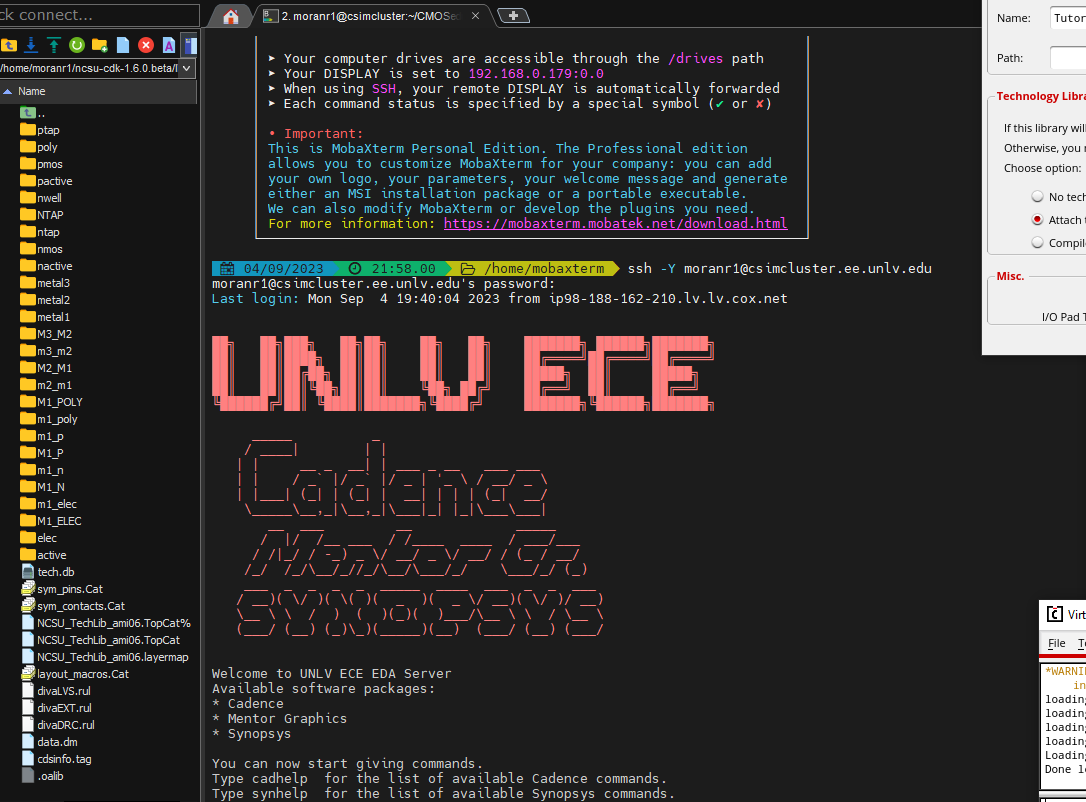
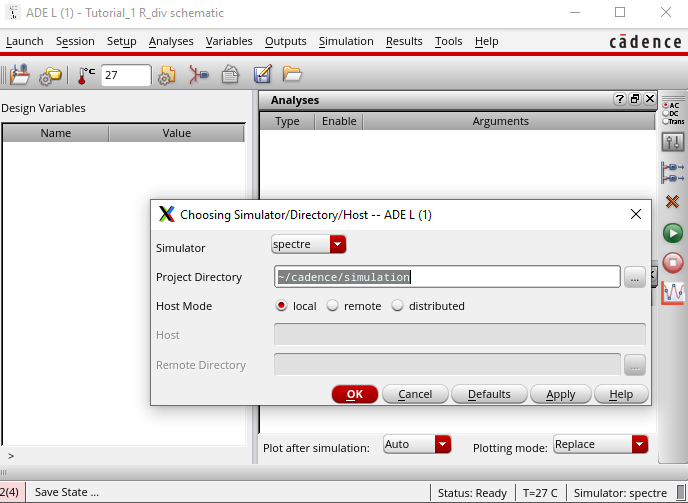
The first step of the lab was to setup cadence by executing a ssh to the UNLV server. From there, we needed to setup our library files correctly which meant replacing the existing diva.rul files with the new unzipped diva files (this is done as the old files point to the wrong place due to a bug in the beta).
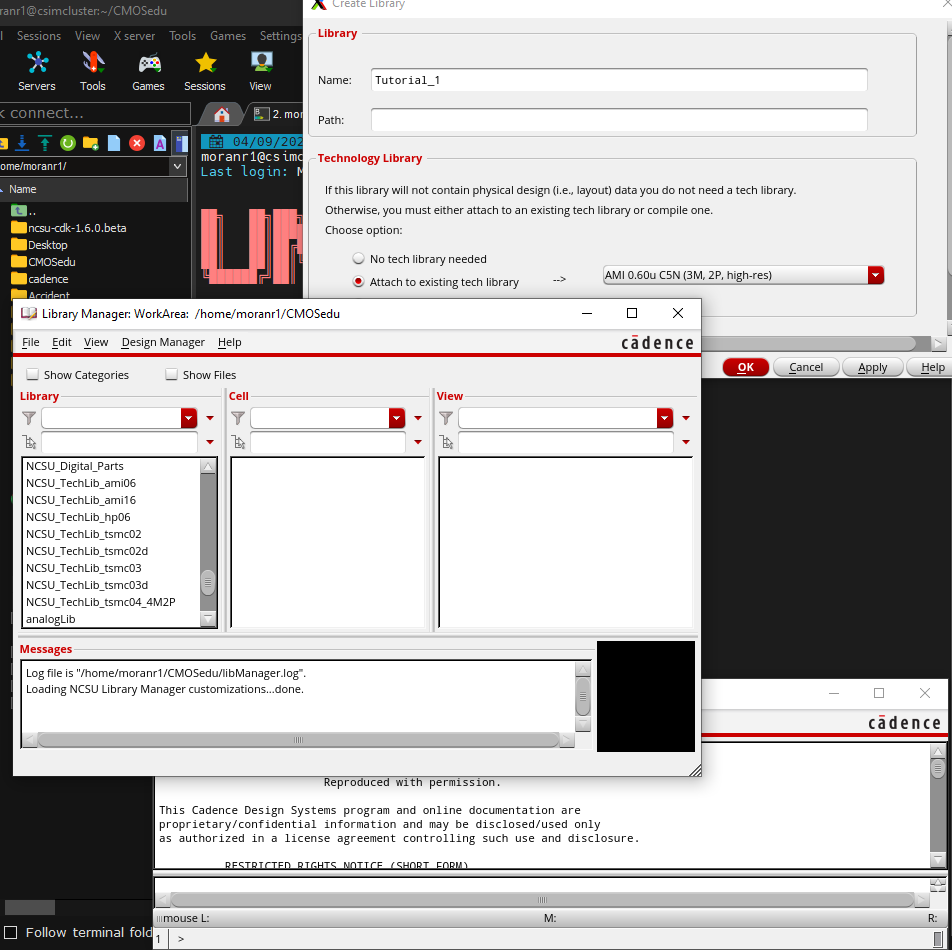
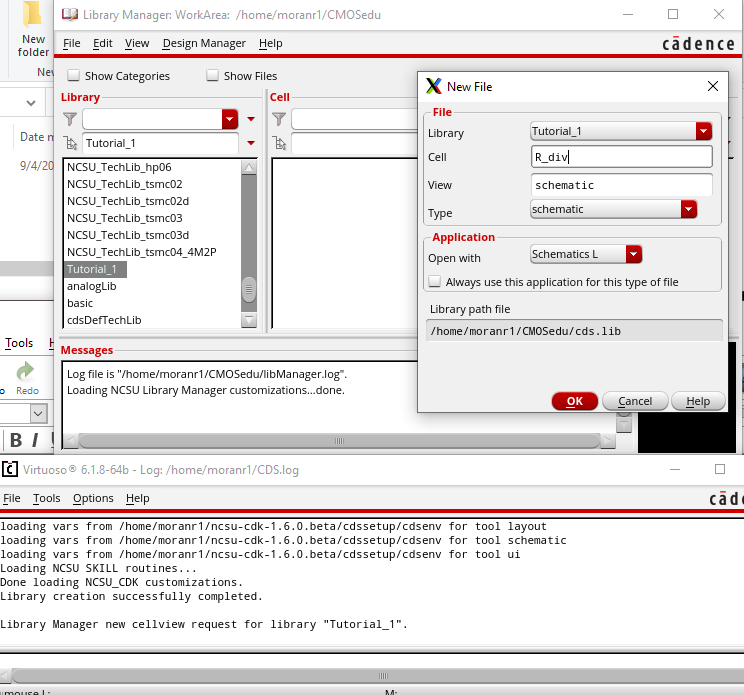
In the second step of the lab we are setting up Tuturial 1 as a library and
adding the R_div we will be creating to be part of that said library.
This is done so the files are saved and we can access these files at
another given time.
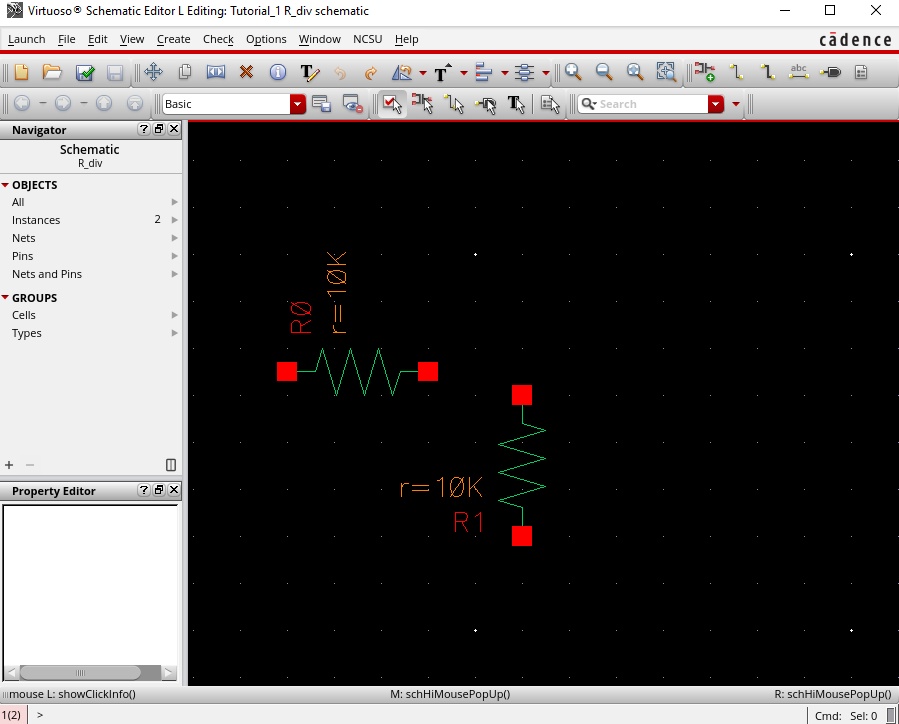
Once
the R_div, we can add instances of objects such as resistors, voltages
sources, ground, etc. The addition of instances is shown in the
following screenshots. In this case we placed two resistors and then
went into the object properties to change them to 10k ohm value
resistors.
Similar to when we added the resistors adding the voltage source was a similar process by simply selecting it in the NSCU_Analog_Parts, but after selecting in that library. Using the component browser, select --->NSCU_Analog_Parts (as the Library) ---> Voltage_Sources ----> vdc. The same process was used when adding ground (gnd). NSCU_Analog_Parts ---> gnd (when adding the instance). And again using the component browser, select ---> NSCU_Analog_Parts (as the Library) ---> Supply_Nets ----> gnd.
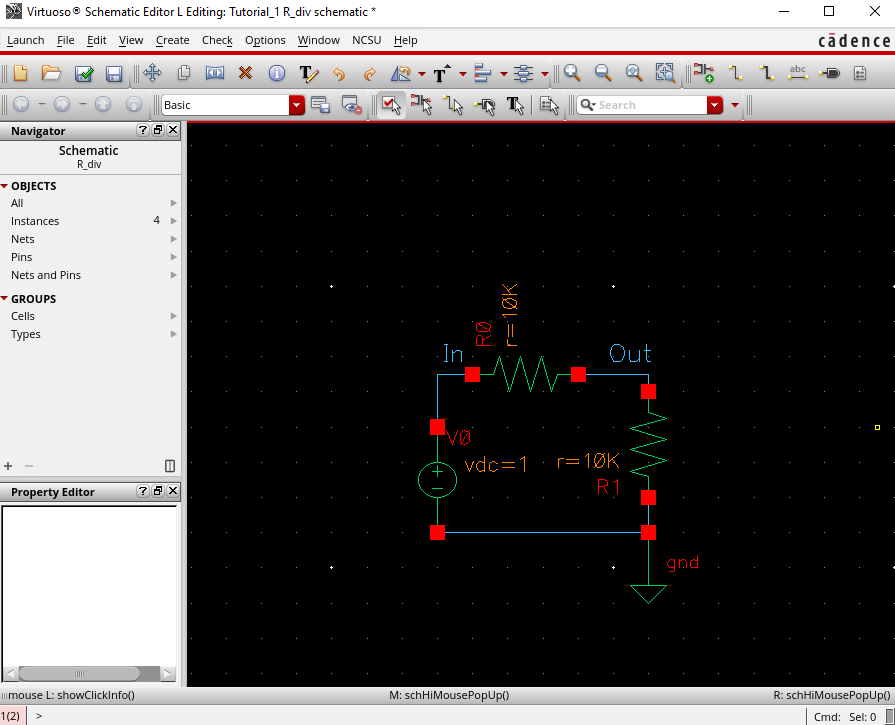
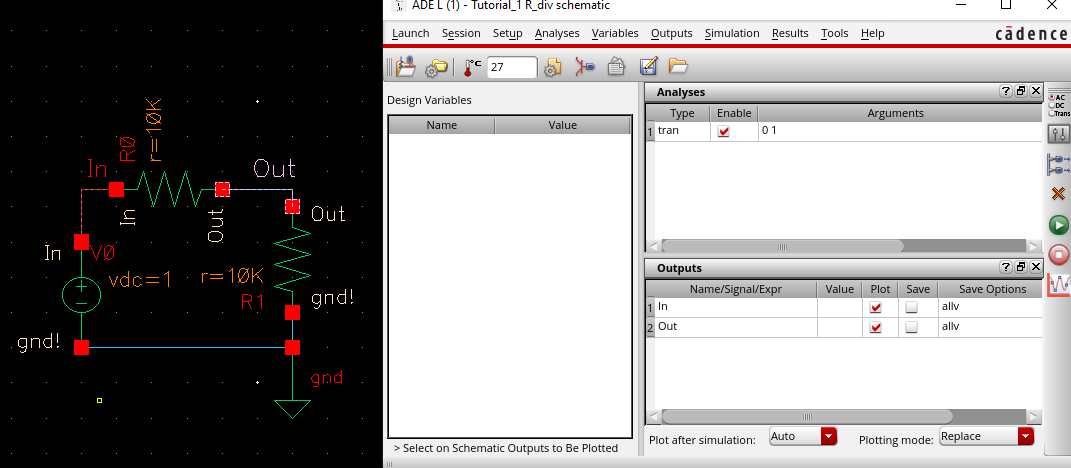
Once
adding all the isntances and changing the object properties to the
correct values, wiring the schematic together (w is the keybinding for
wire, then simply drag) and labelling the nodes/wires (using the
keybinding lowercase "l", <--- lowercase L) was all that was left to
add in order to have a completed schematic before setting up to run the
simulation. The image below is the finished schematic.
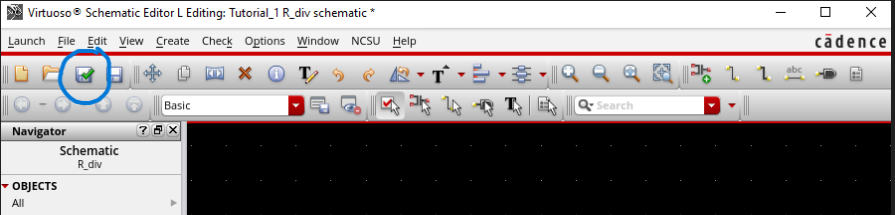
Moving onto the simulation process, running and check and save on the schematic is vital as Virtuoso wont let you simulate an unchecked/unsaved schematic. The check save is done by clicking the floppy disk with the green checkmark.
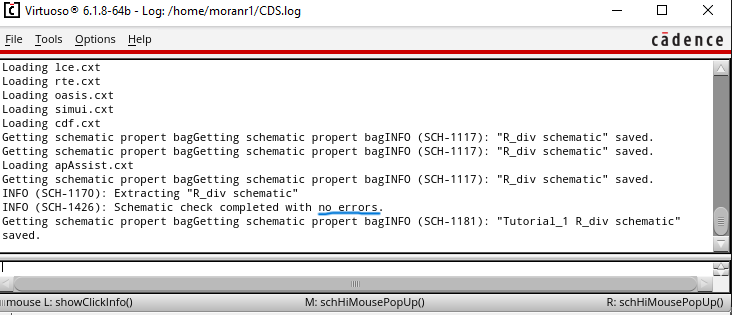
Wait
for the Virtuoso cds.log command window to report if the schematic
saved and checked without any errors. It will report back with
"Schematic check completed with no errors."
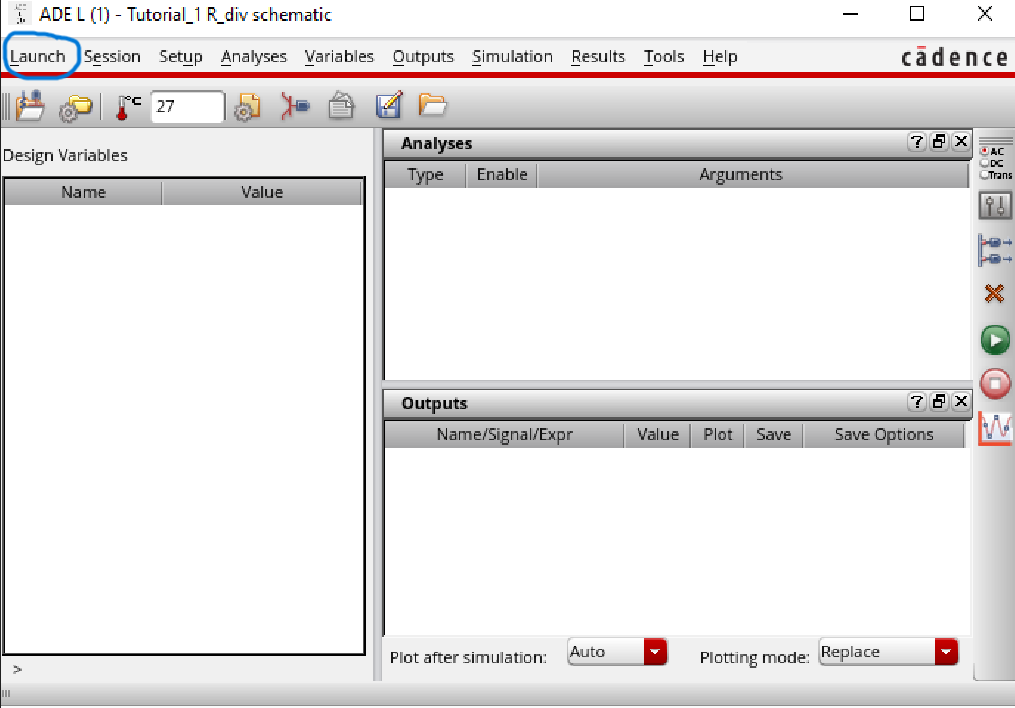
In this step we will be launching the ADE L. This is done by selecting Launch ---> ADE L.
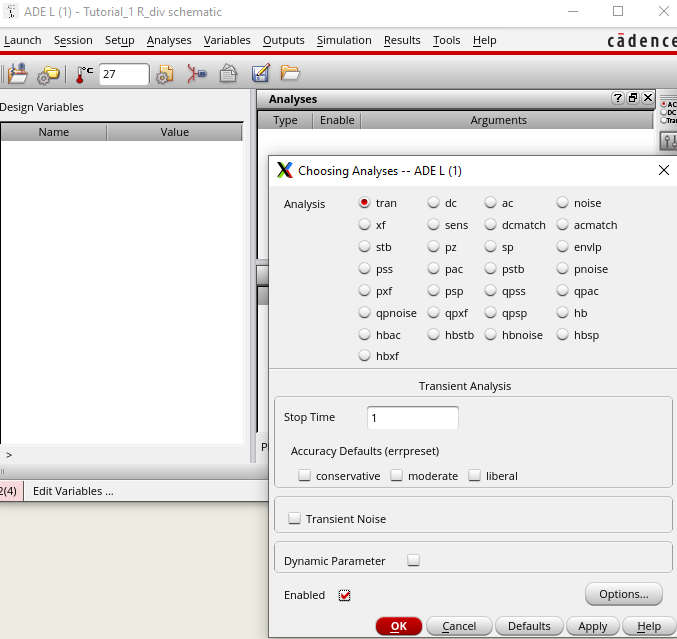
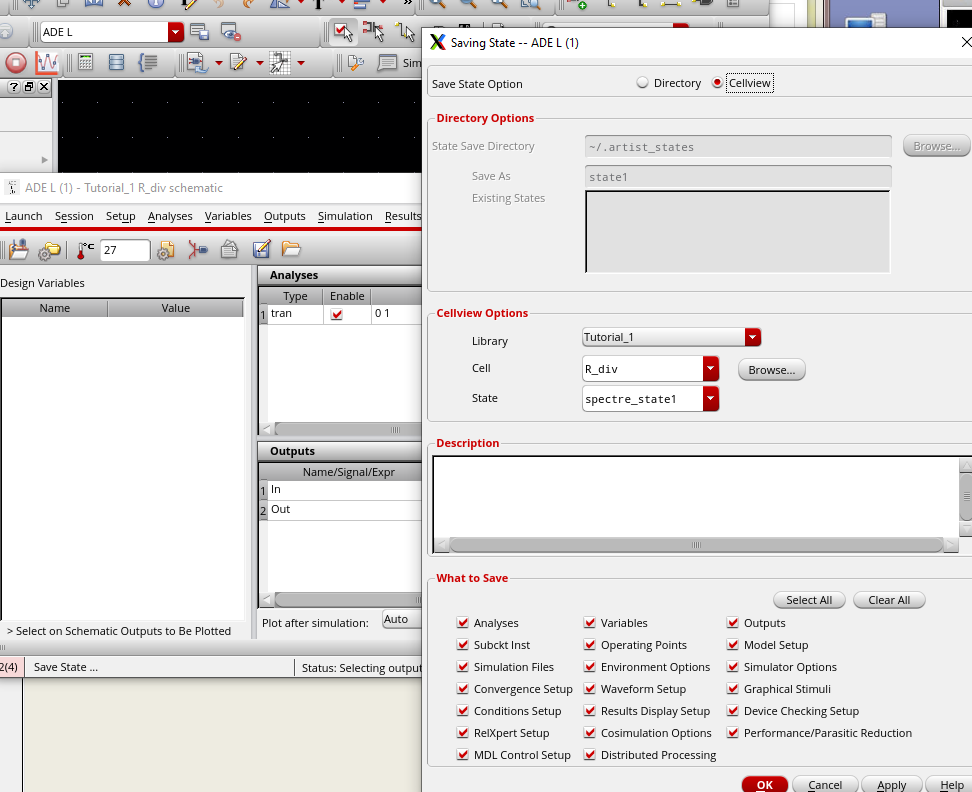
Just
before hitting the green go button, we need to save the state. We save
the state in order to be able to return to this cellview if need be at
a later date.
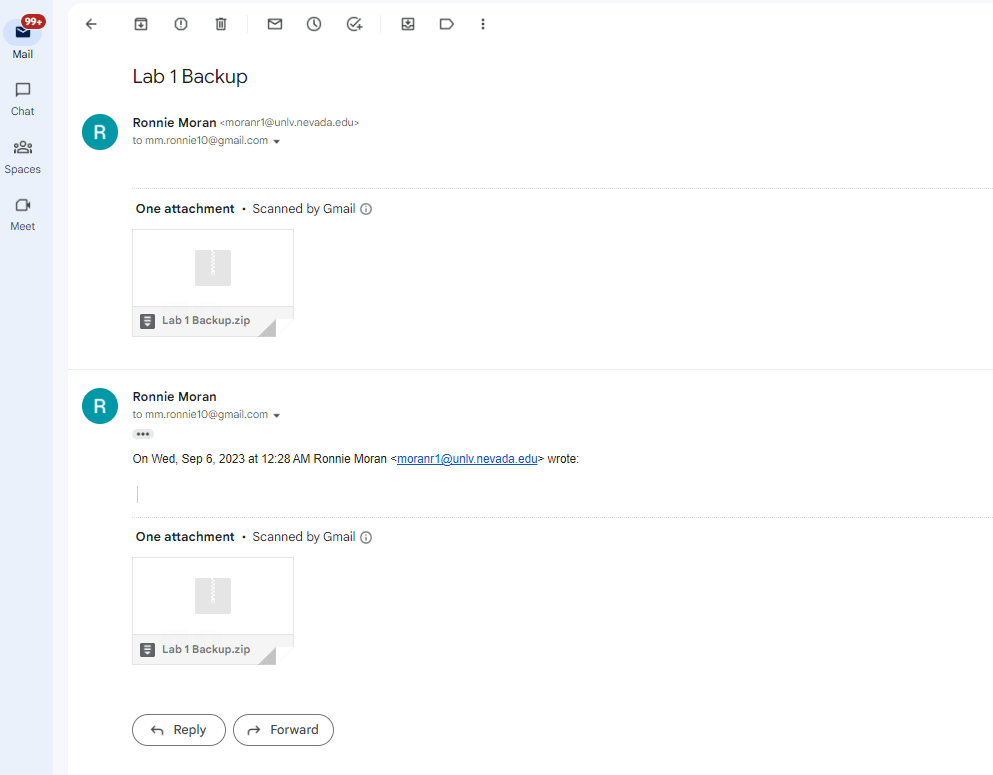
Backup:
For backing my work, after every 30 minutes or so I would email myself a zip file of my work just to have another copy on my cloud in case of anything.