Lab 1 - ECE 421L
Prelab 1 asked students to request access to CMOS and learn how to properly edit and format an html file.
Lab Work:
This lab involves us following Cadence Tutorial 1 on Dr.Baker's website.
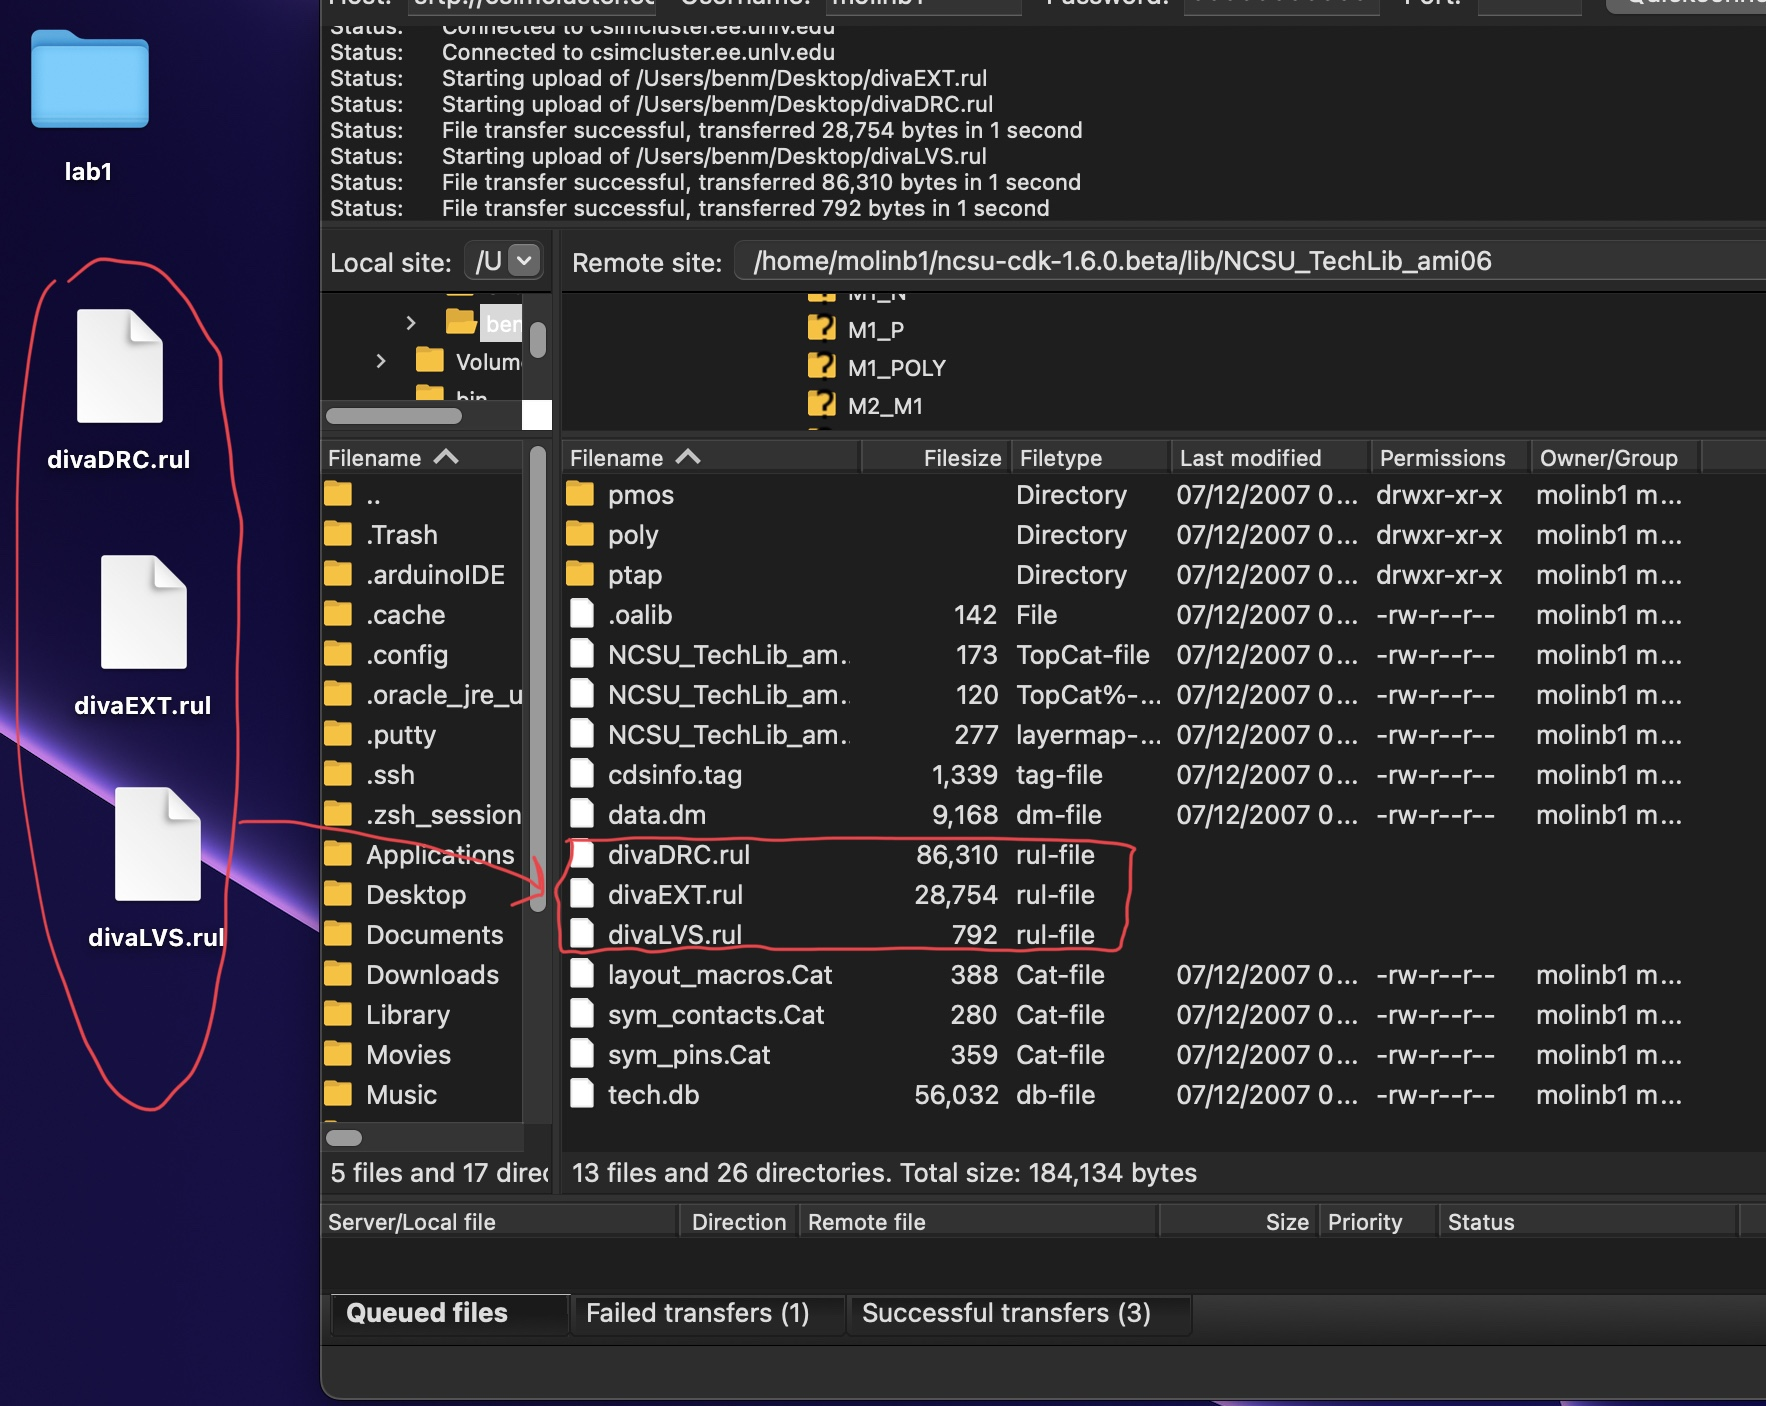
First step we needed to take was to delete the diva rul files specified. Then replace them with the ones given in a zip file in the tutorial.
Note: If you use a computer with MacOSX as I do you use FileZilla to manage the directory.
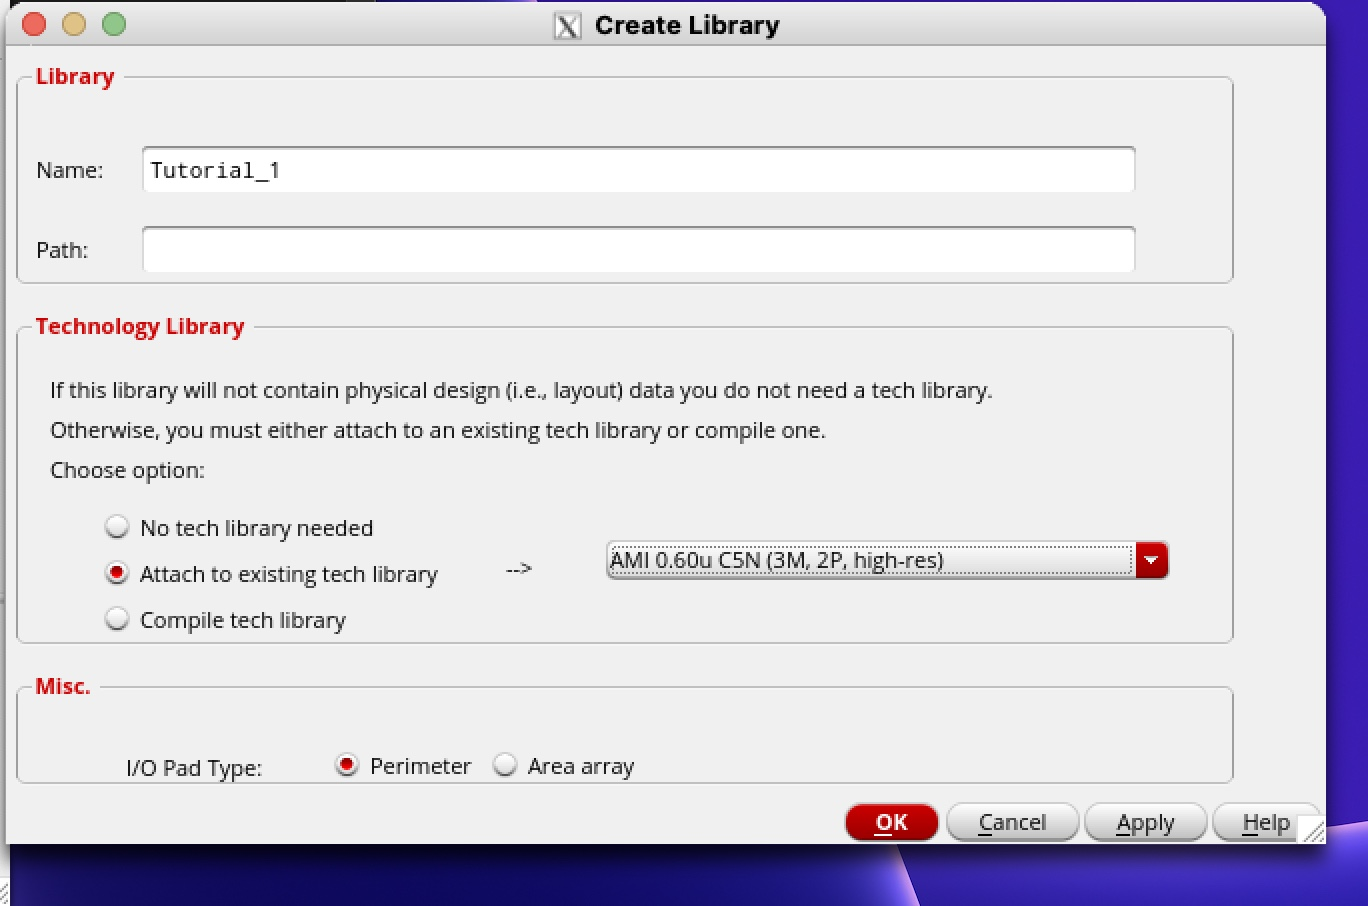
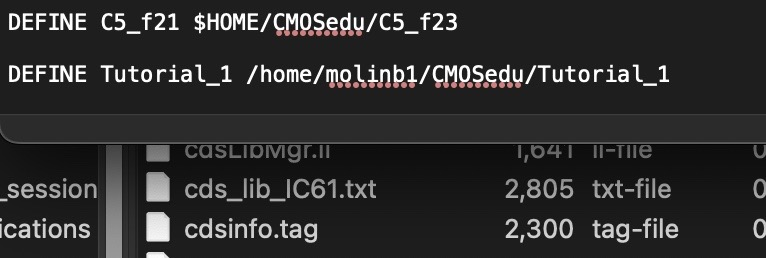
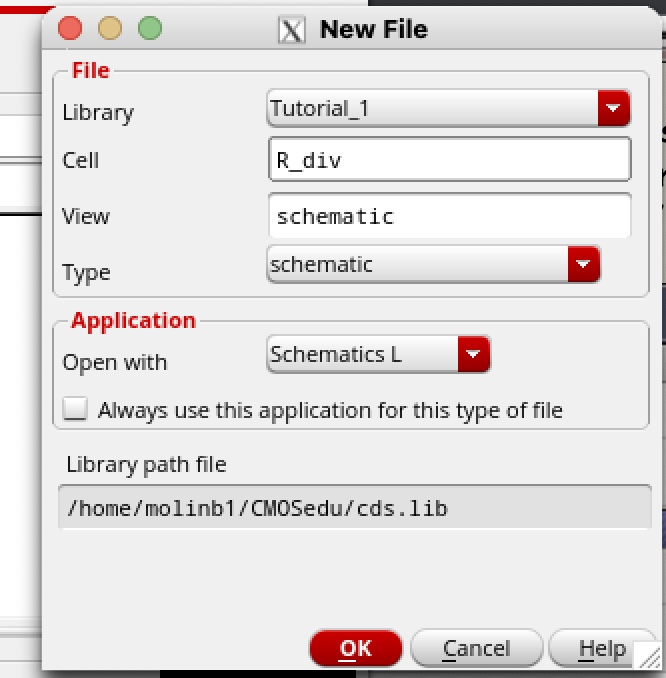
We should also check that cds.lib contains the new library we created.
It is recommended to give wires names in order to distinguish them. Press "l" to do this. Here we named the wires in and out.
Next we click Check and Save in order to save our work before simulating it.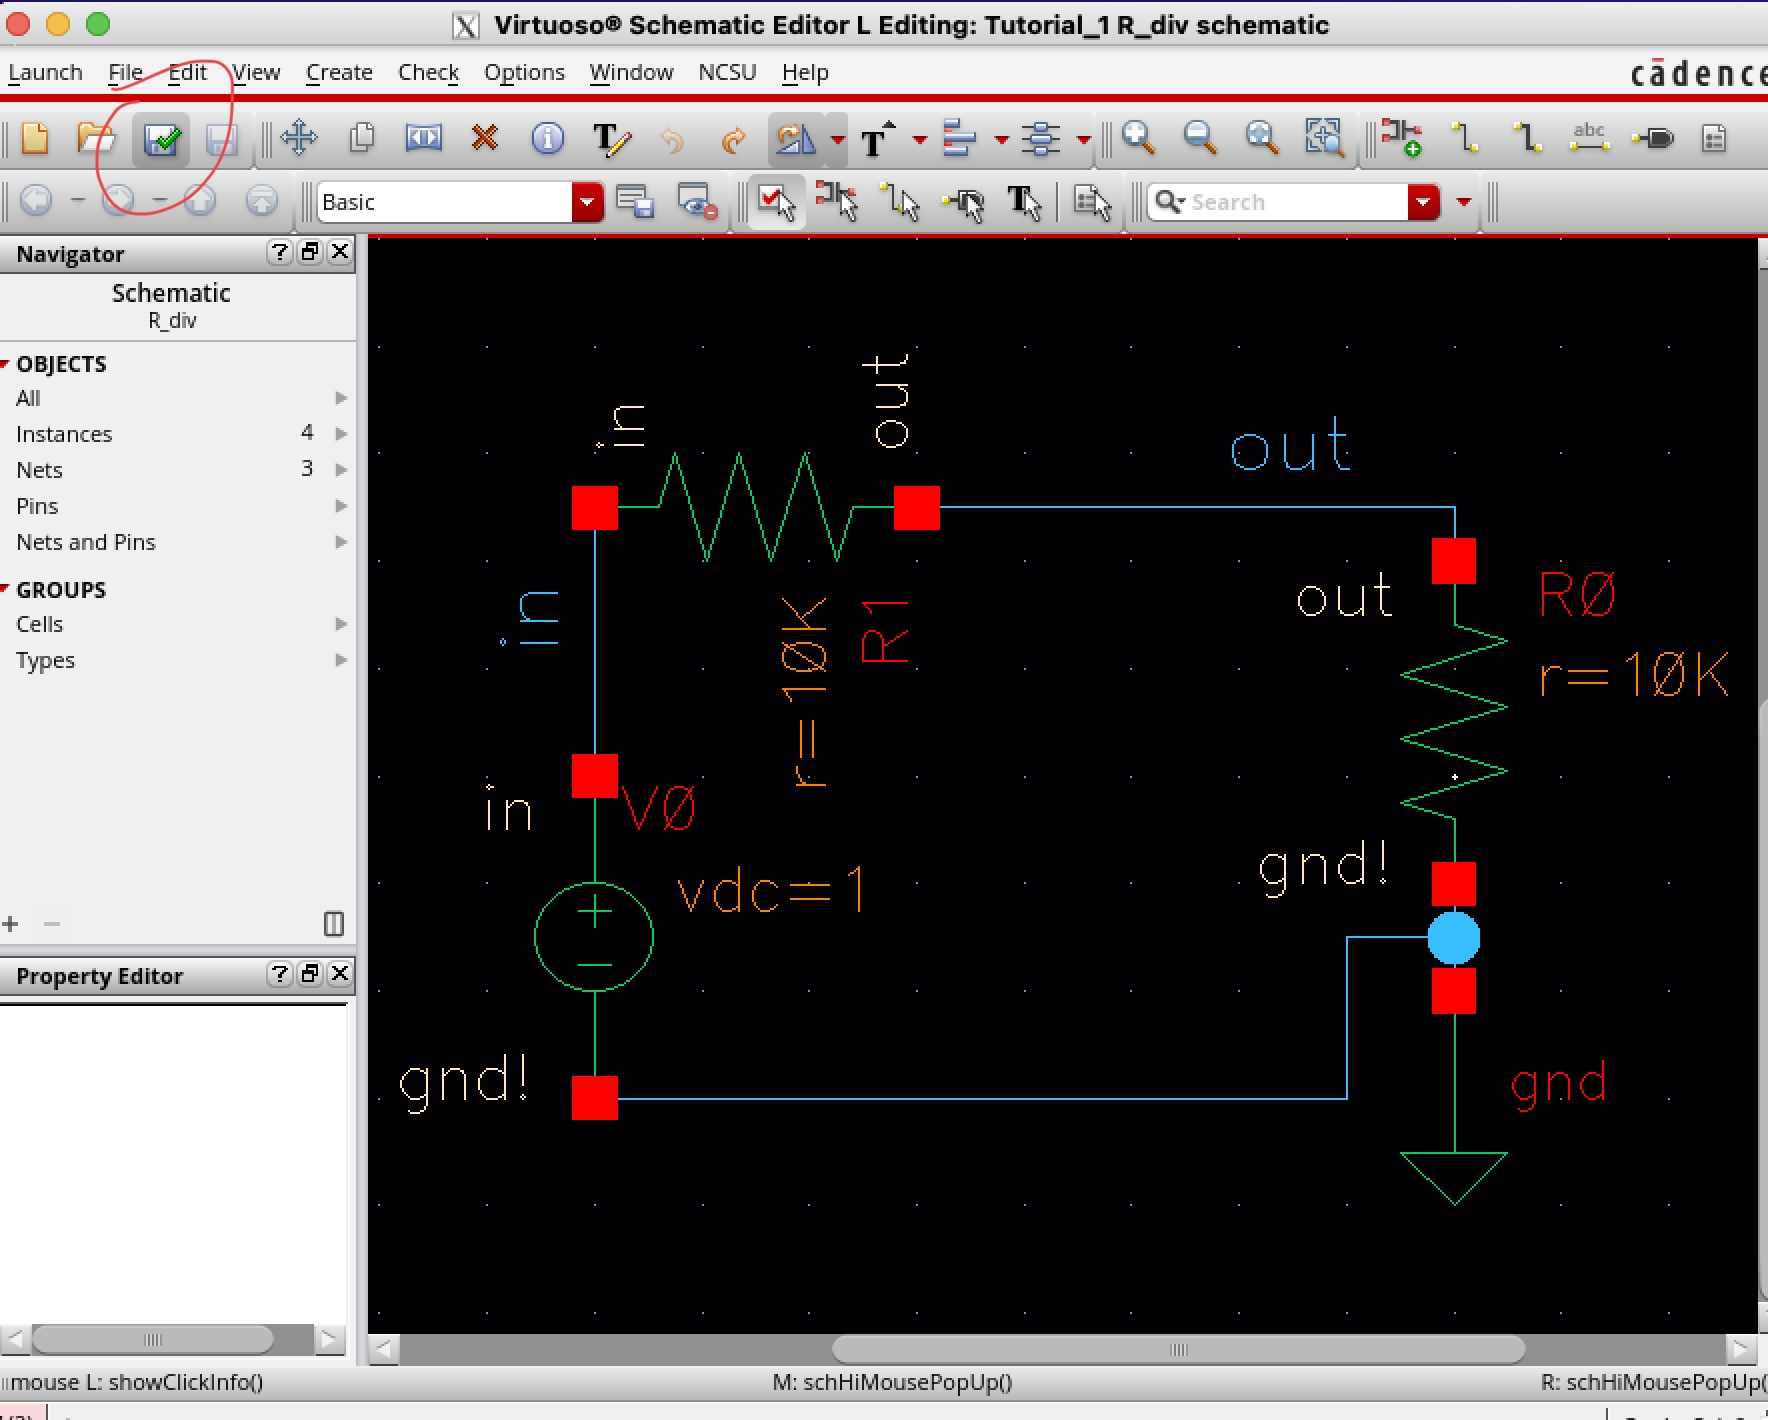
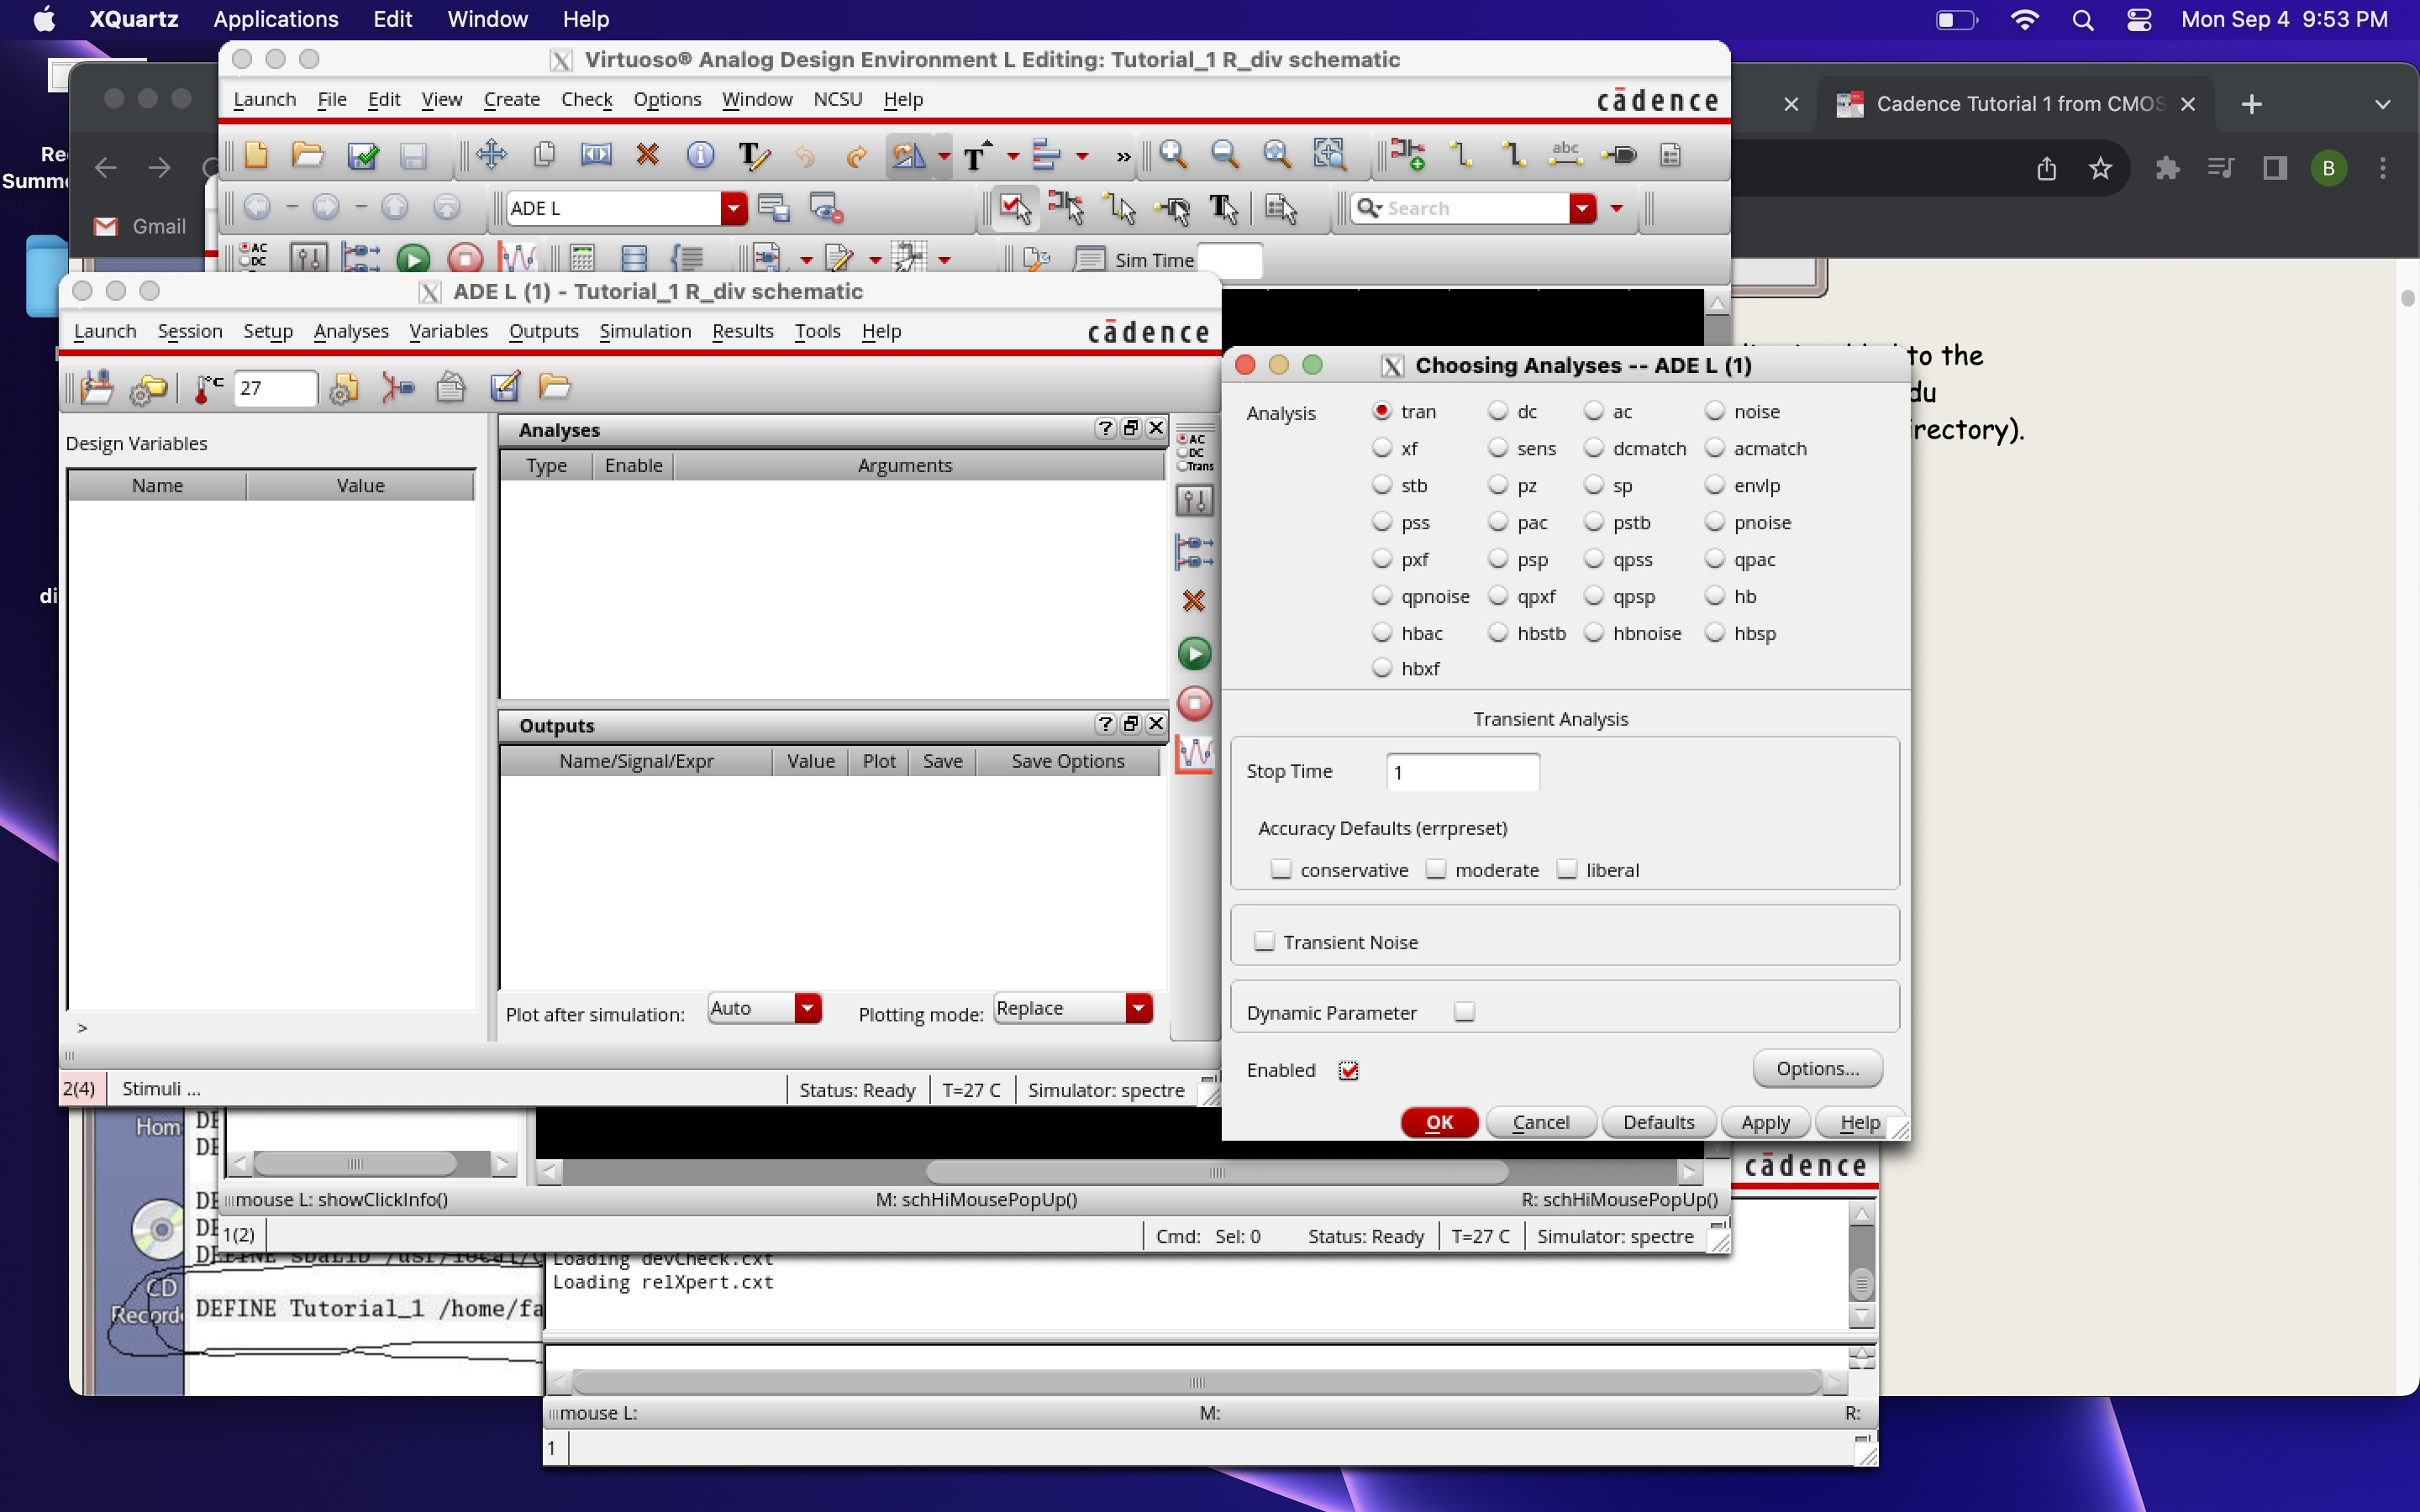
By going to Launch -> ADE L we can begin the steps to simulate. It is important to check if the system is running in spectre, by going to Setup -> Simulator/Directory/Host and change it to spectre if it is not. Then we go to Analysis -> Choose in order to choose transient analysis and set the stop time to one second.
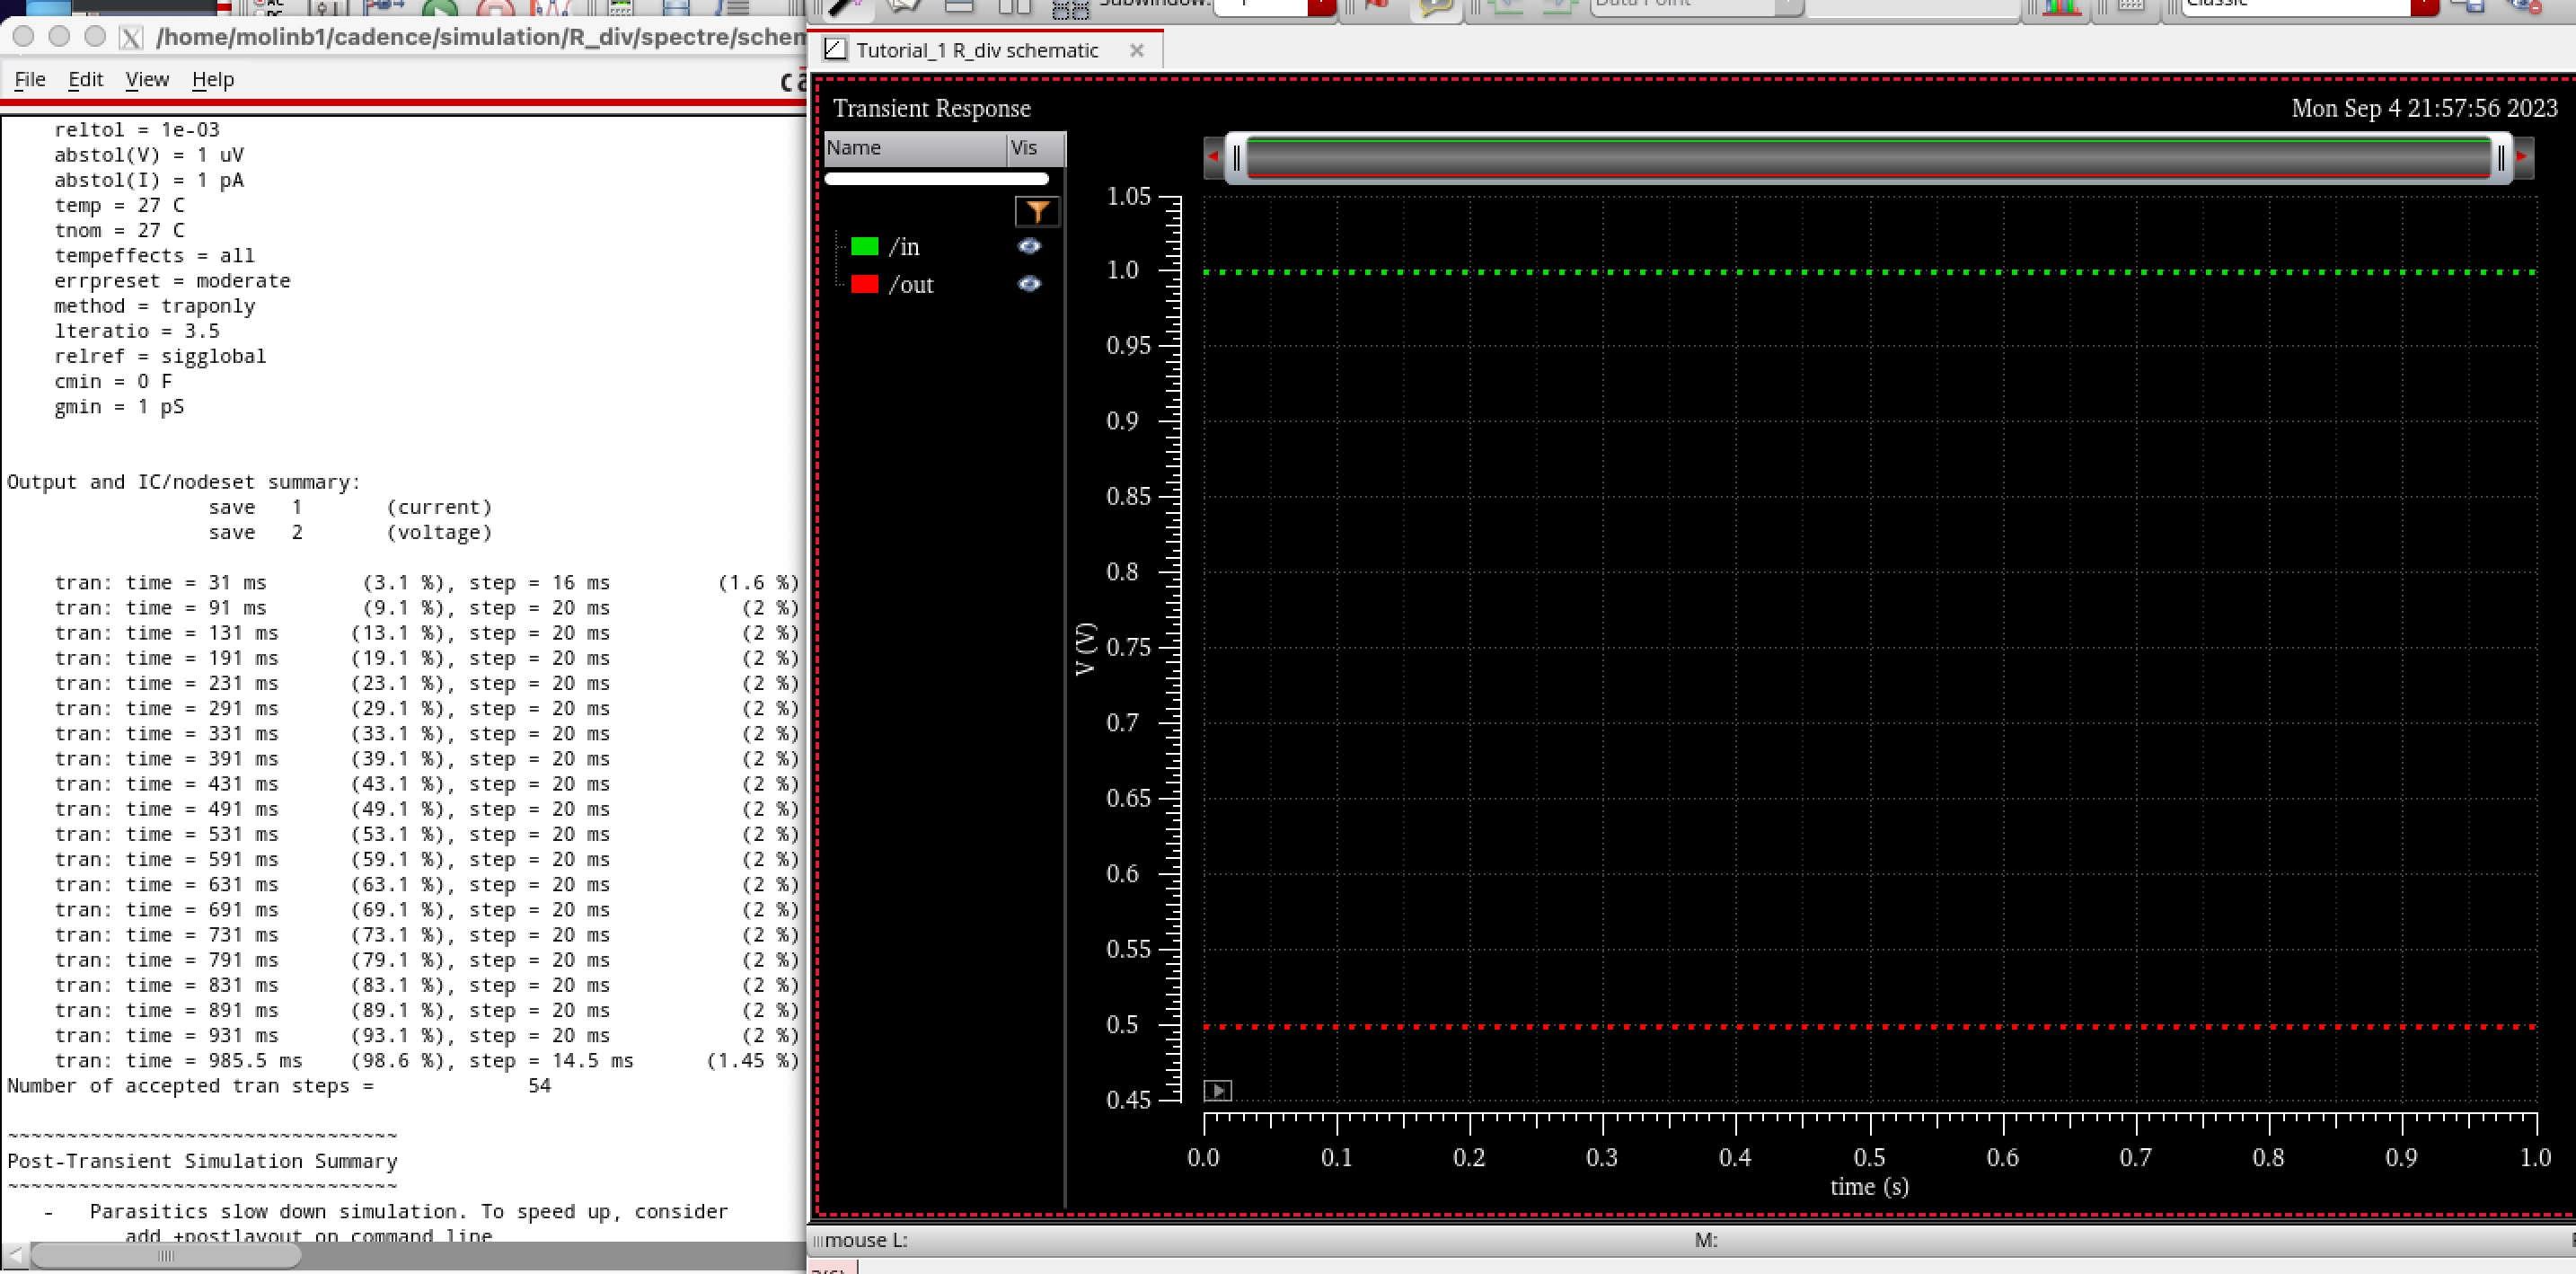
Go to Outputs -> To be plotted -> Select on Schematic in order to select the in and out wires to plot. Go to Session -> Save State in order to save our work to the point we have gotten up to in case we wish to run it again. After that we are all set to simulate, which we do by simply clicking the green Netlist and Run button on the ADE menu, to get the following image.
Throughout the entirety of this lab I snapshotted my Macbook's screen and then saved them in my photos. Then I proceeded to upload them to a google drive folder on the Macbook and send them via email to myself so I could upload them to the Windows laptop Iused to edit the htm file. I also saved my work every 20 minutes so I wouldn't lose any work and proceeded to zip the folder and save it on both laptops.