Lab 1 - ECE 421L
Prelab:
For this lab, we needed to get our CMOSedu accounts setup as well as the accounts will be using cadance with, and we will also need to get familiar with logging in and editing webpages using KompoZer.
The lab reports will be drafted using html. After making the report, I be publishing the report as a webpage on cmosedu.com/.../lordm1/.

Lab Report:
Lab Overview: This laboratory session serves as an initial introduction to the various software tools that will be utilized throughout the semester, including KompoZer, Cadence, MobaXterm, and more. During this lab, our primary objectives are to set up and familiarize ourselves with the process of conducting simulations in Cadence, acquire the skills to generate and submit our lab reports using KompoZer, and ensure the security of our work through proper data backup practices.
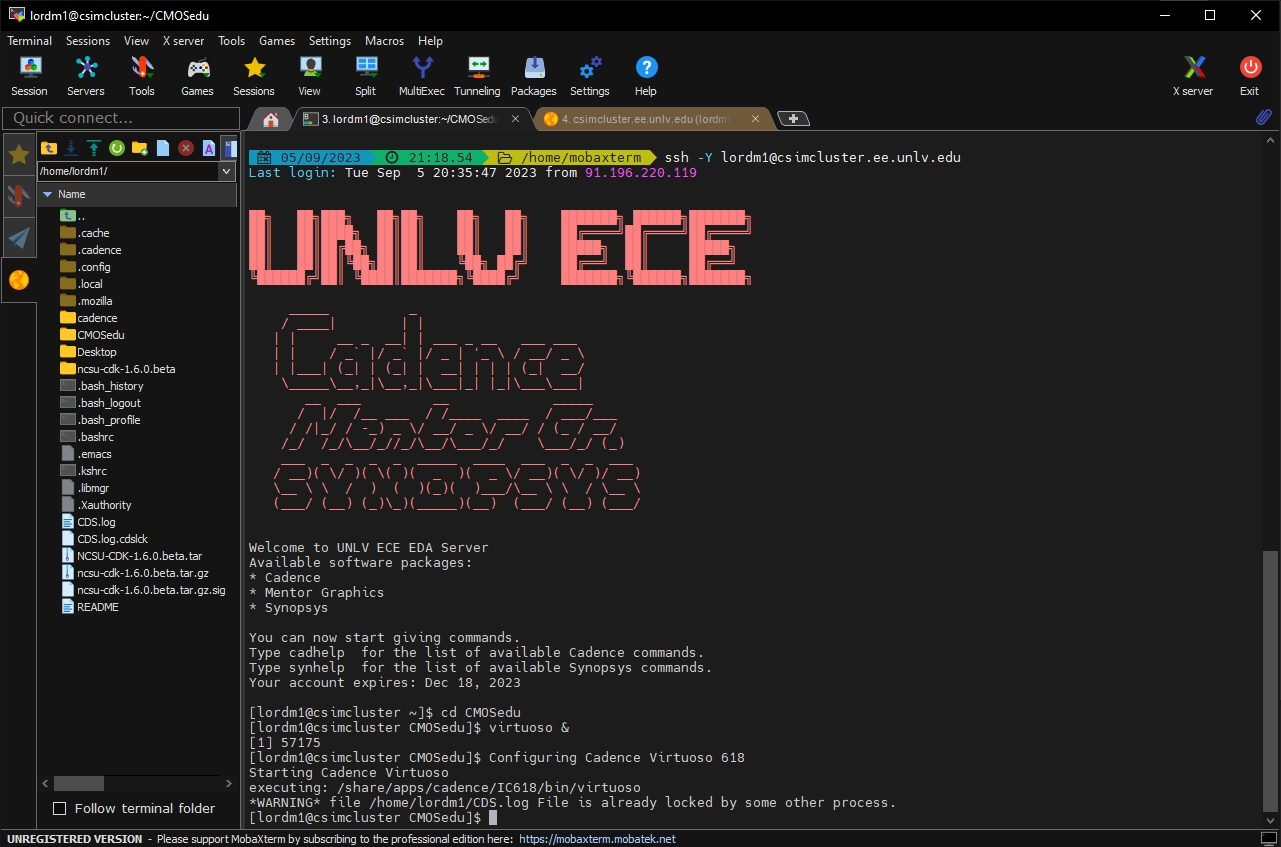
Upon successfully logging into the UNLV servers via MobaXterm, we can initiate Virtuoso by entering the command "virtuoso &" in the terminal. Subsequently, both the Command Interpreter Window and the Library Manager Window will open, as depicted below.
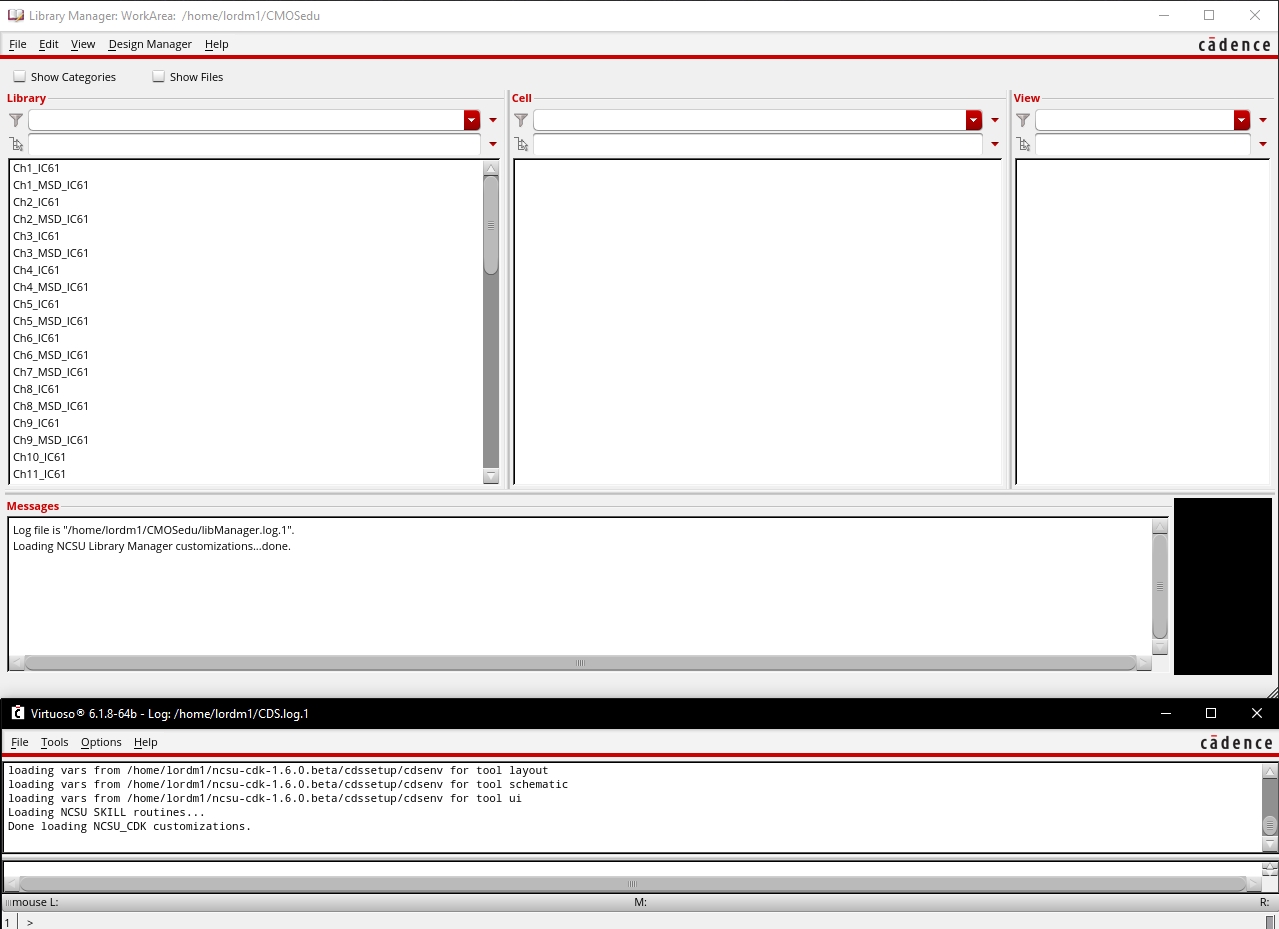
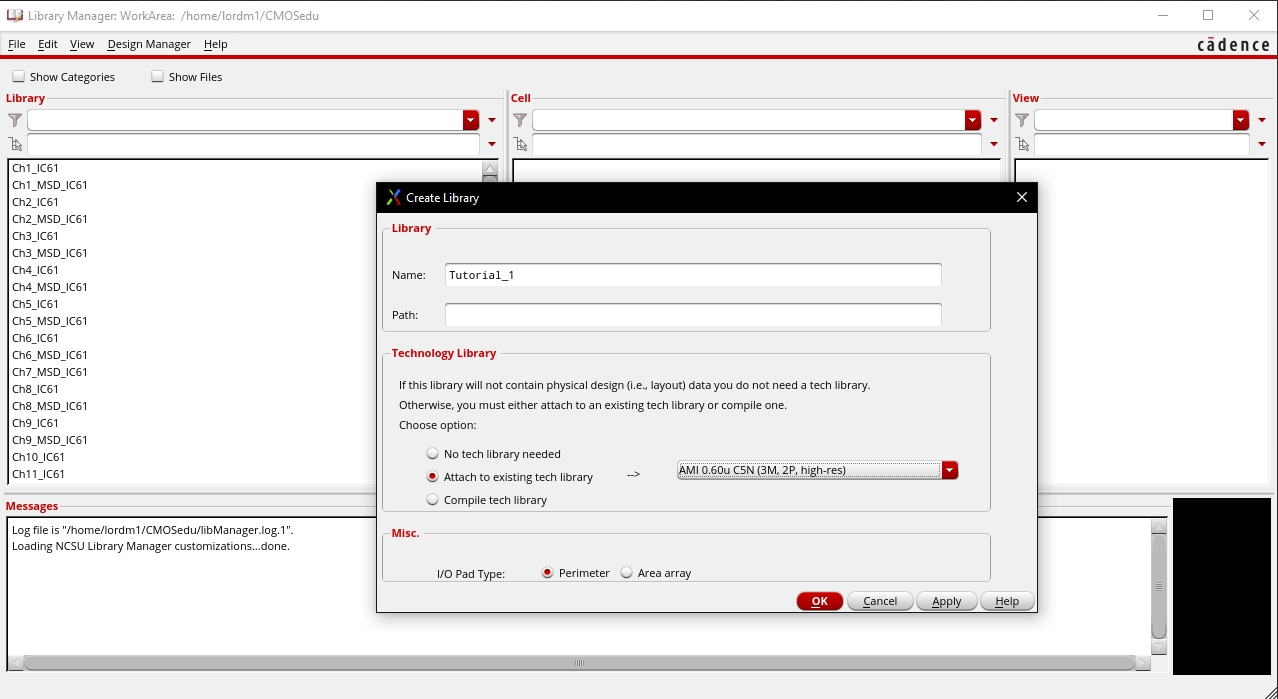
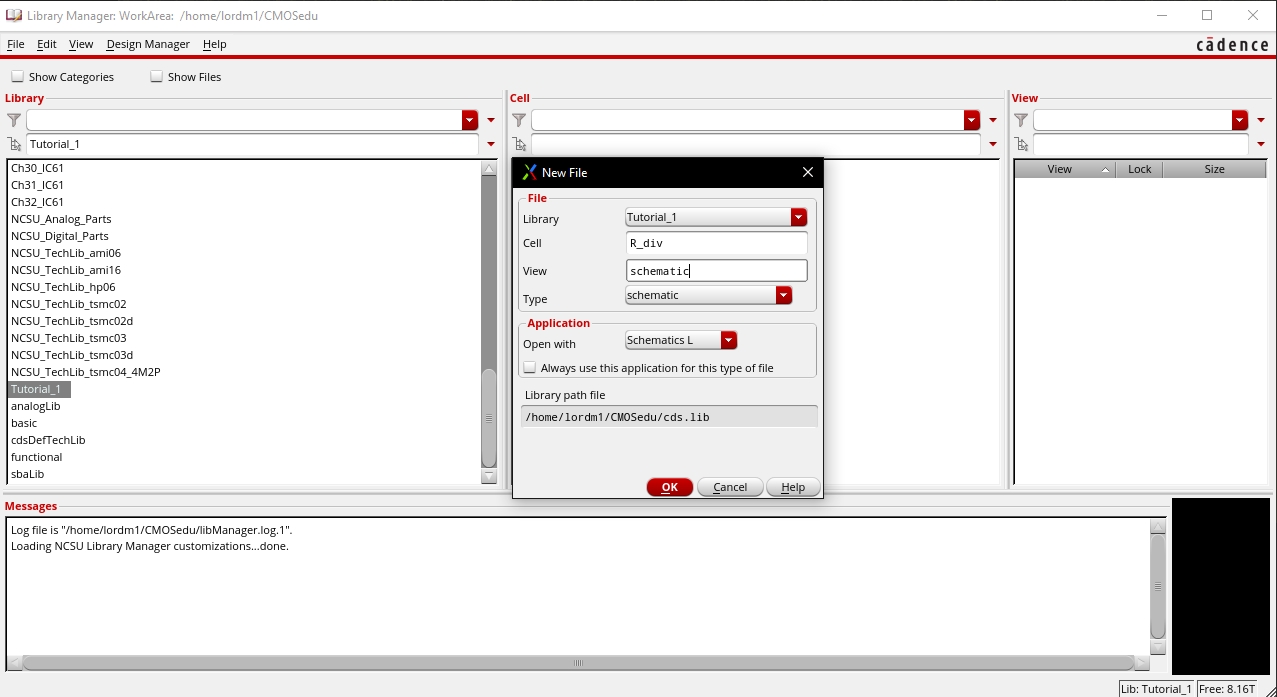
Next, we created a fresh library by accessing the Library Manager through the File Tab. We designated this newly generated library as "Tutorial_1."
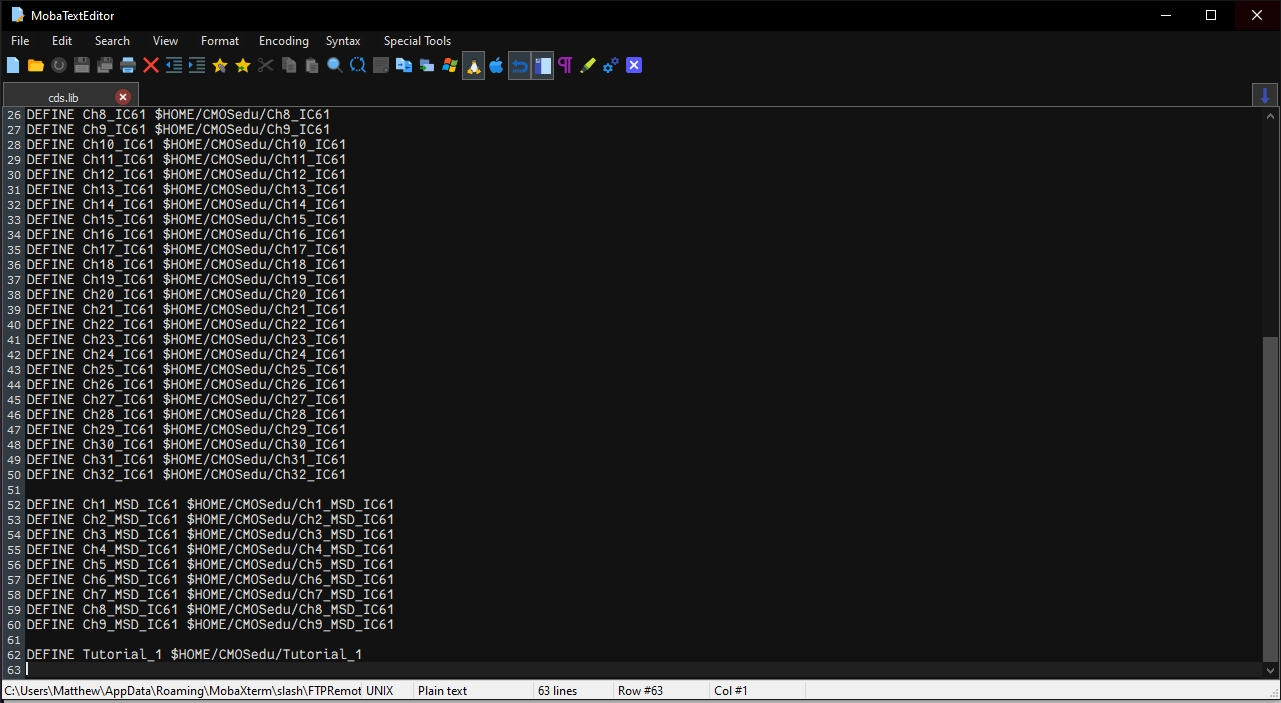
Following the creation of the new library, we examined the contents of the cds.lib file within our CMOSedu directory to observe the modifications. In this file, we observed the addition of the line "DEFINE Tutorial_1 /home/abenok1/CMOSedu/Tutorial_1" at the end of the text document. This line provides guidance to Virtuoso on where to locate files within the Tutorial_1 library.
Going back to our Library Manager and selecting Tutorial_1 and going to File -> New _> Cell View where we get the New File dialog window where we can input the information we would like.
Using
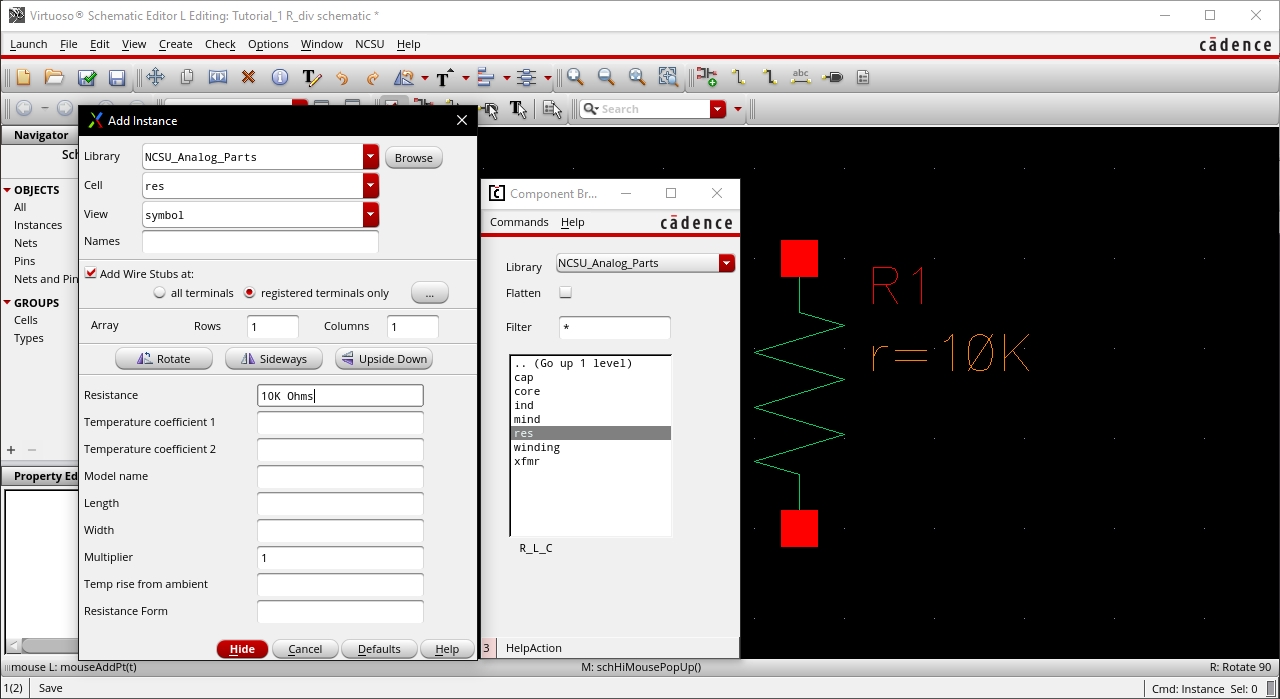
i to add an instance, selecting NCSU_Analog_Parts from the library
dropdown lets us type in res to get to the resistor where i changed the
default 1K to 10K per the instructions.
Laying
down the second resistor and hitting the f key leaves us with our two
resistors ready to continue building out our schematic.

Getting
to the objects properties by selecting the resistor and hitting the
hotkey q, but also showing where its located in the dropdown menu's
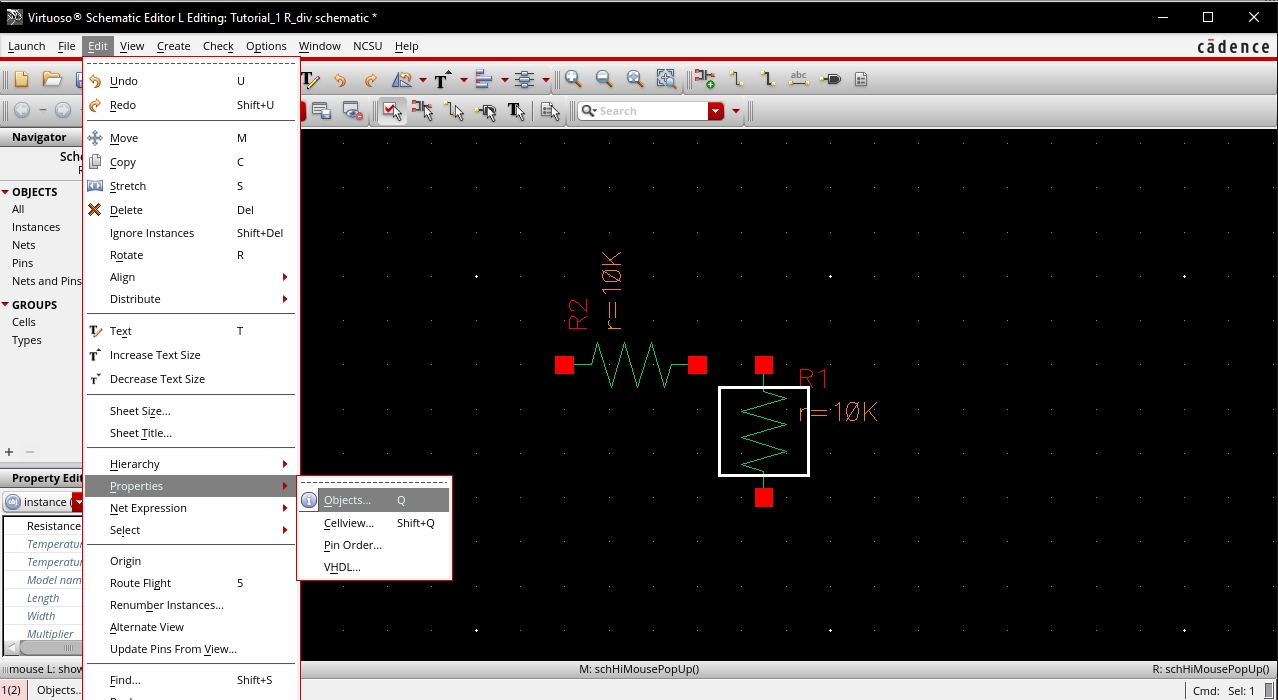
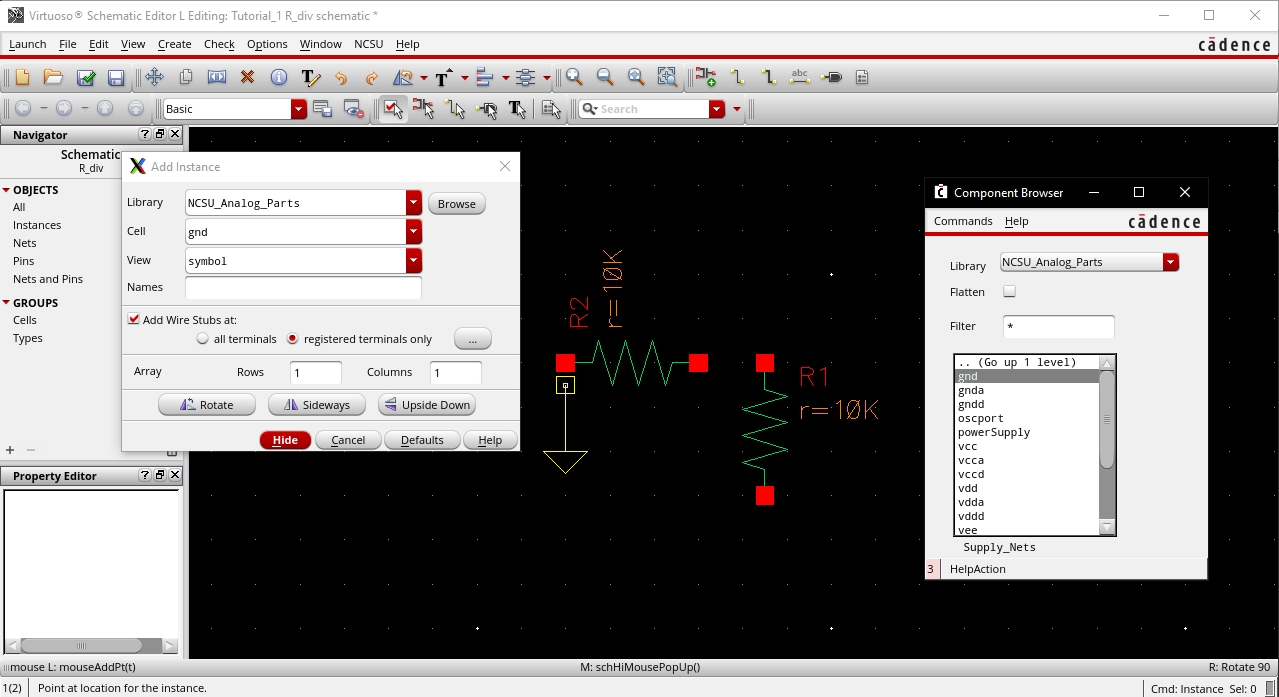
I have the ground selected and will place it below where R1 is currently.
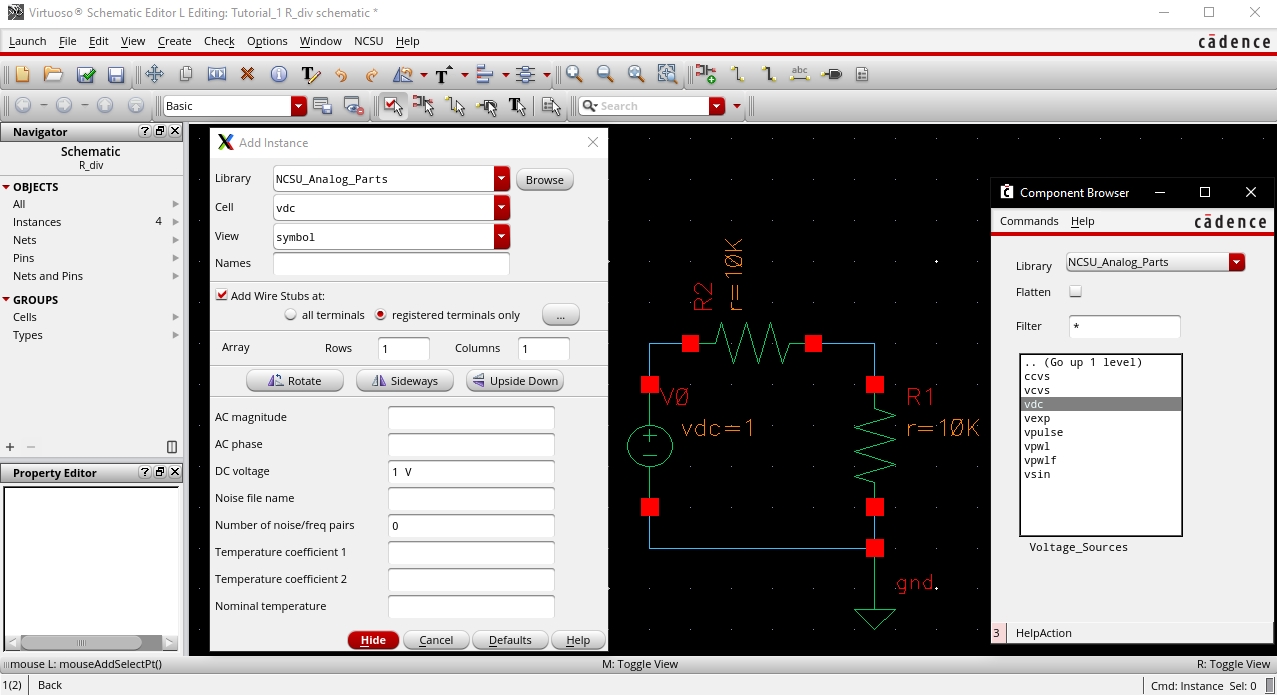
I
added the 1V vdc and also laid down the wires using the w hotkey.
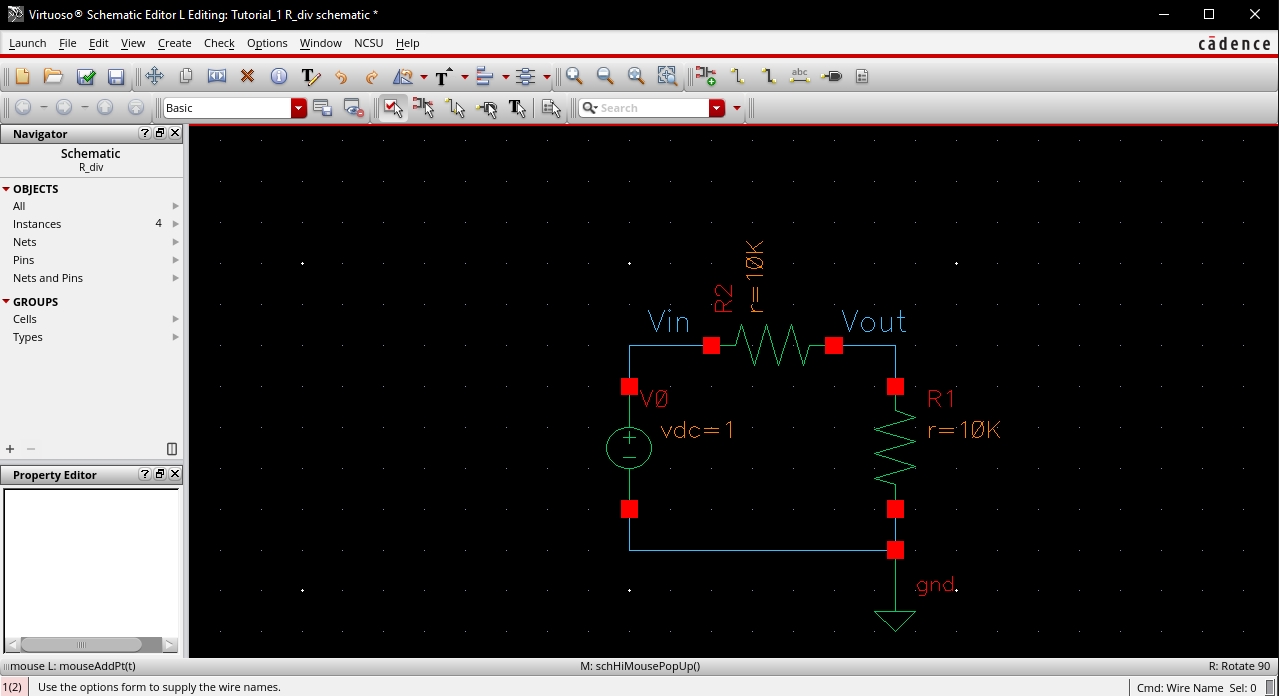

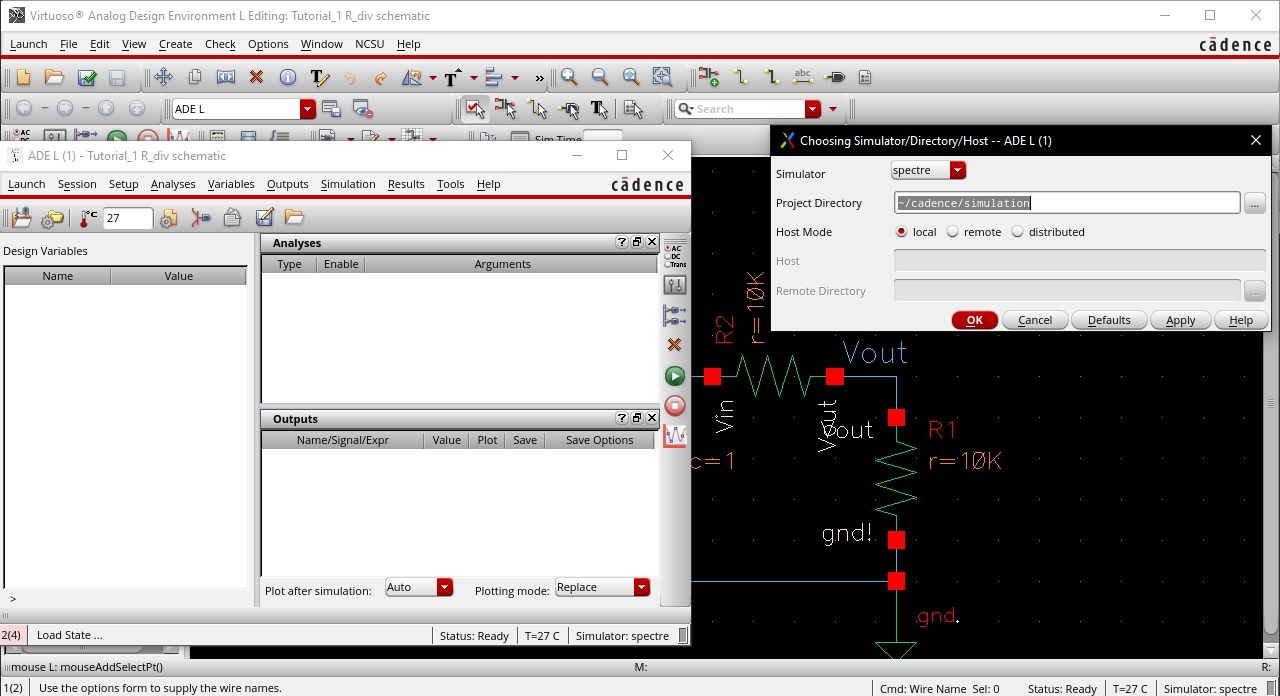
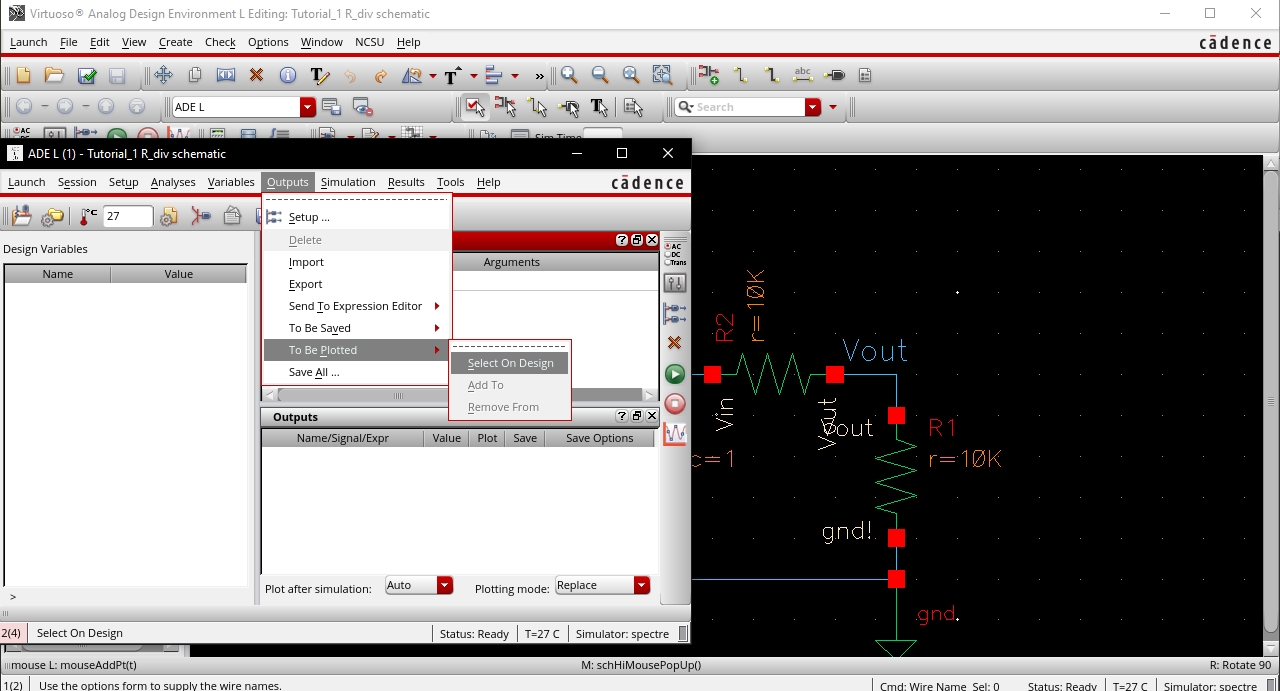
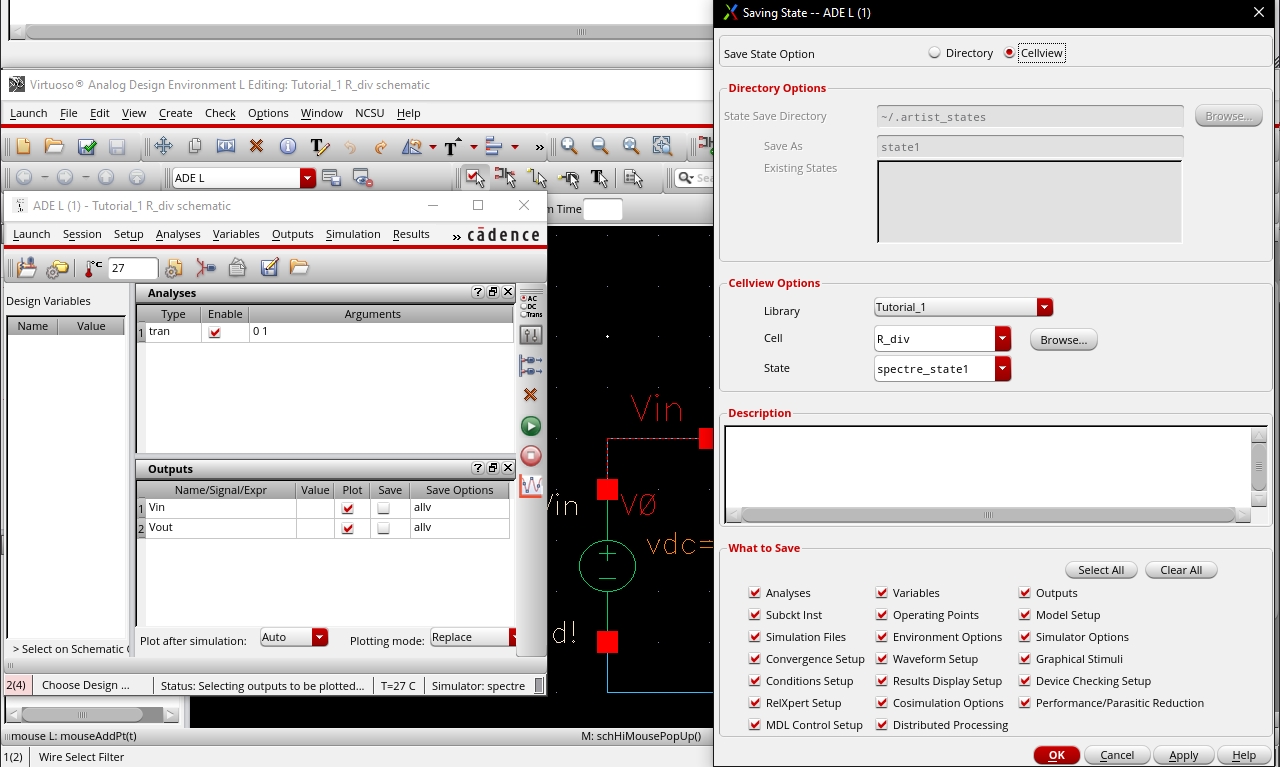
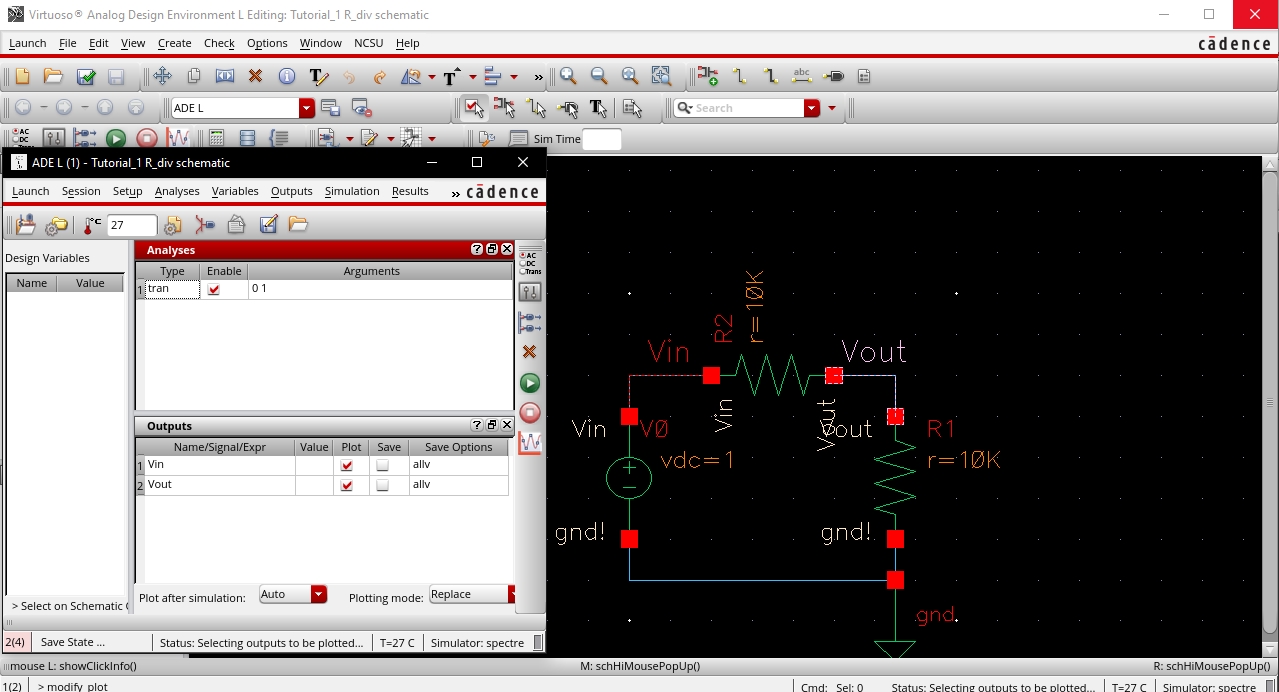
We can now setup our simulation by setting the analysis to .tran along with selecting the outputs we are simulating, Vin and Vout.
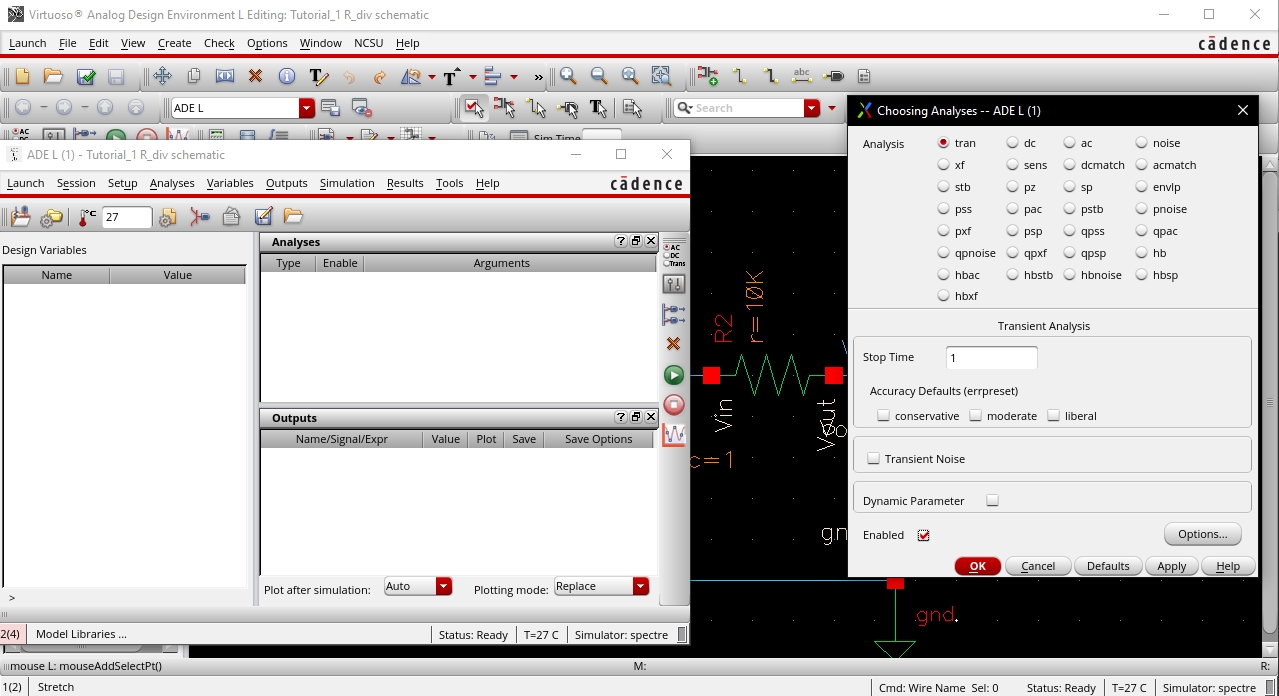
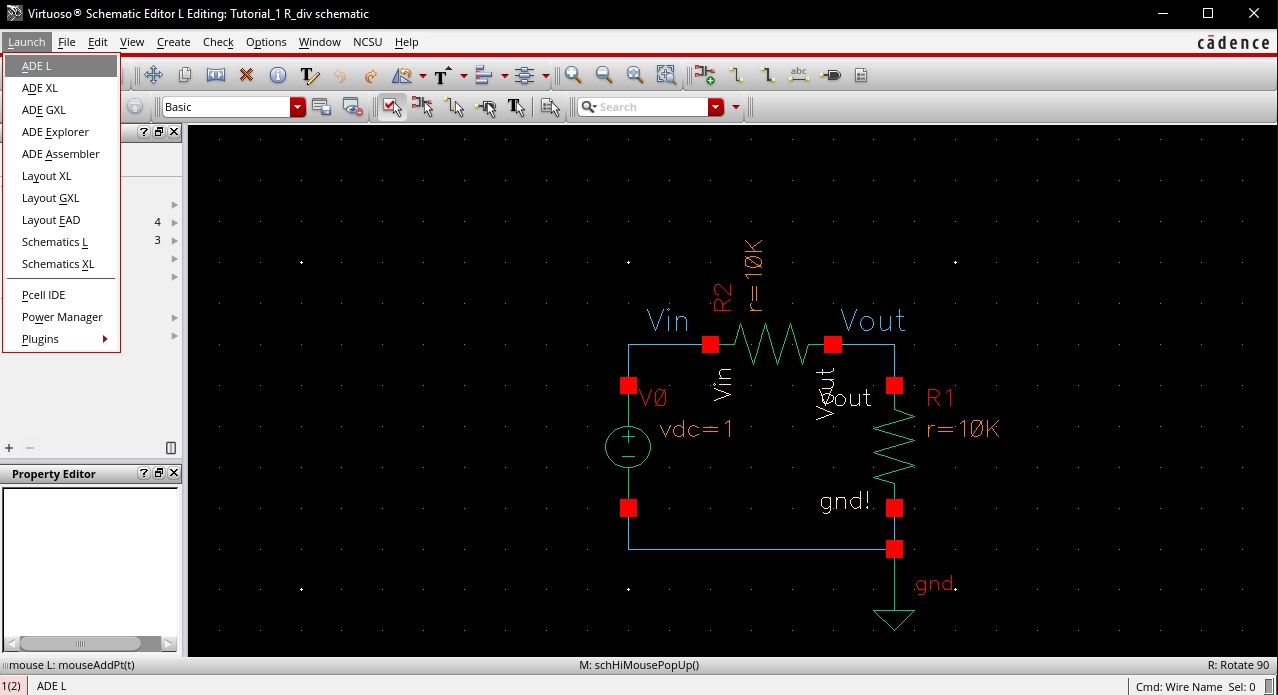
Now we are ready to simulate.
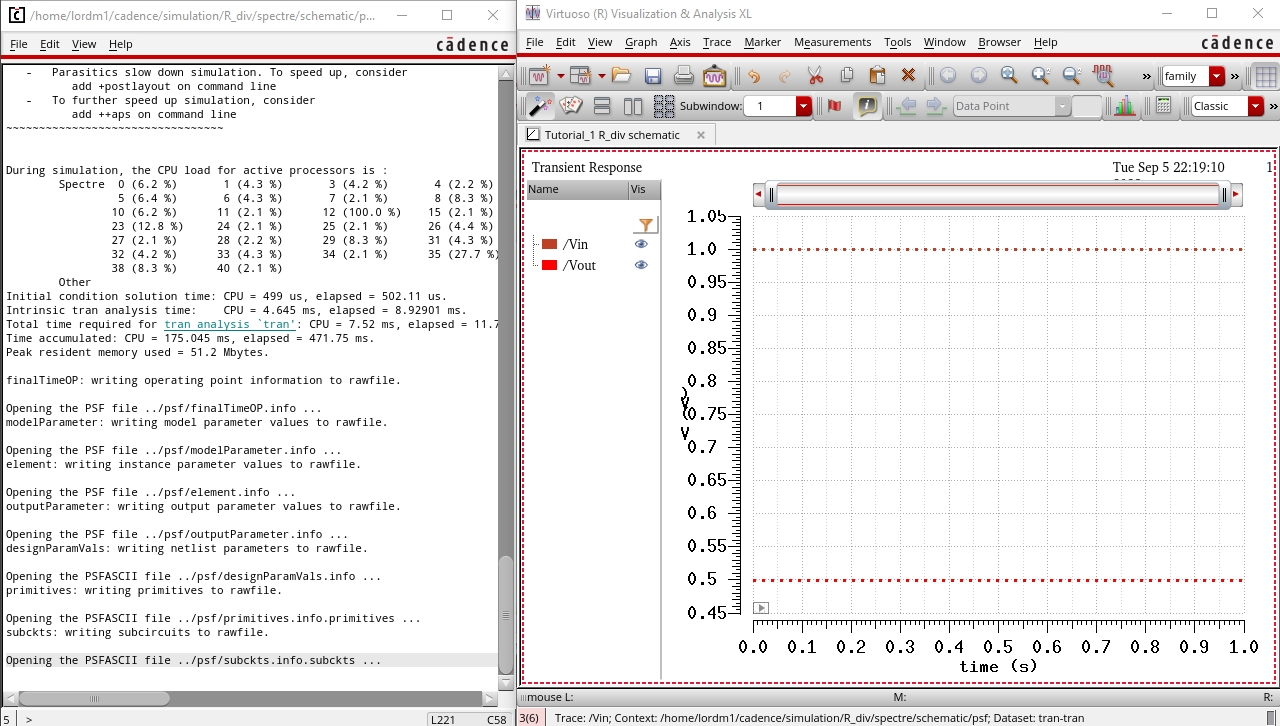
The simulation results can be seen below.
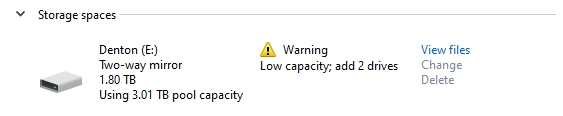
As my last step I ensured my backup to my cloud drive is completed by the green check on the folder and its subfolders incase anything ever goes wrong.
I
use a RAID 1 config on my main computer with the important files being
backed up to my cloud, along with a second computer in my livingroom
that downloads any changes to my files in the cloud, so all in
all I have 2 physical locations using RAID 1 along with my
cloud
backup.