Digital IC Design - Lab 1 - EE421L
Authored
by Leonardo Ledesma
Email: ledesl1@unlv.nevada.edu
September 1, 2023
Lab Description
- introduction to the editing and publishing process of html webpages for lab procedures
- introduction to the installation and use of Cadence Software
Pre-Laboratory Procedure
- acquire CMOSedu password from Dr. Baker
- review cmos.edu regarding editing of html webpages
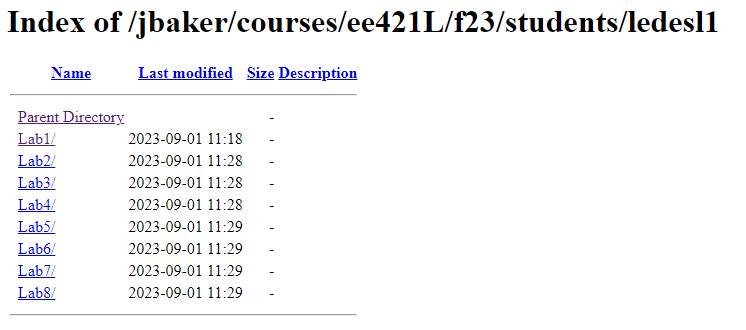
Figure 1: creation of my CMOSedu student directory
Laboratory Objectives
1.) Complete Cadence Tutorial 1 up to image 25
- include some images of the tutorial with coherent narrative
2.) Discuss the procedure of performing regular backups on future lab reports
Laboratory Procedure
Task 1:
Upon
completing the installation procedures and installation of Cadence
software the program is ready to run. Below we can see the inital login
to UNLV ECE server using the provided student credentials. Upon
navigating to the CMOSedu directory we can use the 'virtuoso &' to
launch the program and begin.
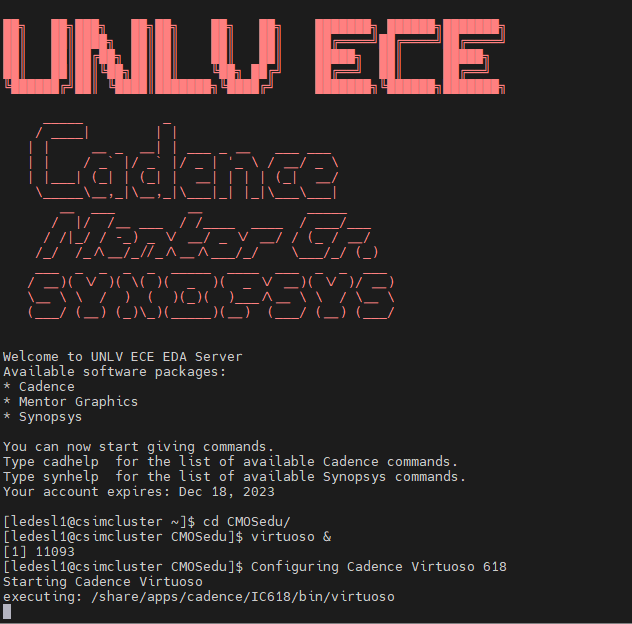
Figure 2: server login and execution of Cadence Virtuoso
After adding the Tutorial 1 library we are ready to create a new cell view.
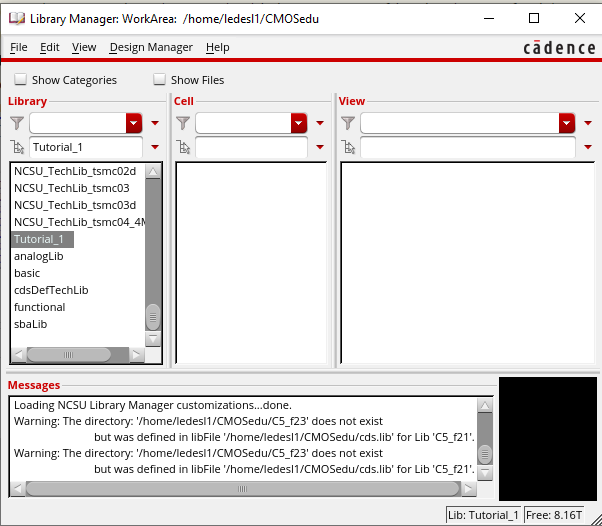
Figure 3: creation of Tutorial_1 library for this lab
Below
you can see the creation of a new cell view schematic called R_div to
allow us to build a voltage divider using two 10k resistors.
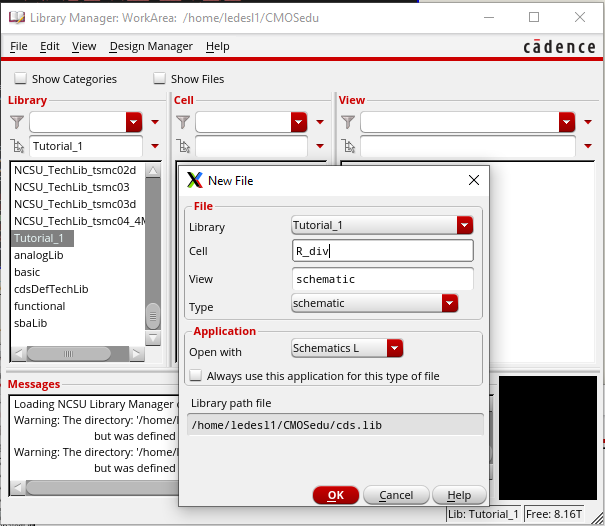
Figure 4: creating a new schematic view under the Tutorial 1 library
Once
our circuit is created, resistor and voltage source values are defined,
and our nodes are labeled properly we can now perform a check and save.
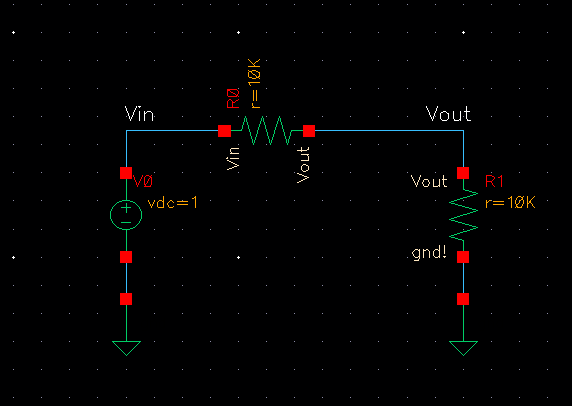
Figure 5: schematic created with in and out labeled for simulation analysis
After the check and save confirmation we can run a simulation.
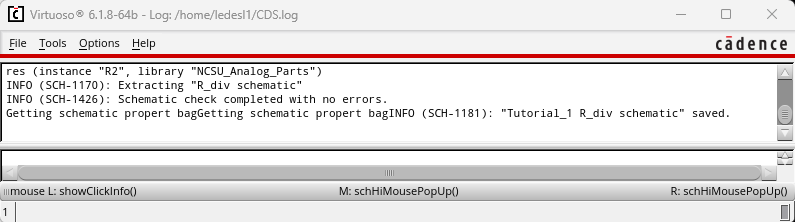
Figure 6: check and save confirmation with no errors
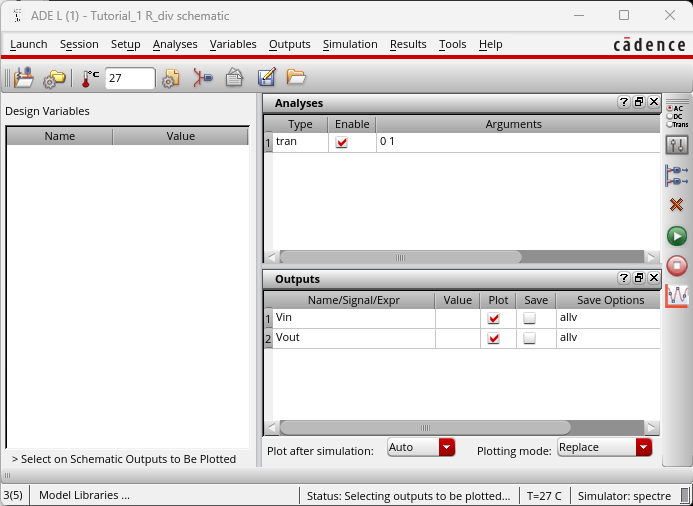
Figure 7: Cadence Virtuoso parameters for a 1s transient simulation
Above we see the simulation parameters that will be ran during this portion of the lab
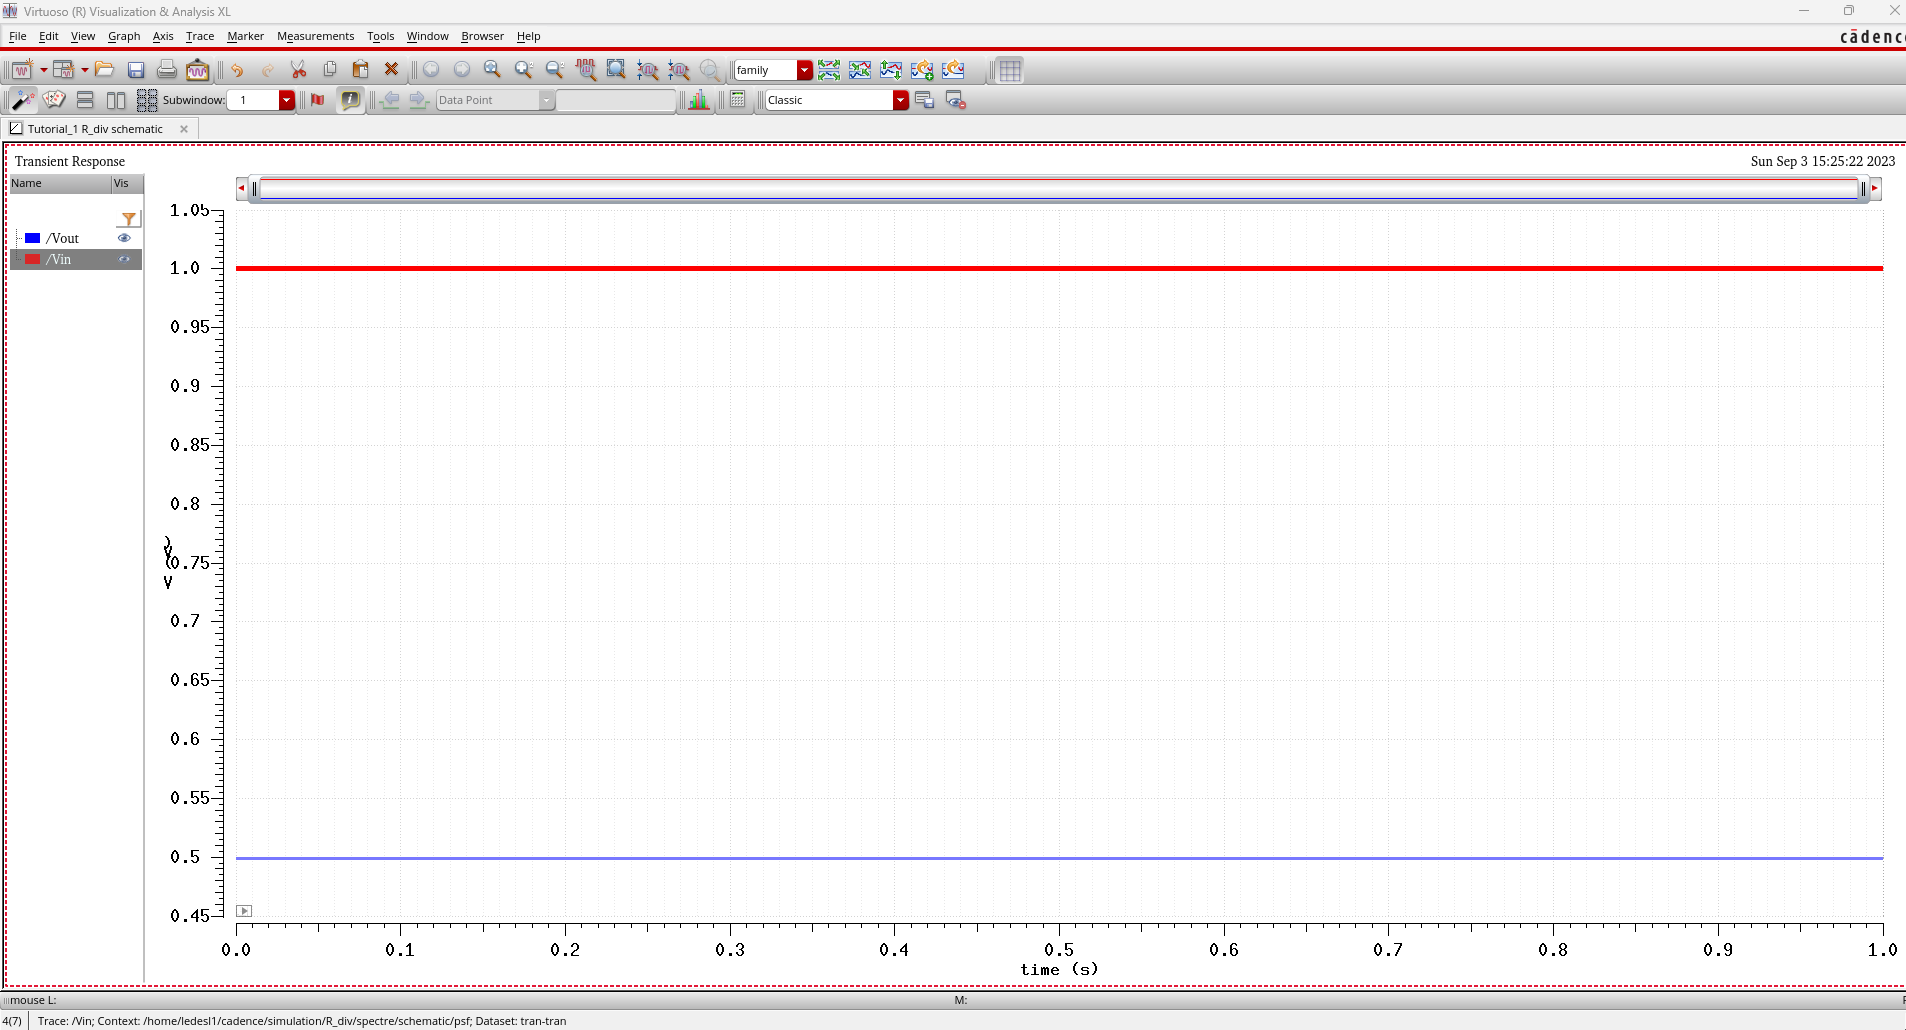
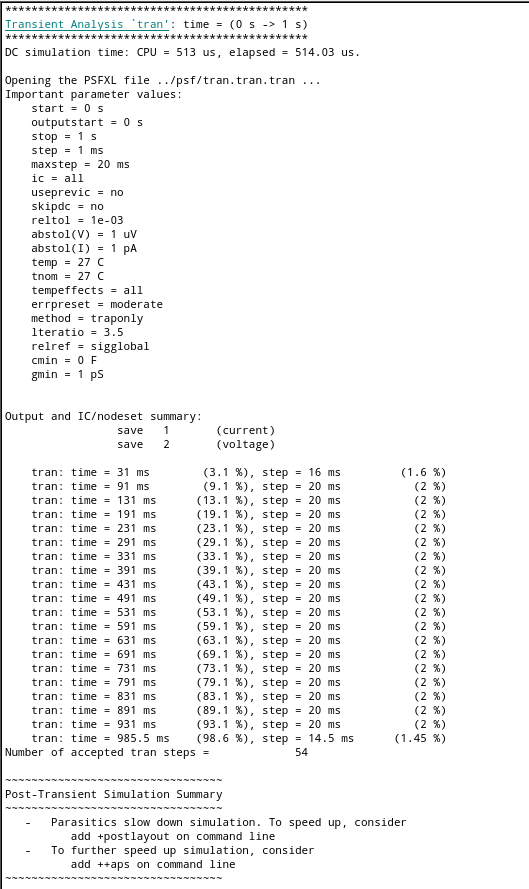
Figure 8a(left): Cadence simulation results
Figure 8b(right): Cadence netlist results
Simulation results and netlist for the 1s transient simulation are shown above showing 500mV output
Task 2:
Regular backups will be performed using portable microSD, Lab folders located in my personal Google Drive, and at home NAS.

Figure 9: Lab 1 backup files using portable microSD
We can see the first backup of Lab 1 files ready to be transfered to backup location in the photo above.
I have created a backup file in my Goggle Drive to store and save Cadence backup files shown below.
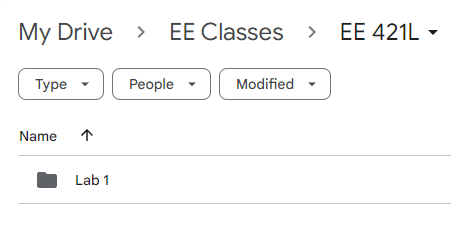
Figure 10: Google drive Cadence backup location to be used for this course
Return to EE421 Labs
Return to EE421 Lab Fall 2023


