Lab 1 - EE 421L
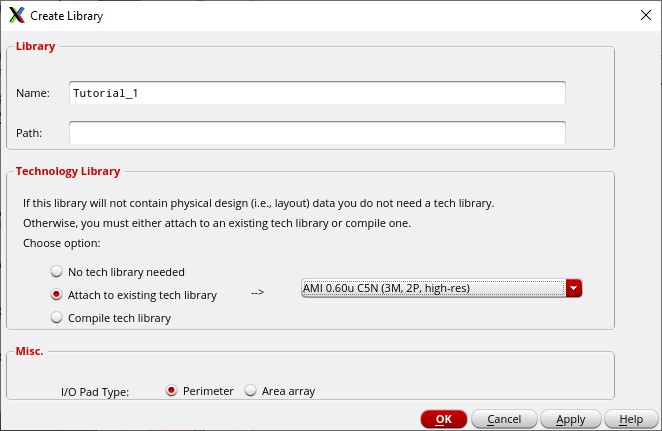
Then I started Cadence and added a new library for this tutorial.
I made sure to select the AMI 0.60u tech library, which will be important later for layouts.
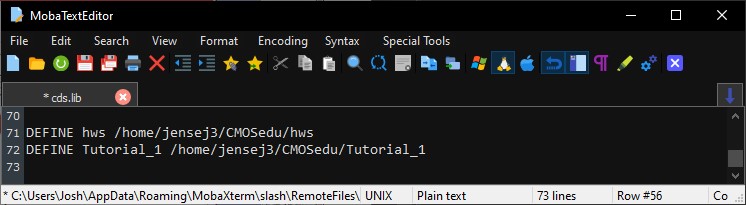
I confirmed in the cds.lib file that creating the library also created a reference to its location.
If this wasn't the case, I would have needed to add that myself so I could see Tutorial 1 in the library manager.
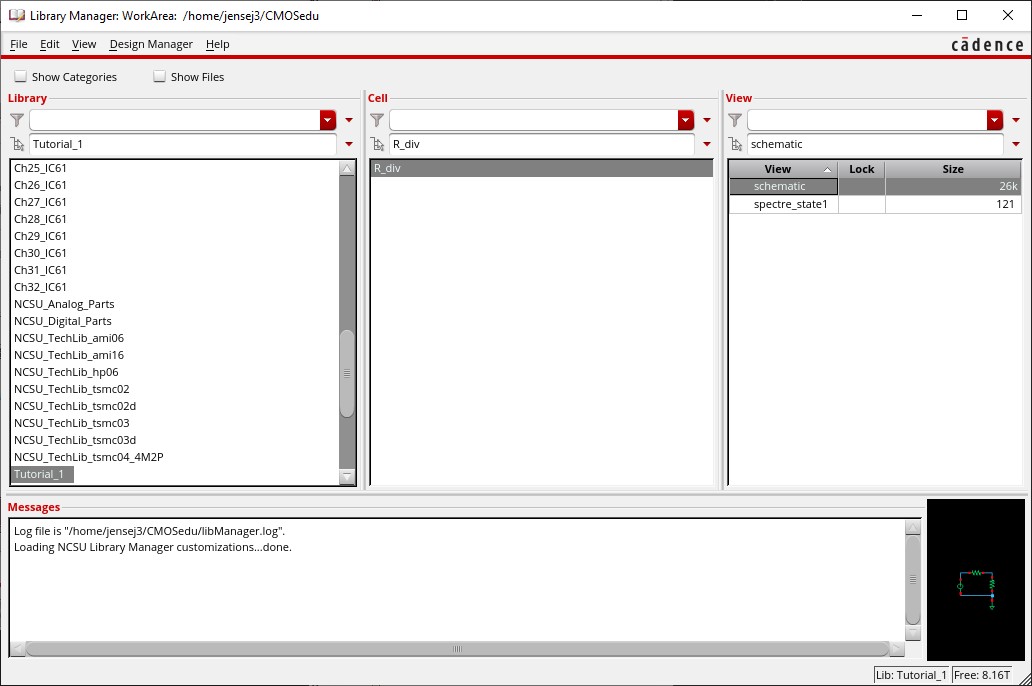
Now it was time to create a schematic. I made a voltage divider out of res, vdc, and gnd components.
The resistors are 10k ohms each, the voltage source is 1V DC, and the nodes are labelled appropriately.

It was then time to start simulating this circuit.
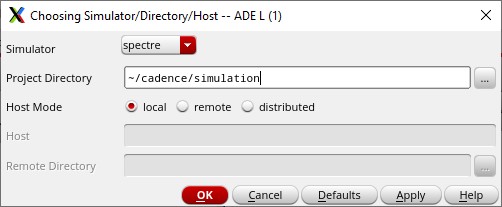
After starting the ADE, I confirmed that our SPICE simulation tool was spectre.
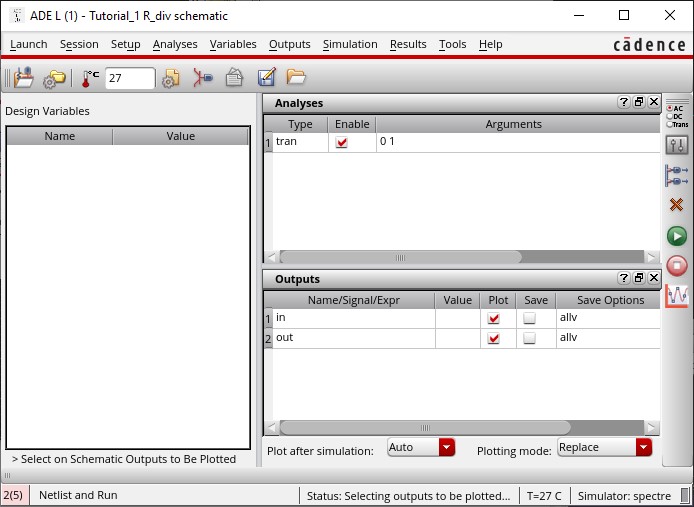
After that, I set up the ADE as shown, to perform a 1 second transient simulation of the circuit.
The signals to be plotted were our in and out node voltages.
Since this is a voltage divider with equal resistances, I expected that the 1V input would be halved.
Finally, here is the simulation plot which confirms my expectation.

I also saved the simulation state in the cellview, so that I can easily load it again and tweak the parameters if desired.
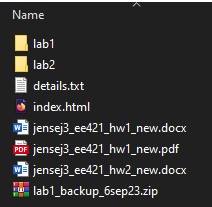
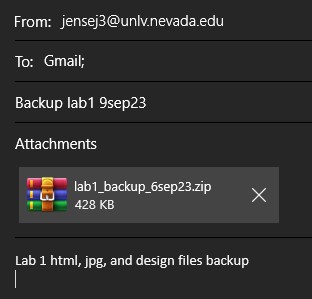
An important part of this lab was also a discussion on how we are going to back up our files regularly.
I will zip my lab directory as such and then email it to myself.