Lab 1 - ECE 421L
Authored
by Xavier Hernandez,
hernax1@unlv.nevada.edu
8/30/2023
Prelab:
- For the prelab, we were instructed to acquire a CMOSedu account and go through the "Editing Webpages" tutorial.
Lab Description:
This
lab will go through "Cadence Tutorial 1" which will introduce us to the
basics of Cadence. Additionally the lab will have us learn basics of
html webpages.
Lab 1:
As part of the tutorial set up, we have to replace 3 files, as seen on the left, the divaDRC.rul, divaEXT.rul and divaLVS.rul files have been replaced with their unlocked counterparts.
Additionally, we use the cd CMOSedu command to switch directories as seen below where we can then type virtuoso & to start up Cadence.
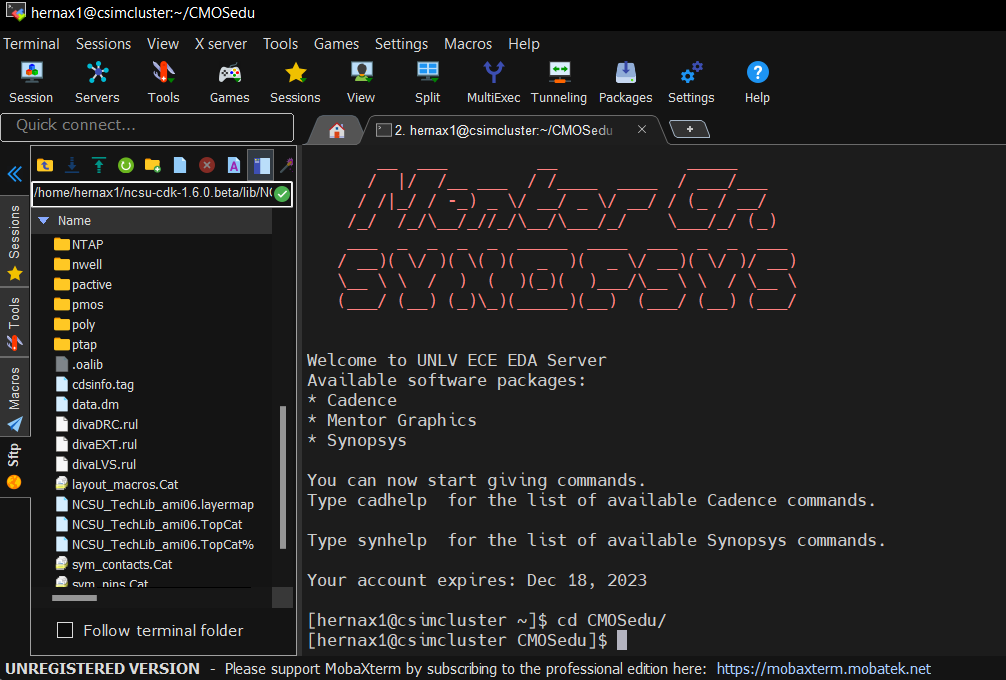
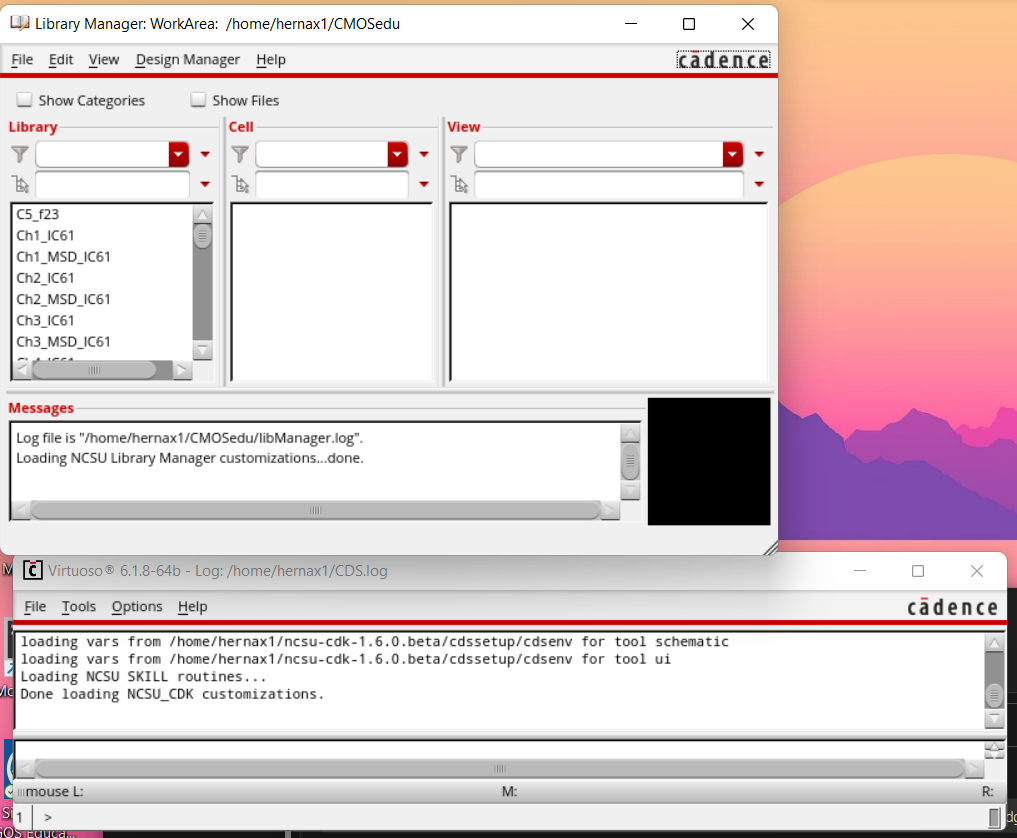
After running the command, the Library Manager and Command Interpreter Window appear.
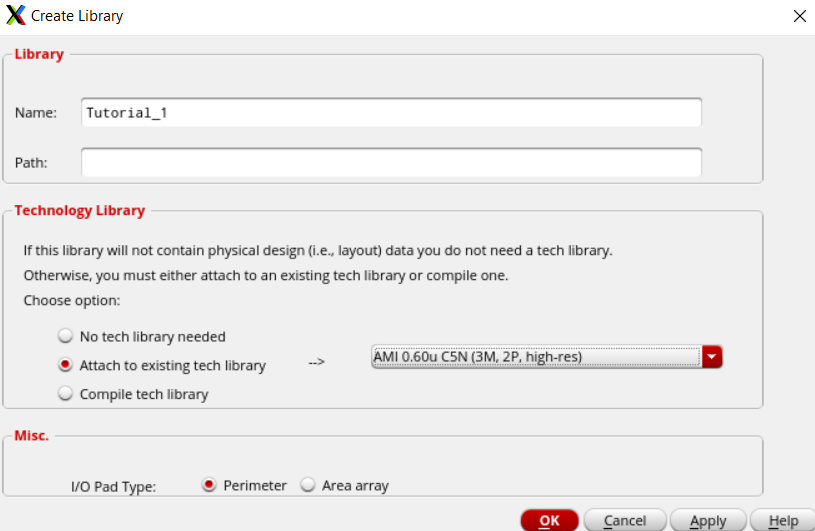
Next, we create a new library called Tutorial_1 with the AMI 0.60u C5N process, as seen below.
Next, we check the cds.lib file and make sure the definition line was created, as seen below.

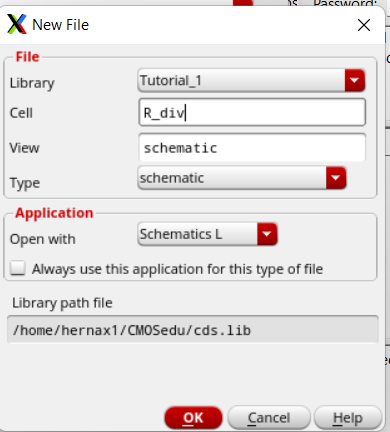
Next we create a new cell view, seen below.
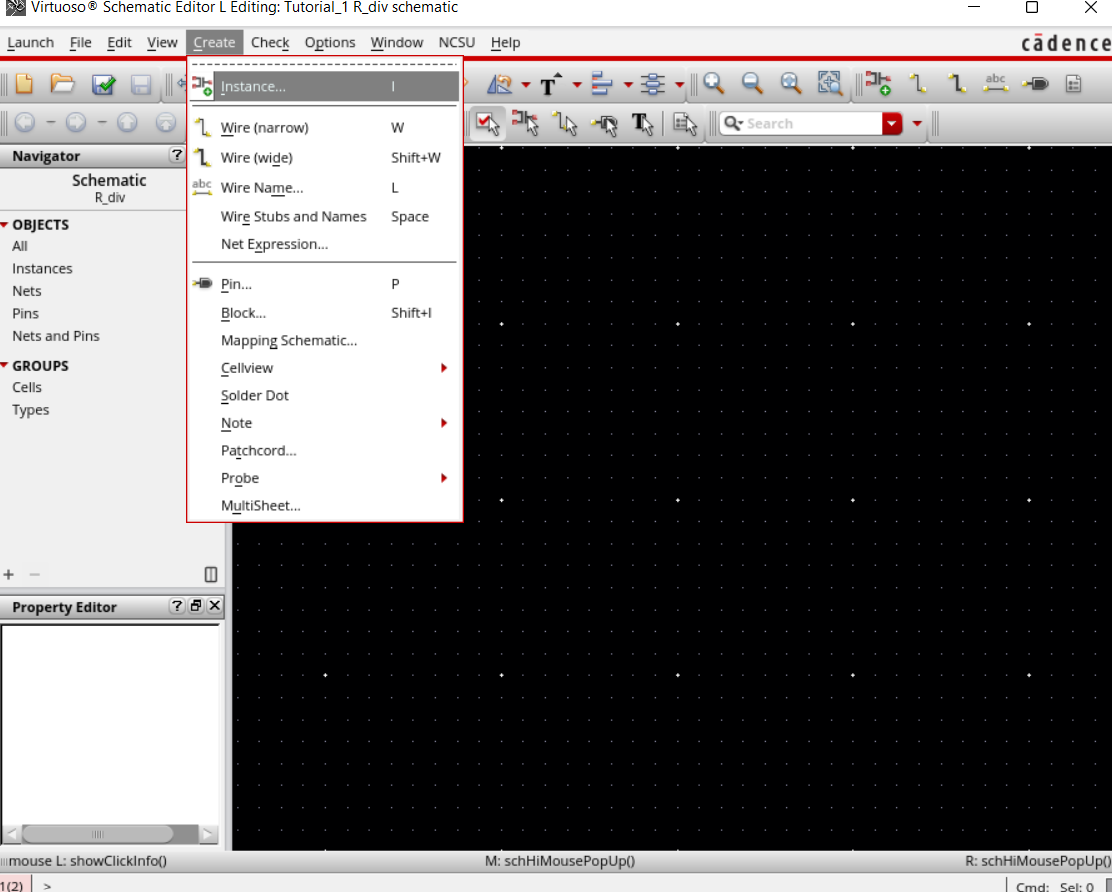
Now we will add a component using the menu options Create -> Instance.
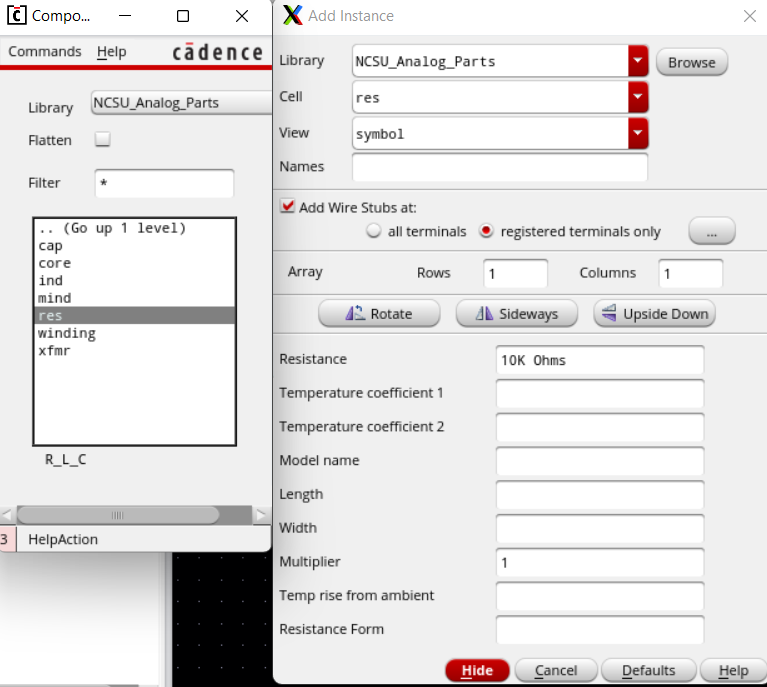
We set up our resistor using these 2 windows, seen below, with the appropriate settings selected.
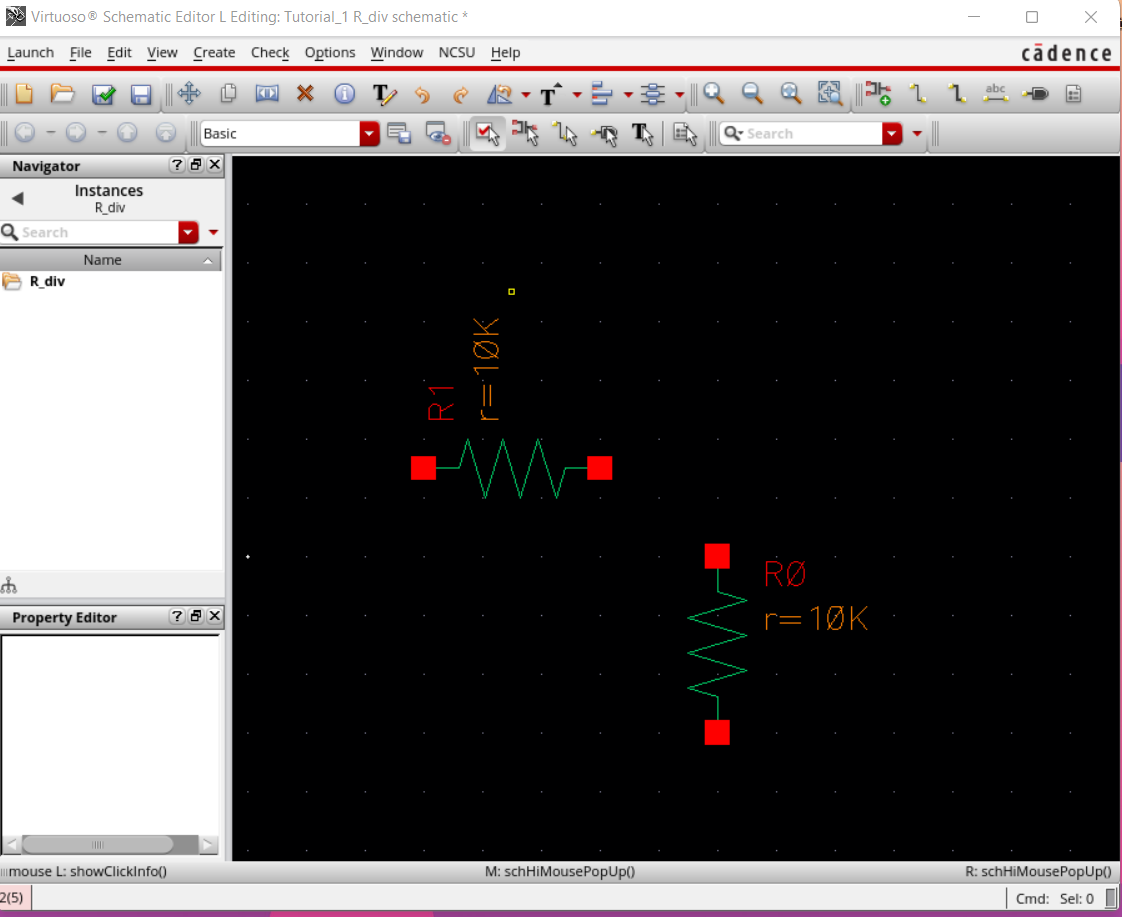
The two 10k ohm resistors added, as seen below.
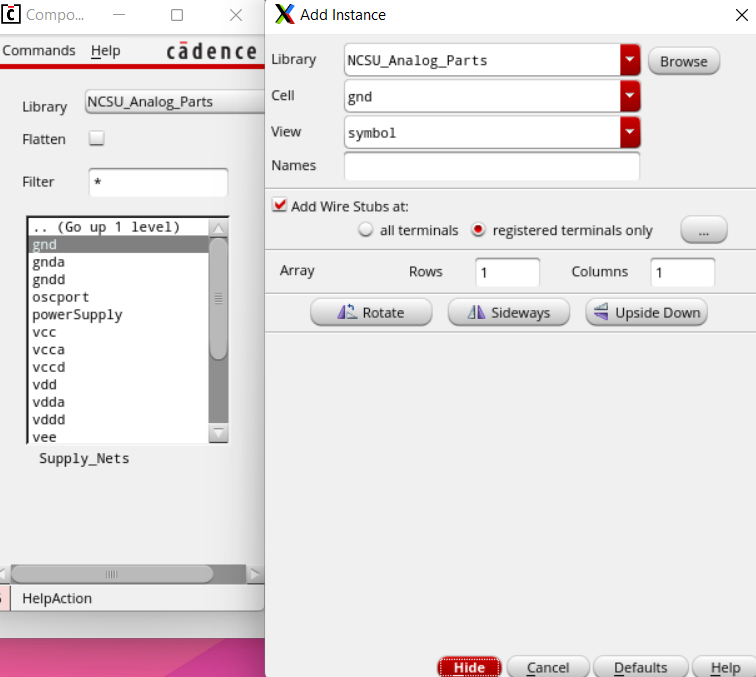
Next we are to add a ground and a 1V DC source, then we wire everything up.
Seen below in the image, the ground is being selected.
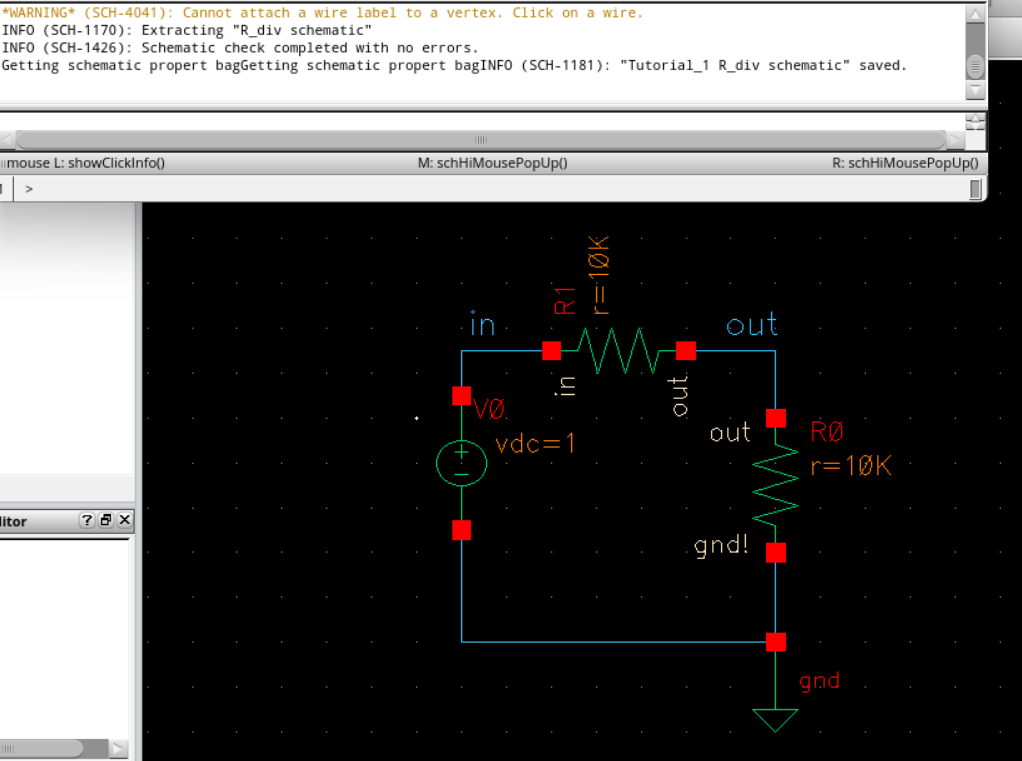
Below
is the circuit all wired up with all components added and appropriate
labels. Additionally shown is the circuit being check and saved with no
errors.
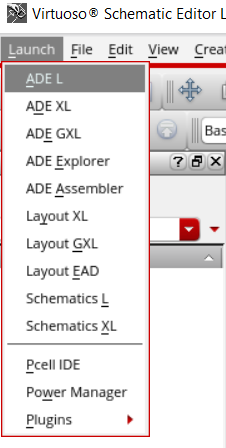
Now we can set up our simulation, first we launch ADE L.
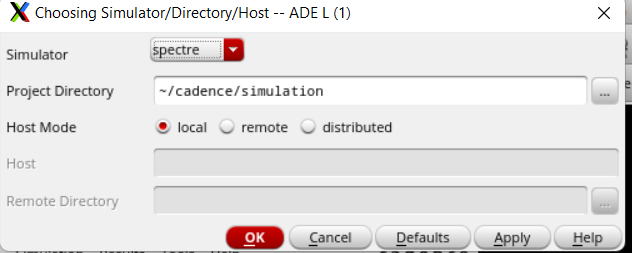
Continuing our setup, we choose Spectre as our simulator.
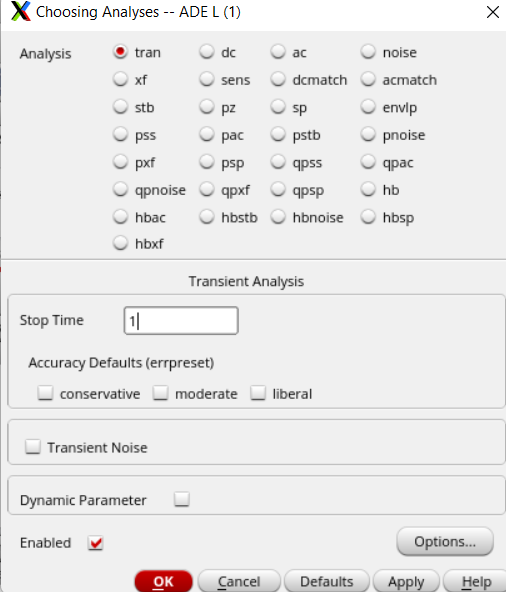
Next
we choose our analysis, here we are choosing transient with stop time
of 1 second, additionally Enabled is selected. Seen below.
Finally, we select our signal outputs to be plotted using the dropdowns below.

After selecting all that, the window looks like this.

Before
we can simulate, we save our state. We use the menu dropdowns "Session
-> Save State" then select Cellview and enter/press OK.
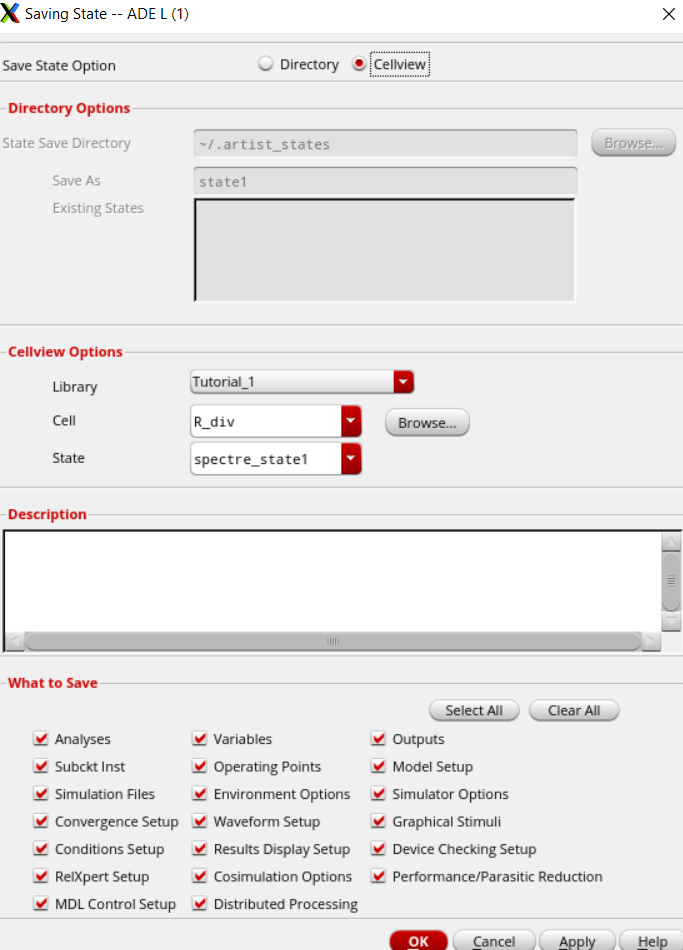
If we ever want to load this
state back, then we alternatively use the dropdowns "Session -> Load
State" then select Cellview and enter/press OK.
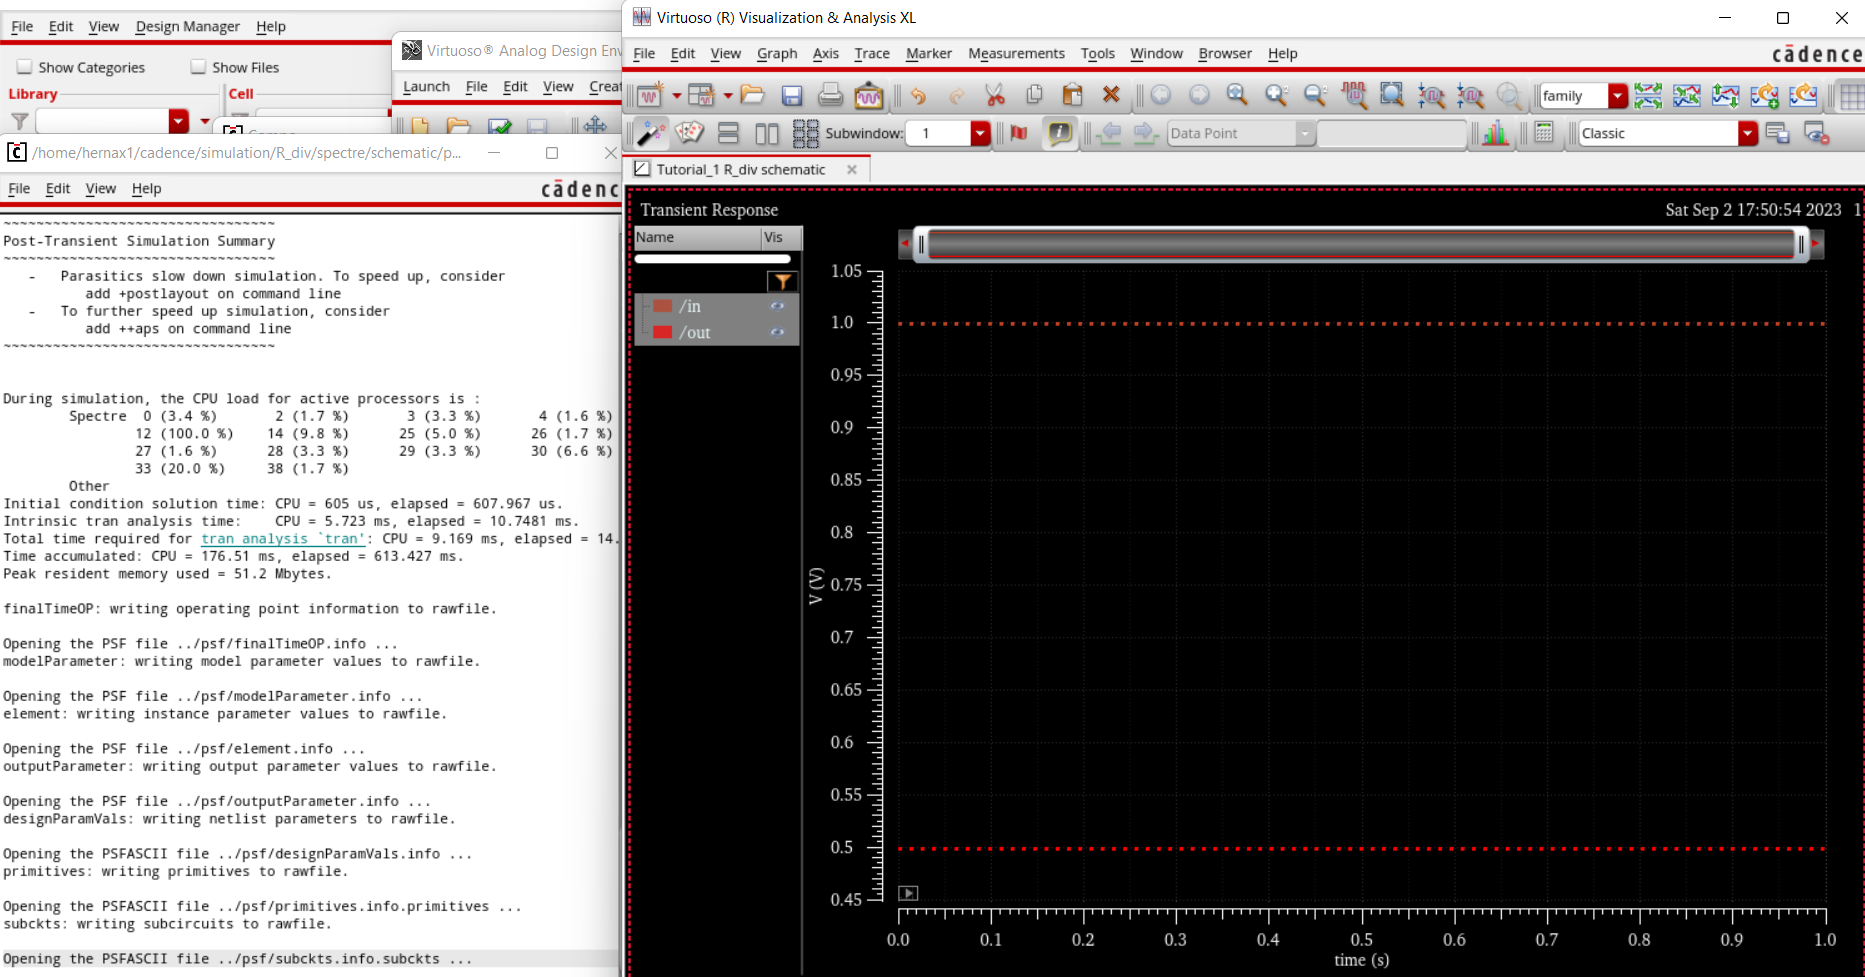
Finally we can simulate, we click the green button and we get the simulation results below.
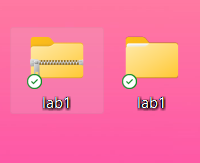
We
are instructed to regularly backup files, by zipping them up and
getting them to ourselves some way. I'll be uploading to google drive.
Below the files are zipped.
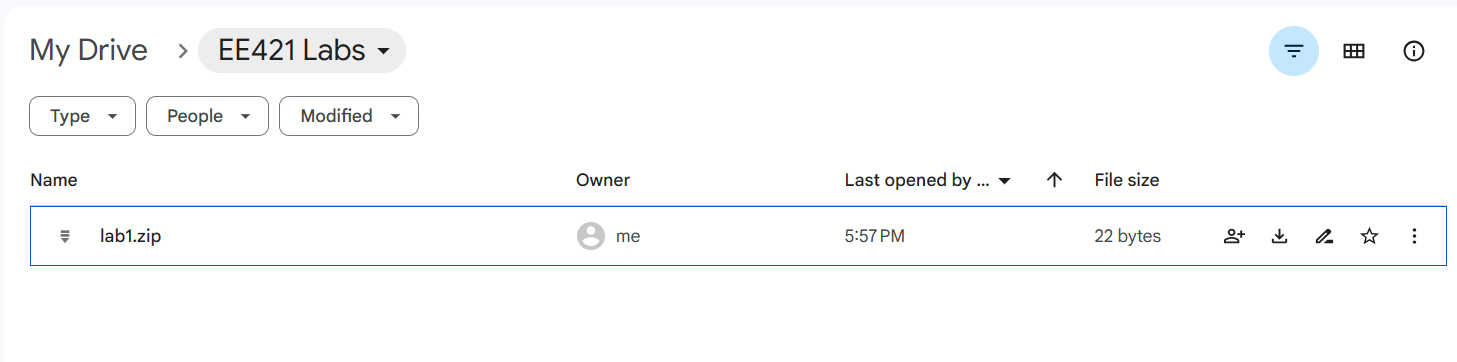
Then I will upload my zipped file to my drive.
Return to Xavier's Labs
Return to EE421 Labs