Lab 1 - EE 421L 

Authored by Larri Gomez, gomezl6@unlv.nevada.edu

August 30, 2023 


Lab Description

 For lab 1, it will consist on getting an introduciton to the course by generating and posting html reports, and also installing Cadence and going through Tutorial 1 to get more comfortable working with the program.


Pre Lab 

For the pre lab, we had to request a CMOSedu account from Dr.Baker as well as review the material for editing webpages. 

Lab Work

Bofore starting off, first, we have to delete 3 diva files in $HOME/ncsu-cdk-1.6.0.beta/lib/NCSU_TechLib_ami06(shown below) which will then be replaced with new ones that can be found in the Tutorial 1 page.

https://cmosedu.com/jbaker/courses/ee421L/f23/students/gomezl6/lab1/Lab1%20Pictures/1.png

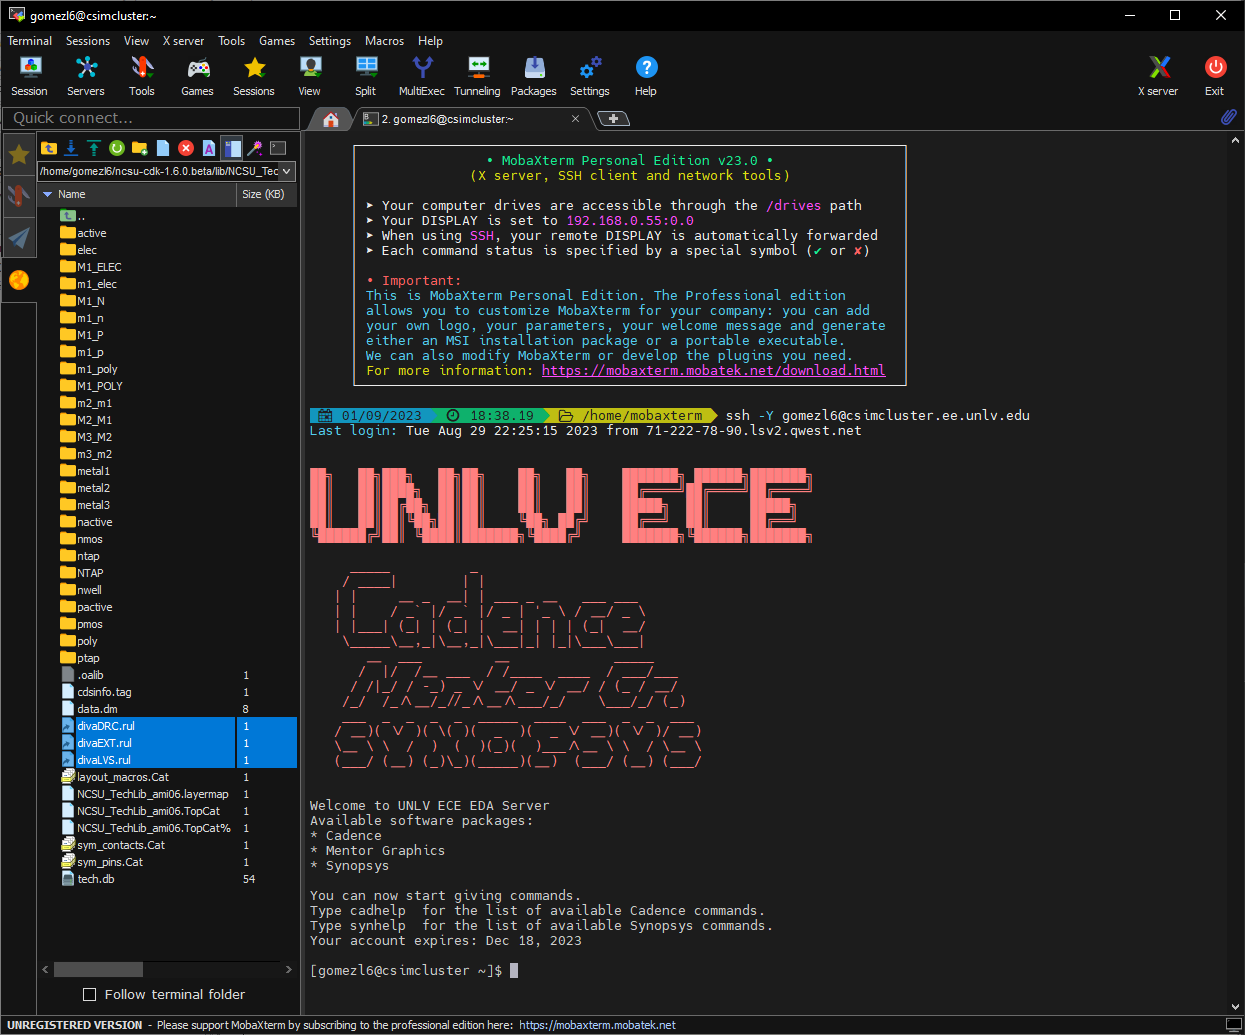
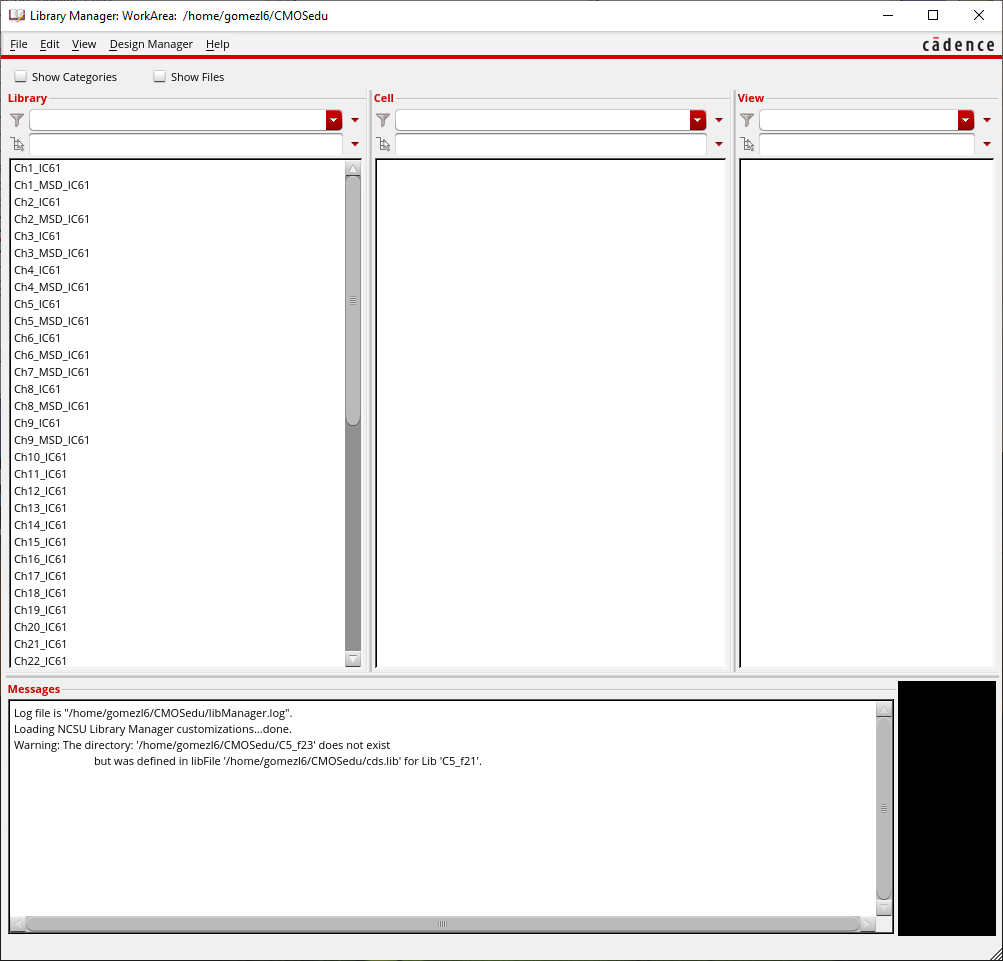
Now, we can go into Cadence by typing in cd CMOSedu and then virtuoso & which should load up the library manager.

https://cmosedu.com/jbaker/courses/ee421L/f23/students/gomezl6/lab1/Lab1%20Pictures/2.png


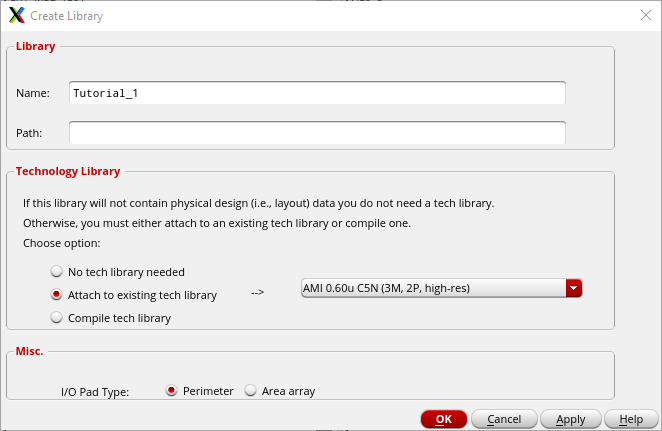
We will now create a new library named Tutorial_1 by going into file->new->library. It should be setup like how it is below.

https://cmosedu.com/jbaker/courses/ee421L/f23/students/gomezl6/lab1/Lab1%20Pictures/3.png

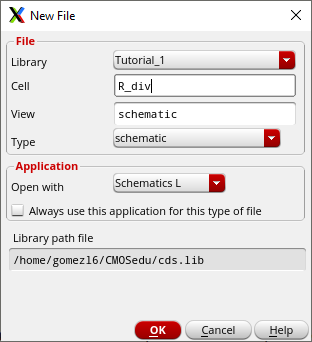
After verifying that the DEFINE was added into the cds.lib file, we can now add in a cell into the newly created library called R_div by selecting the library then going to file->new->cell view and the setup should look like how it is below. 

https://cmosedu.com/jbaker/courses/ee421L/f23/students/gomezl6/lab1/Lab1%20Pictures/4.png

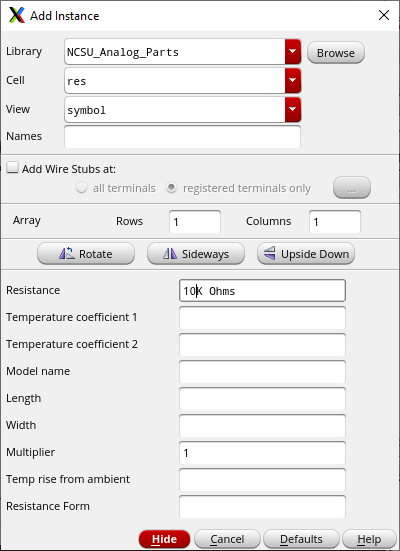
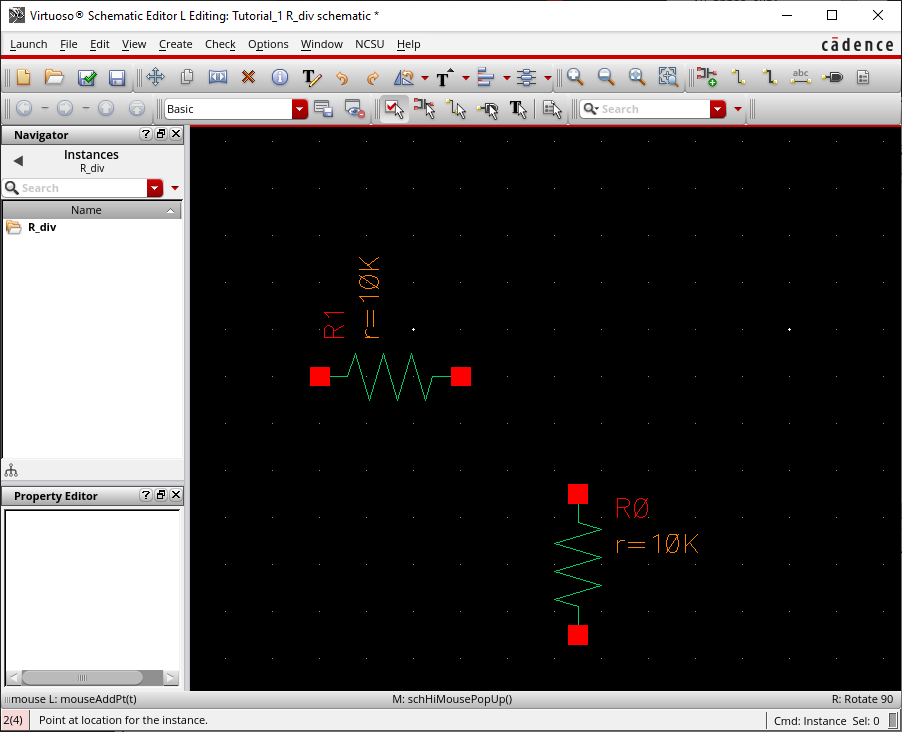
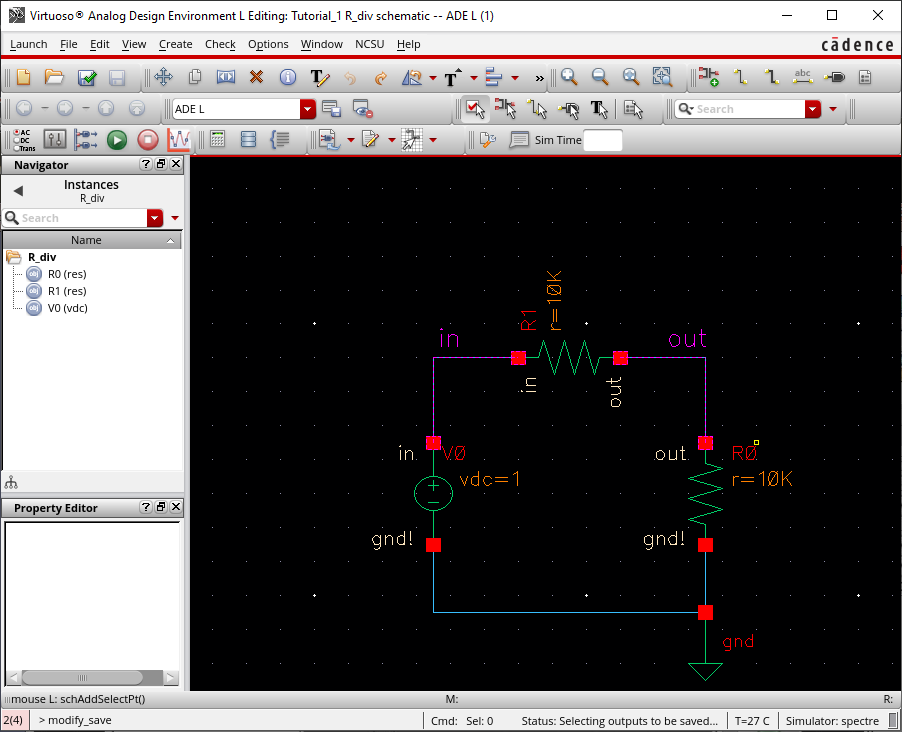
Now we are able to start creating our schematic by using create->instance or the shortcut key I to add in components. We can then select our components in the component browser by selecting NCSU_Analog_Parts in the library and to add in a resistor, we select R_L_C and then select res and can then set the resistance to 10k. 

https://cmosedu.com/jbaker/courses/ee421L/f23/students/gomezl6/lab1/Lab1%20Pictures/5.pnghttps://cmosedu.com/jbaker/courses/ee421L/f23/students/gomezl6/lab1/Lab1%20Pictures/6.png

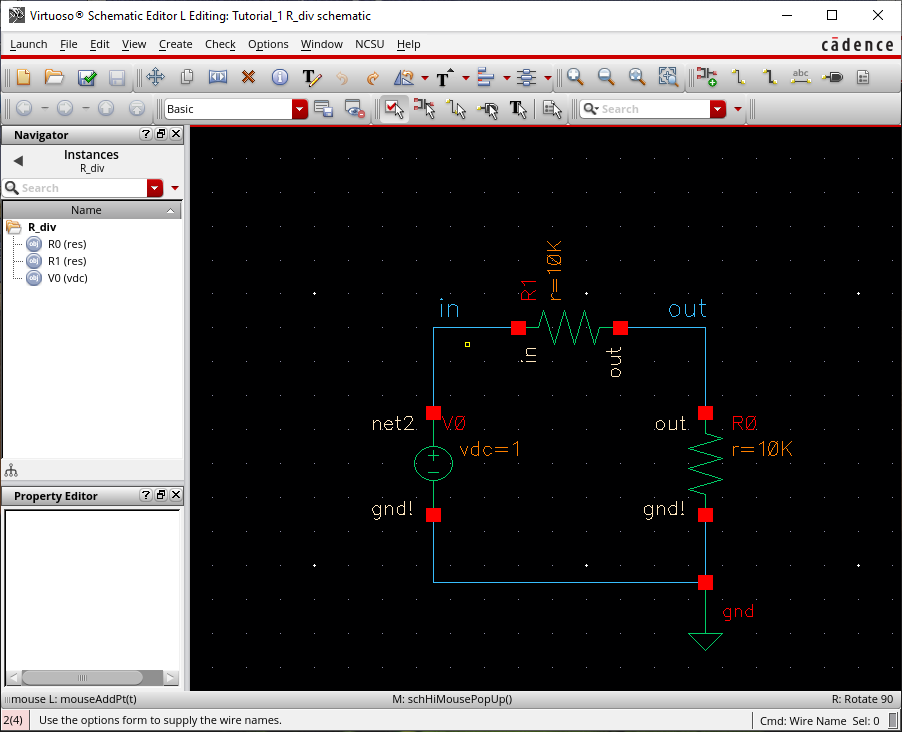
The final schematic should end up looking like this once all the componenets have been placed.

https://cmosedu.com/jbaker/courses/ee421L/f23/students/gomezl6/lab1/Lab1%20Pictures/7.png

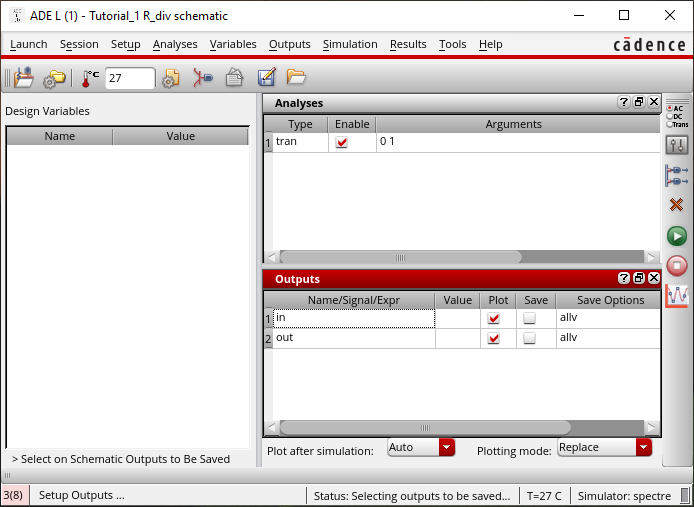
If there is no errors, we can then simulate our schematic by going into launch->ADE L.

https://cmosedu.com/jbaker/courses/ee421L/f23/students/gomezl6/lab1/Lab1%20Pictures/8.png

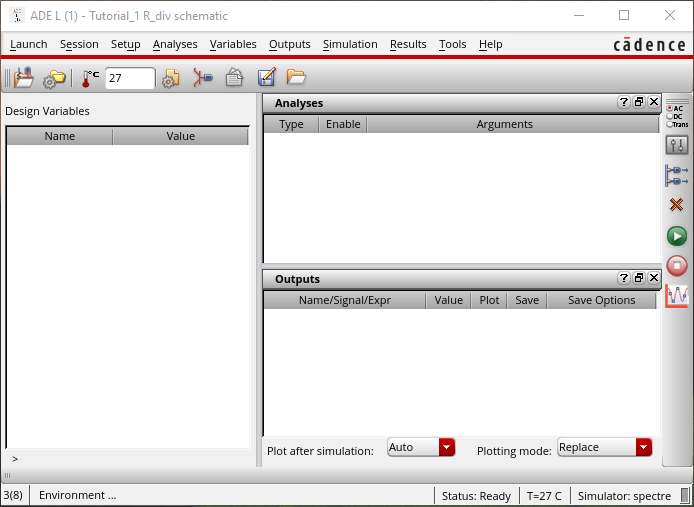
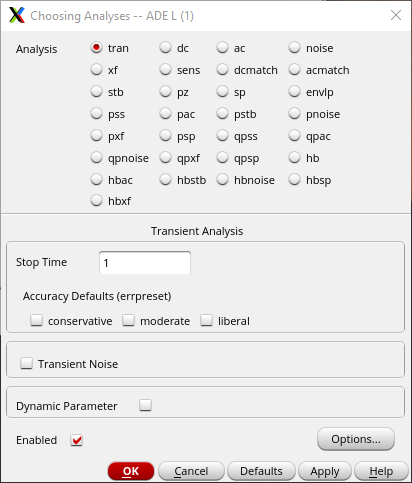
We can now setup our simulation by setting the analysis to .tran and by selecting our outputs that we are simulating which in this case is in and out. 

https://cmosedu.com/jbaker/courses/ee421L/f23/students/gomezl6/lab1/Lab1%20Pictures/9.pnghttps://cmosedu.com/jbaker/courses/ee421L/f23/students/gomezl6/lab1/Lab1%20Pictures/10.png

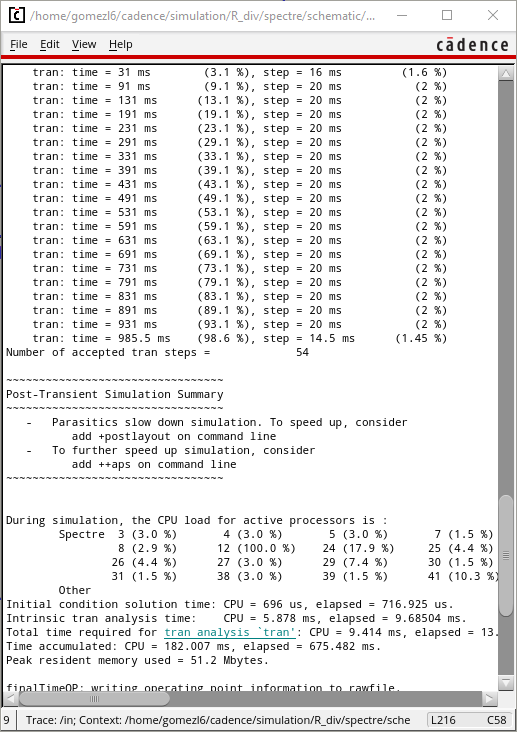
Now we are ready to simulate.

https://cmosedu.com/jbaker/courses/ee421L/f23/students/gomezl6/lab1/Lab1%20Pictures/11.png

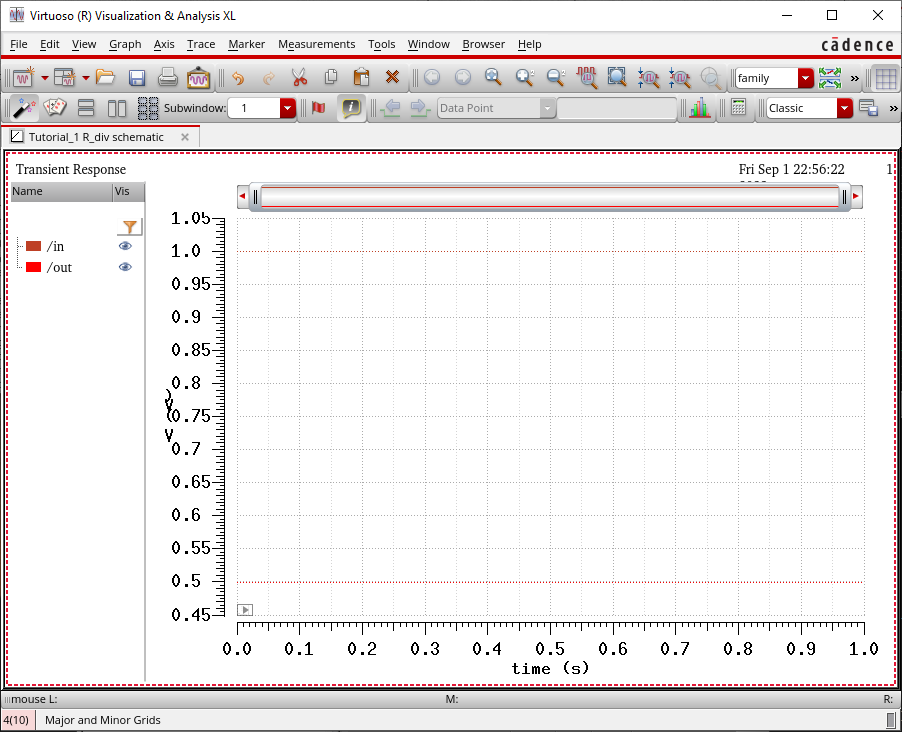
The simulation results can be seen below.

https://cmosedu.com/jbaker/courses/ee421L/f23/students/gomezl6/lab1/Lab1%20Pictures/12.pnghttps://cmosedu.com/jbaker/courses/ee421L/f23/students/gomezl6/lab1/Lab1%20Pictures/13.png

Lastly, we are supposed to occasionally backup our files in case if anything goes wrong, then we won't have to worry about losing all of our progress. First, I will throw all of my files in a zip folder.  

https://cmosedu.com/jbaker/courses/ee421L/f23/students/gomezl6/lab1/Lab1%20Pictures/14.png

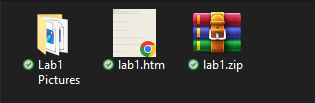
Then, I will email the zip file to myself that way I have the backup files easily available in case anything happens with my work.

https://cmosedu.com/jbaker/courses/ee421L/f23/students/gomezl6/lab1/Lab1%20Pictures/15.png 


Return to my Labs       

Return to EE 421L Labs