Lab 1 - EE 421L
Authored
by Adrian Lopez-Macuaran,
Email: lopezmac@unlv.nevada.edu
August 25, 2021
Lab Description
This
lab was the introduction lab which covers how to edit and post
html lab reports. This lab also covered the introduction to cadence.
Pre Lab
- Prior to lab we were to obtain our CMOS account from Dr. Baker.
- Watch lab safty video.
- Review cmosedu.com information on how to edit webpages.
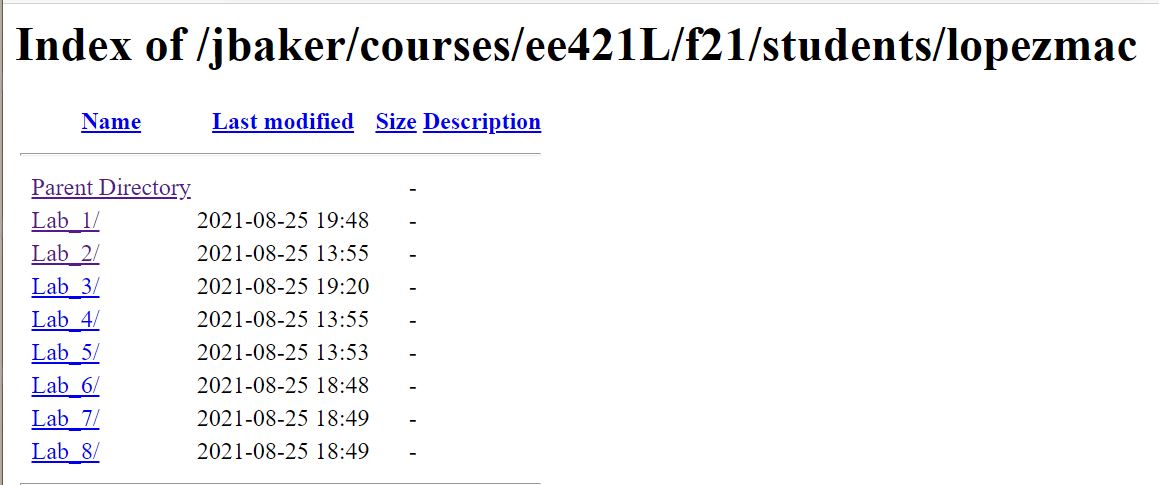
Fig1. Shows a screen capture of my lab directory.
Lab Objectives
- Follow Cadence tutorial 1 until iamge 25. Inlcude some pictures from the procedures in the tutorial with a clear narrative.
- Discuss the importance of frequently doing back ups for future labs.
Lab Procedure
Objective 1
After
completing the pre lab and obtaning my candence log in I was able
to complete the first portion of the tutorial which was setting up
Cadence and all its libraries. To access cadence successfully one must
be in the CMOSedu directory. Once in the CMOSedu directory you type the
command (Virtuoso &) to run cadence.
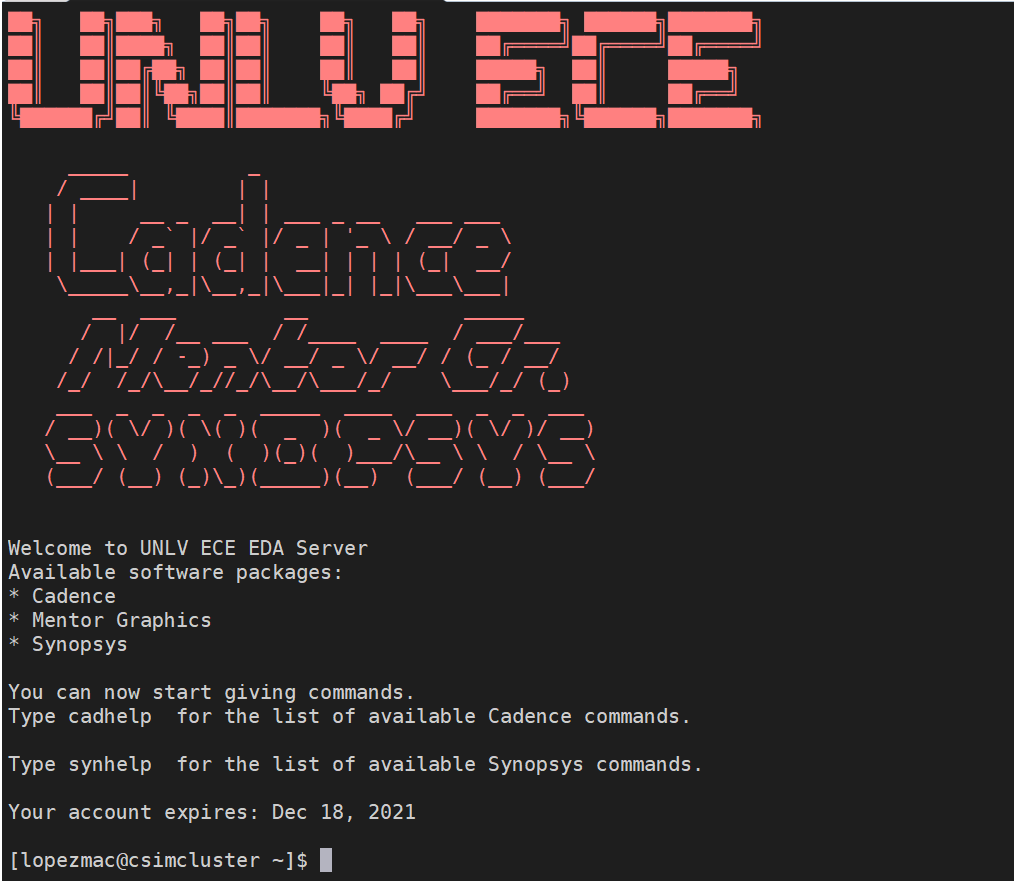
Fig2. The above figures shows the successfull log in into cadence.
After cadence opened successfully I created a folder named labs and defined it in my (CDSLIB) so cadence could access it.

Fig3.1 folder to keep track of all my labs
The following will show my new folder (Labs) along with a new cellview (Lab_1)
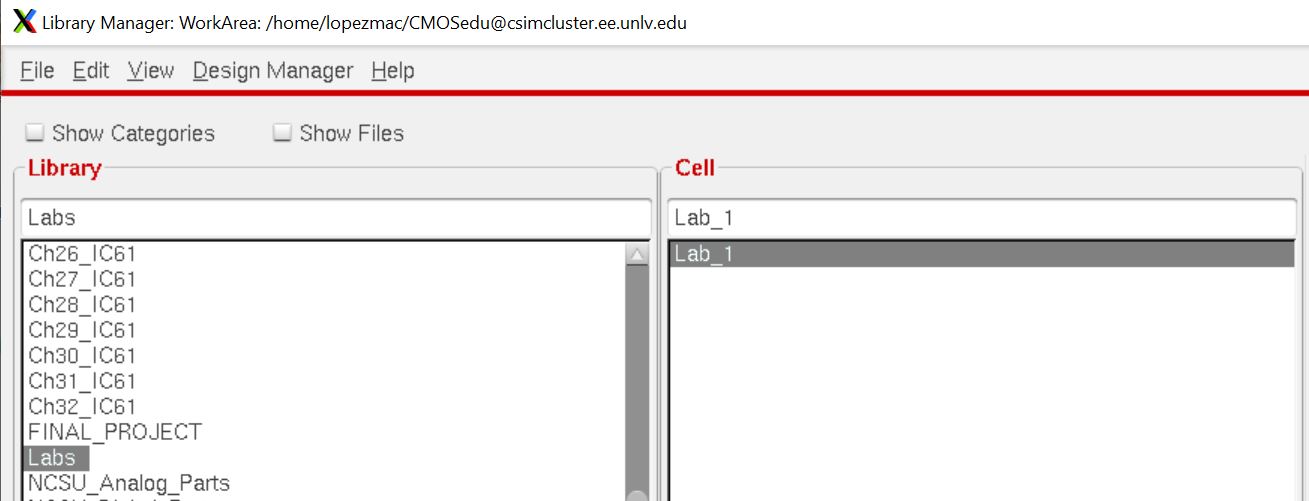
Fig3.2 Shows my new folder along with my new cellview.
After
this folder was created I continued with tutorial 1.
For the next part of tutorial 1 we were to implement a voltage divider
circuit and provide the simulations. To access the componnets in
Candence for the circuit I clicked intances or ( i ) for short and
navigated to the
analog part. For this voltage divider we needed a voltage source,
ground, and two resistors of value 10k ohms. Once all the components of
the circuited were palced we were ready to wire and label our circuit.
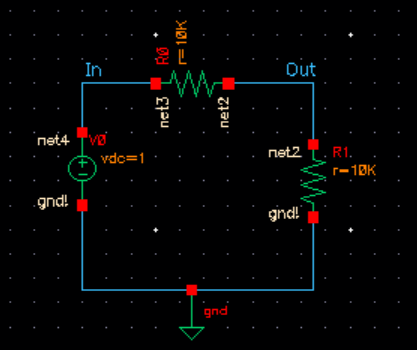
Fig4. This figure show my completed circuited
Before continuing to run simmulaitons we have to check and save to make sure our circuit does not have any erros.

fig5. This figures shows that the circuit has no erros and is ready for simmulations.
To
be able to run our simmulations we are to launch ADE L from the drop
down menu. From there we are to set 'Spectre" following the tutorial .
After spectre is set we can now set our analysis for our simmulation.
For this circuit we are going to run a transient analysis (.tran) for 1
second.
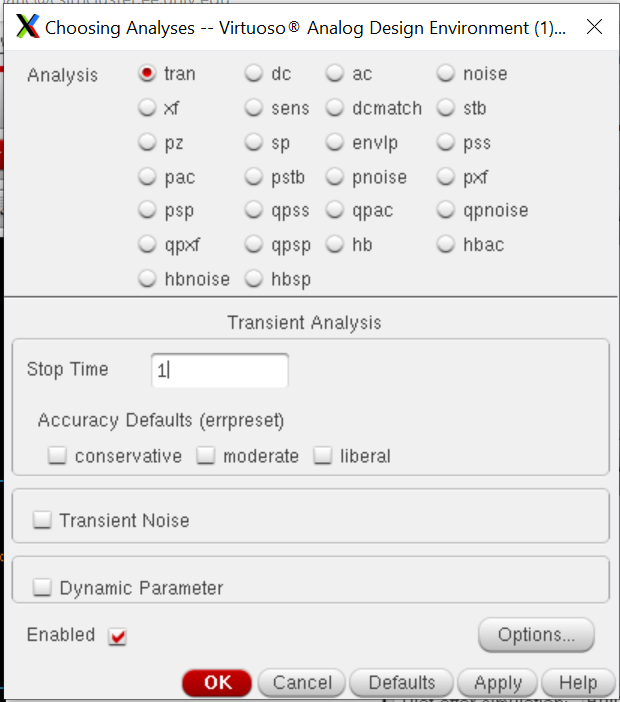
Fig6. This figure shows the set up for our .tran analysis
Before
running the simmulation we select which output we want to be plotted
from our circuit. This is simple todo, one selects the ouputs tab
and chooses to be plotted then selectes the nodes. For this circuit we
will be plotting IN and OUT. Once the nodes are selected we hit the
green play button to run our simmulation.
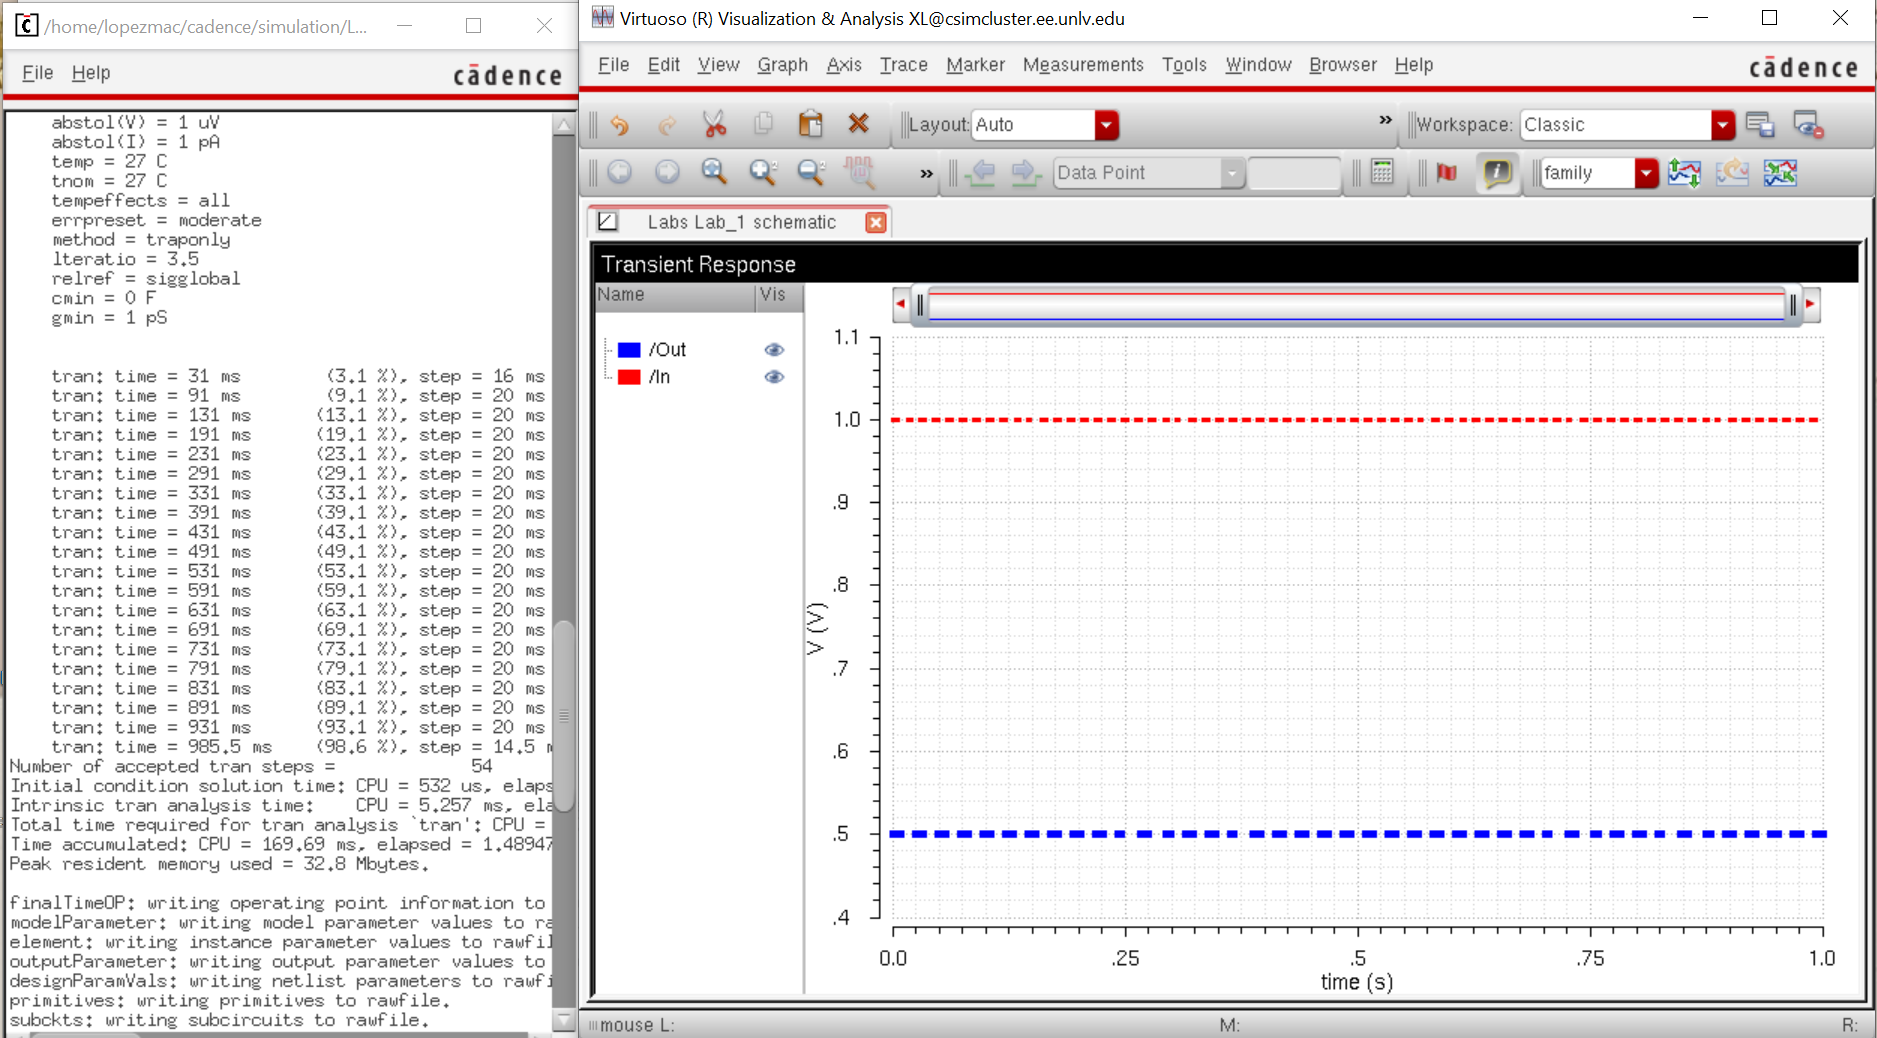
Fig7. This figures shows are simmulation results as expected Output voltage in blue half the Input voltage in red.
Objective 2
The
next objective was to get used to backing up our work as often as we
can. I will be working locally on my desktop so I will periodically zip
my lab folder to have a back up as well as dropping it to my portable
usb drive.
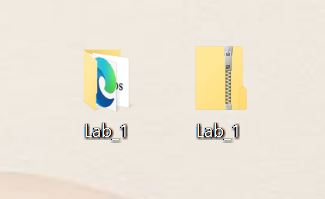
Fig8. Shows my lab_1 work backed up.
Return to EE 421L Labs