Lab 1 - ECE 421L
patelp3@unlv.nevada.edu
I
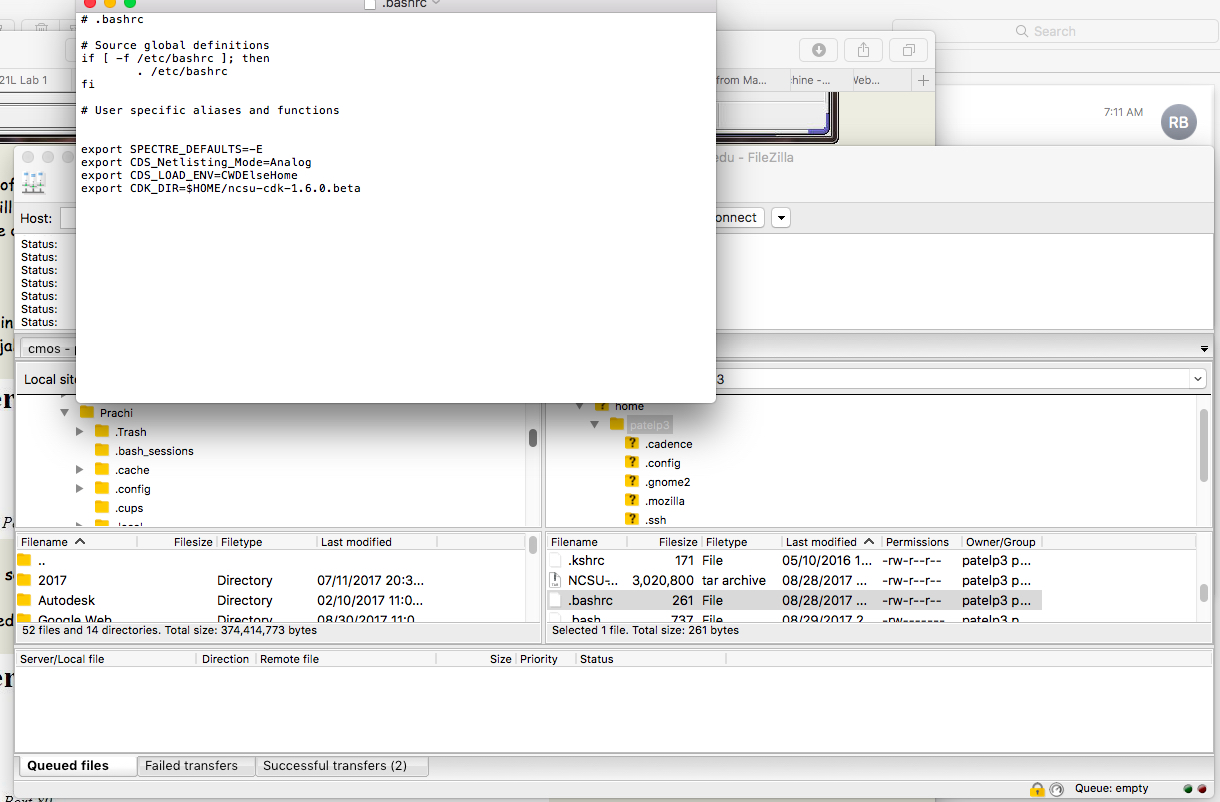
used FileZilla to connect to the CMOSedu and cadence server so I can
upload and download files. After logging into my account, I edited the
.bashrc and added the lines as instructed in the Tutorial.
I
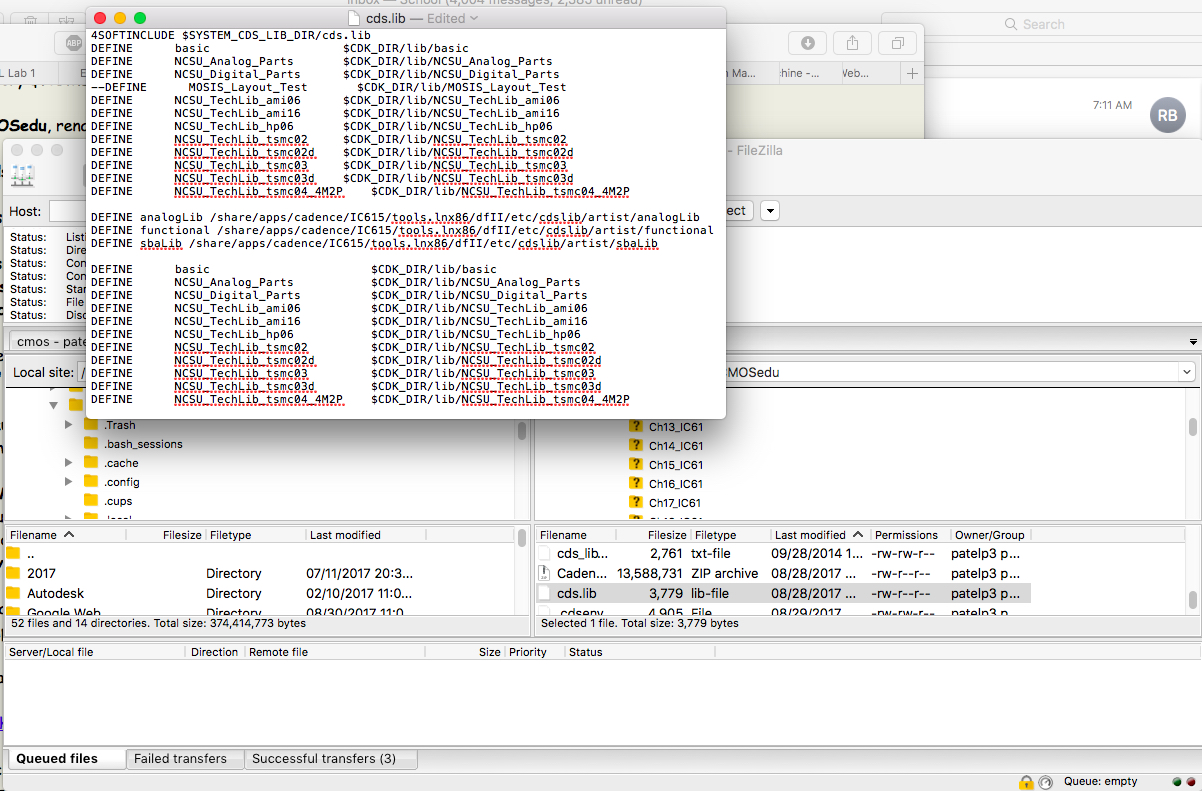
already had NCSU-CDK-1.6.0.beta downloaded from lecture, so I verified
that I had correct libraries added to cds.lib and followed instructions
further to replace divaDRC, divaEXT and divaLVS files with unlocked
ones.
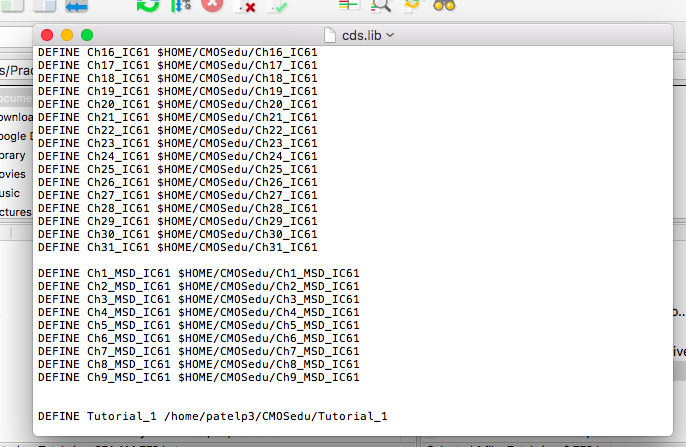
I confirmed that my Tutorial_1 library has been added on to cds.lib
Next,
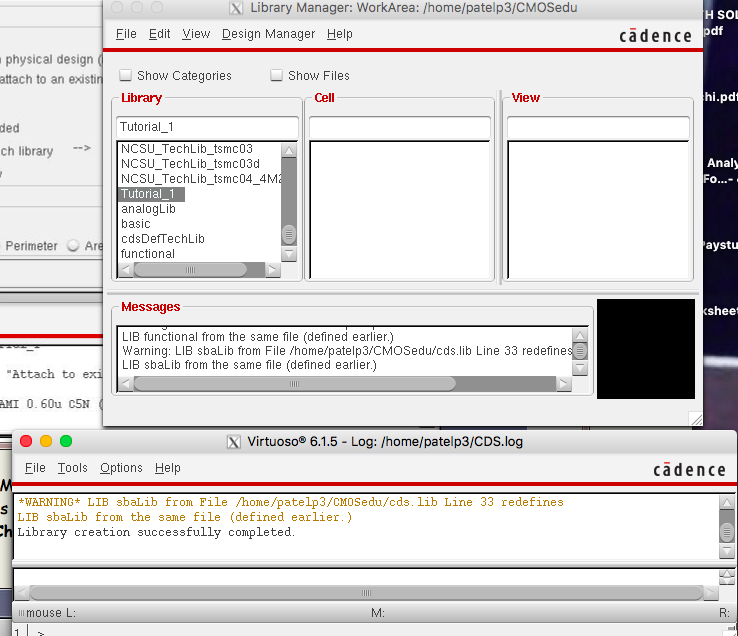
I used X-Quartz Terminal to log in to my cadence account and changed
directory to CMOSedu so I can work with correct design files. I
launched virtuoso and used Tutorial_1 library for this lab.
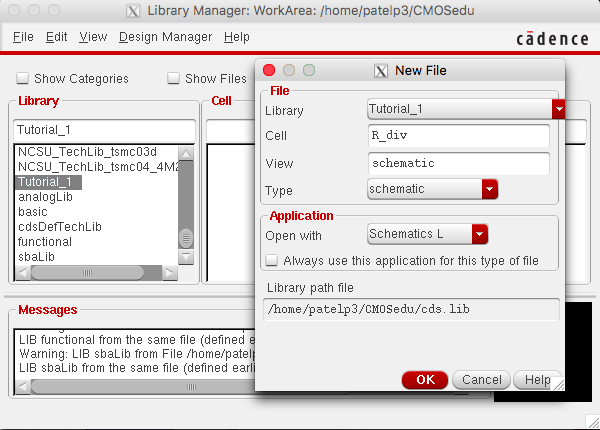
I opened a blank schematic using File->New under the Tutorial_1 library.
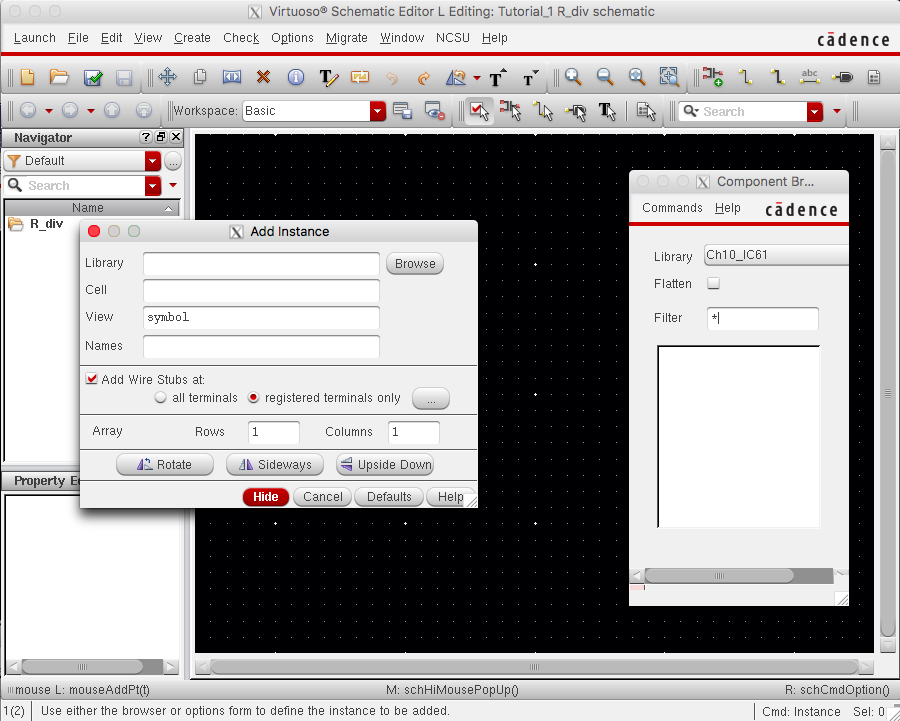
To add componenets, I used NCSU_Analog_Parts Library in component browser.
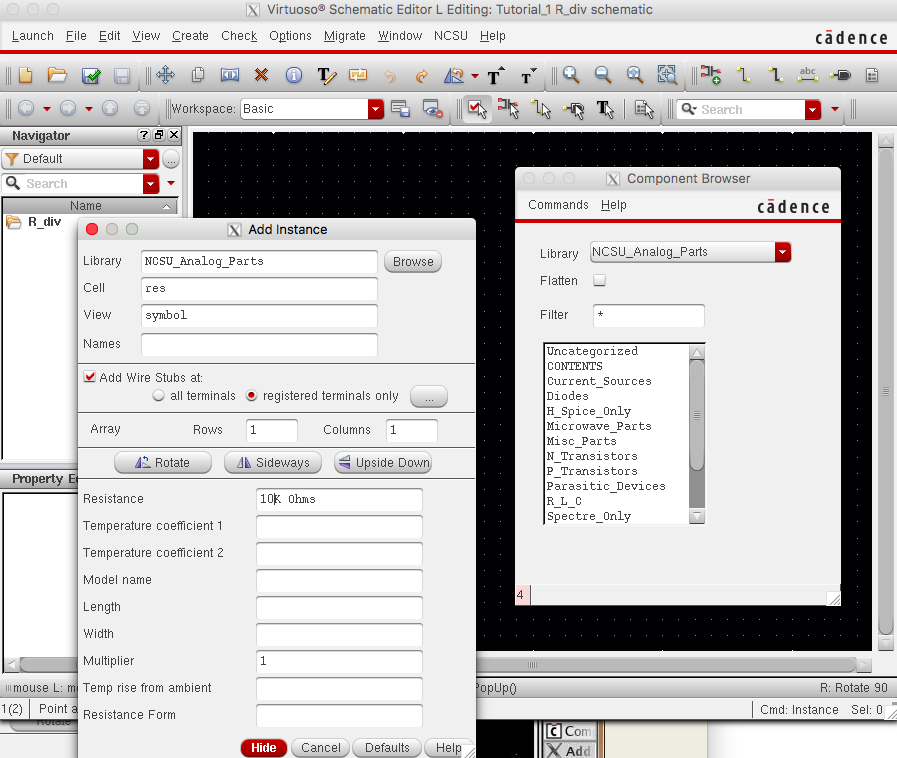
After adding the component on the schematic, I was able to edit the component using bindkey Q.
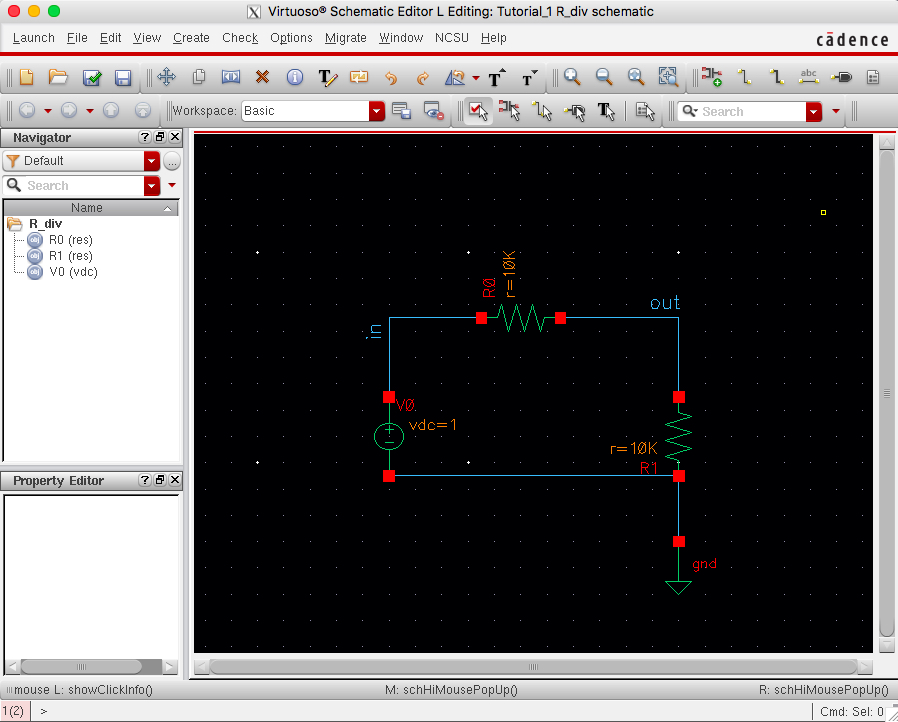
This is the completed schematic as required by lab tutorial.
Next,
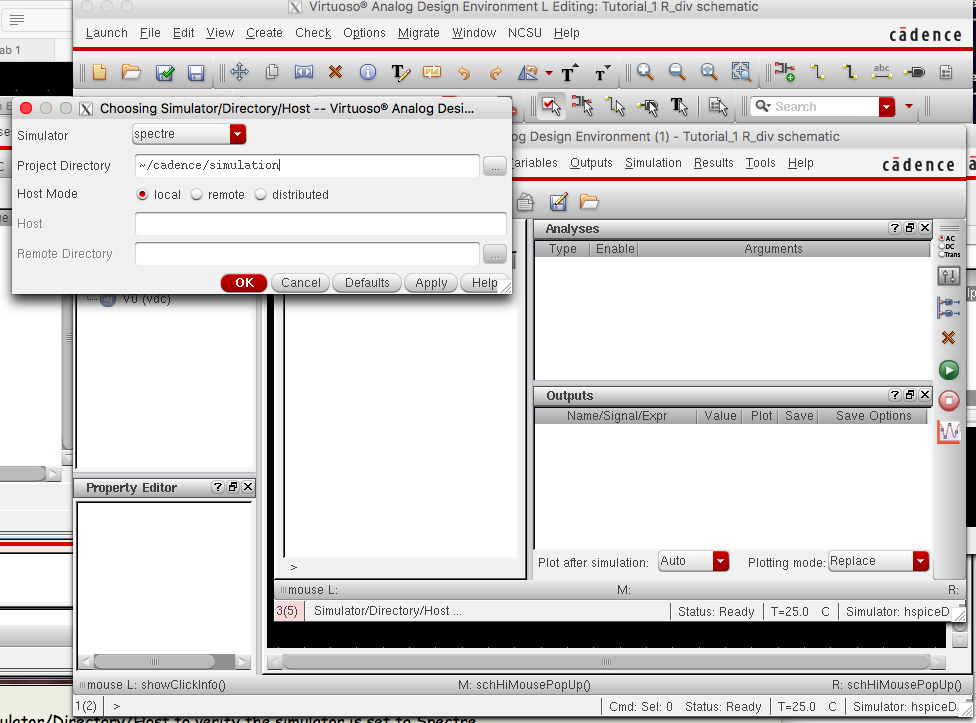
I launched ADE L to simulate my schematic. To make sure I was working
with correct setup, I went to setup->Simulator/Directory/Host and
made sure the simulator was Spectre.
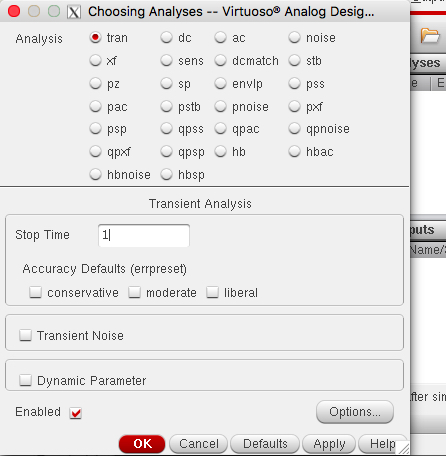
For analyses, I used tran and 1s time frame.
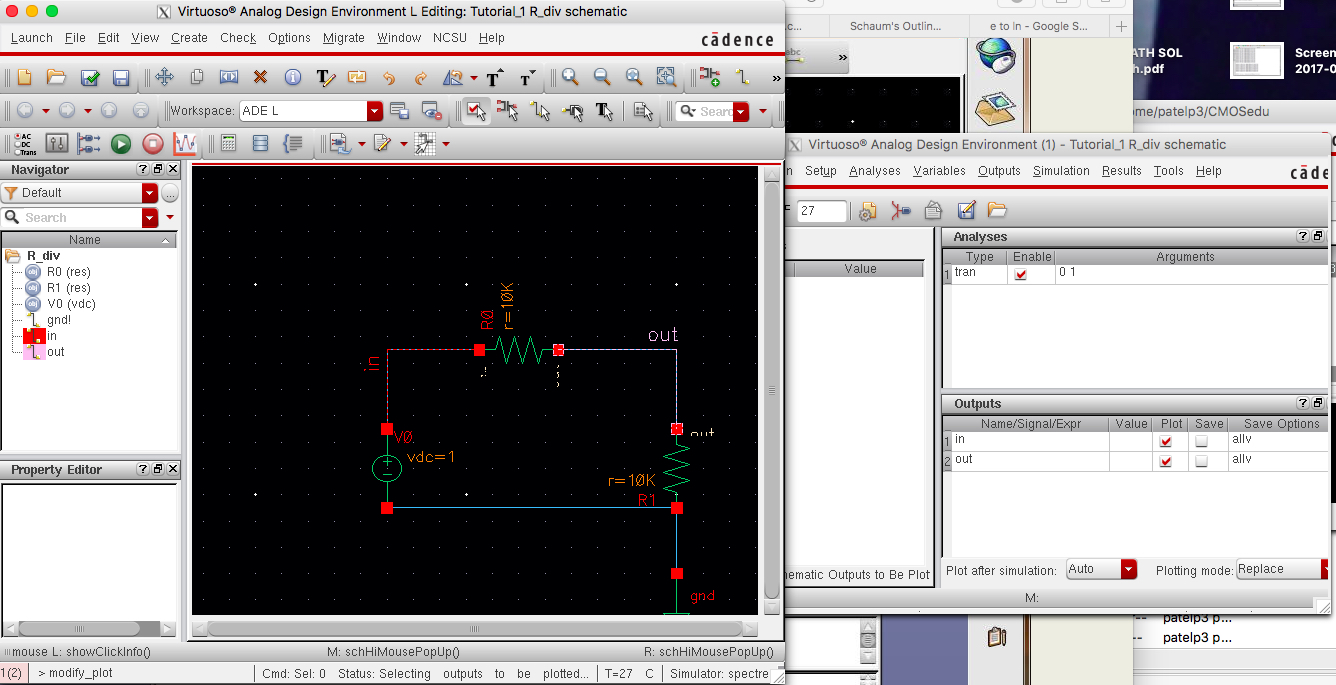
Here,
I did output->output plots->choose from schematic and went back
to the schematic to select the nodes I would like to see on the
waveform. I chose Vin and Vout.
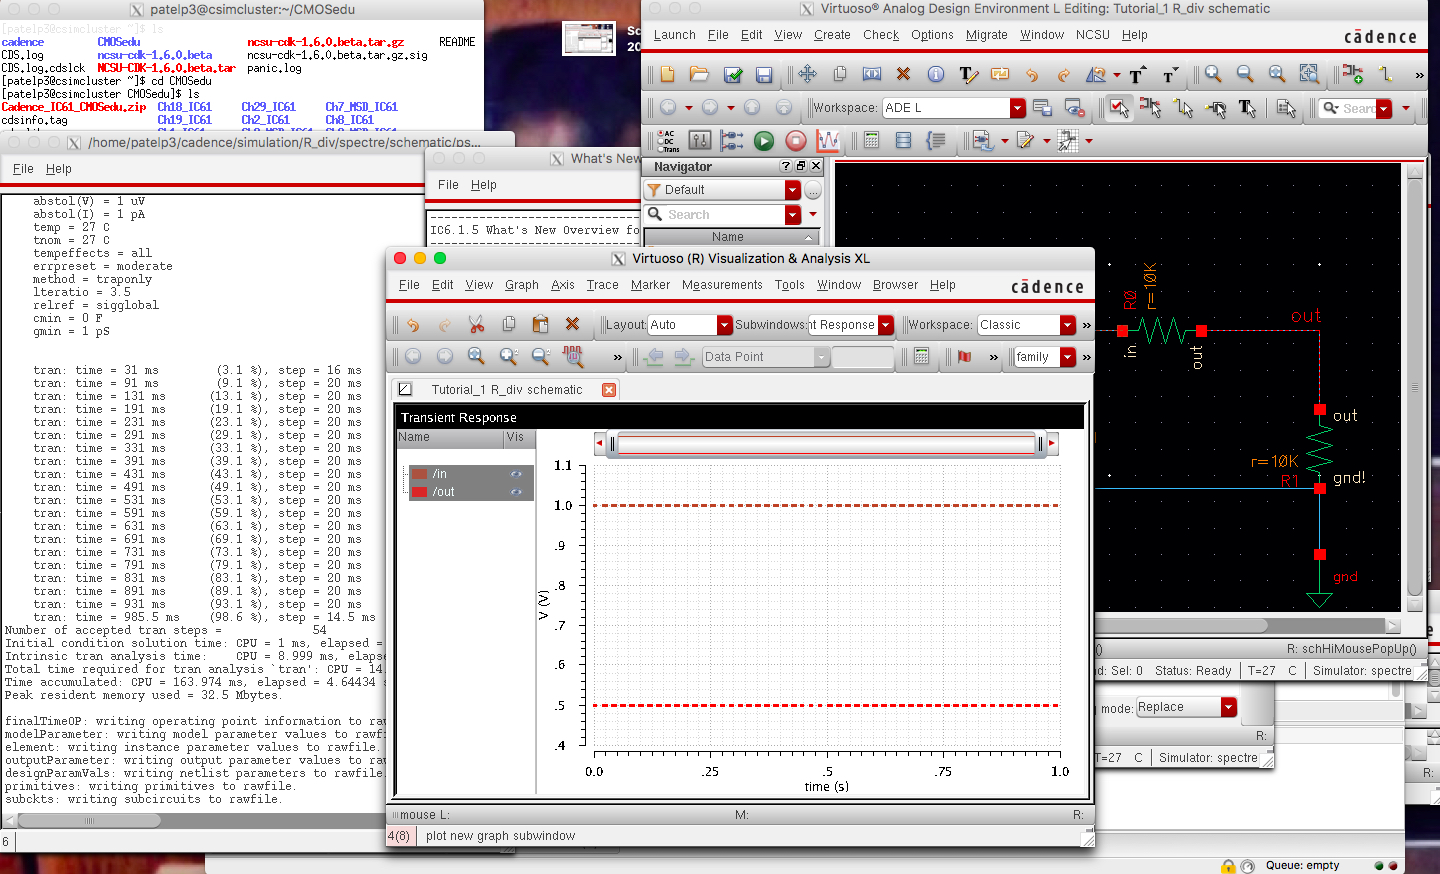
After saving the schematic, I finally press the green play icon to run the simulation. Above is the result I simulated using cadence, virtuoso.
I am using Google Drive for my EE 421 Lab. I have the Lab and the Lecture seperated to keep information well organized.
In
the EE421 LAB->LAB 1 folder on Google Drive, I have uploaded all the
screenshots used for this lab and also the Lab1.htm file so I always
have back up and access to these.