


 Lab 1 - EE 421L
Jeeno Doria
doriaj3@unlv.nevada.edu
8/29/2017
Lab
description: This lab will focus on how to construct lab reports and post them online to CMOSedu (ftp://ftp.cmosedu.com).
Another portion of this lab will walk us through tutorial 1 in using
Cadence, which is a tool we will be using for our schematics and
simulations.
Step 1:
Log into the account assigned by Dr. Greg using MobaXterm
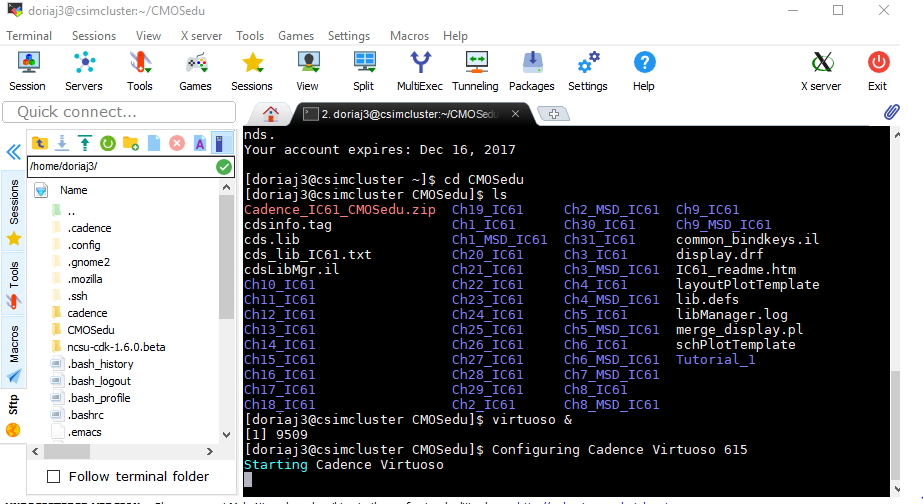
For example: My account is ssh -Y doriaj3@csimcluster.ee.unlv.edu
After successfully logging in type cd CMOSedu and then run Cadence; virtuoso &
Step 2:
Cadence will now execute, so now what you do is click on the file tab. Then you create a new library and name it Tutorial_1. Finally hit OK.


Step 3:
Now under library click on Tutorial_1. Look to the middle box under Cell and select R_div. Finally right click on schematic and hit open, which is the very right box under View.
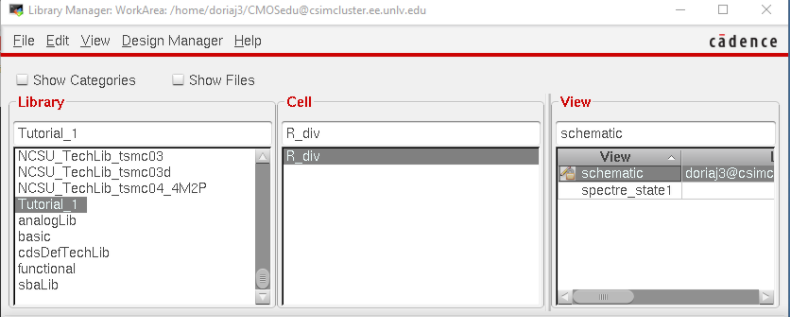
Step 4:
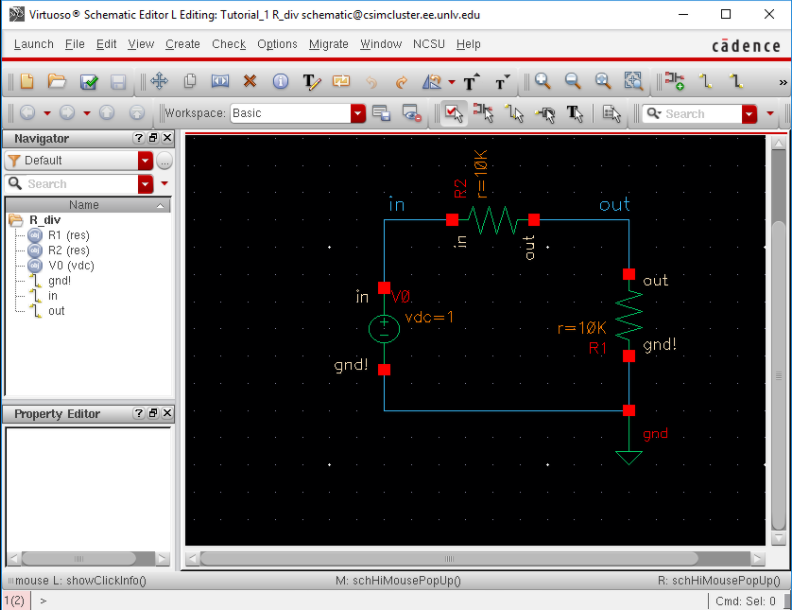
A schematic will appear, but you have to adjust both resistor values to 10K and the voltage to 1V. Check and save it.
If there aren't any warnings click on the Launch tab that is located to the very upper left corner. In the open tab, select ADE L.
Step 5:
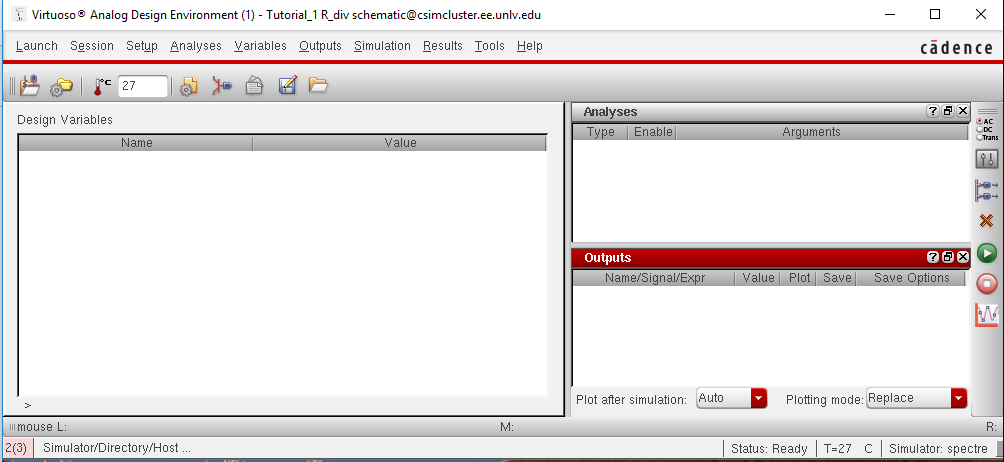
After launching, this should window should appear.
Step 6:
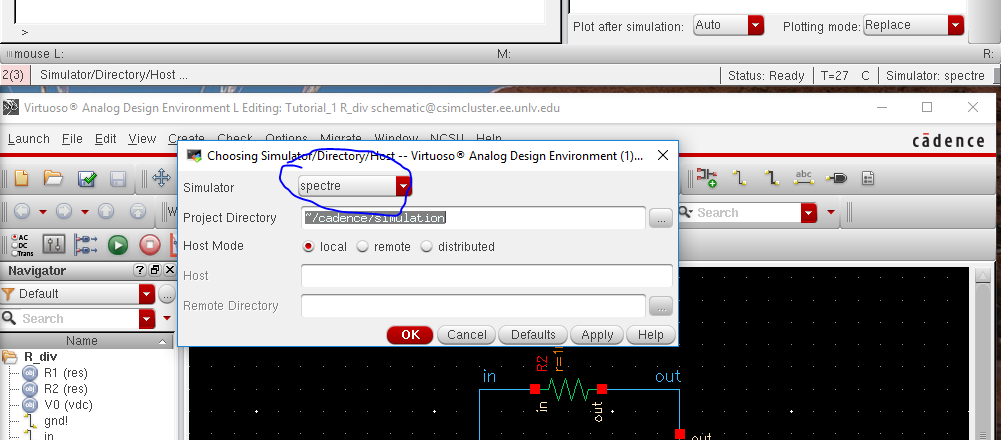
From the window on the previous step, hit the Setup tab and select Simulator/Directory/Host. Another window should pop up, which you then will have to select spectre from the simulator drop down option. You will now return to the previous window after hitting OK.
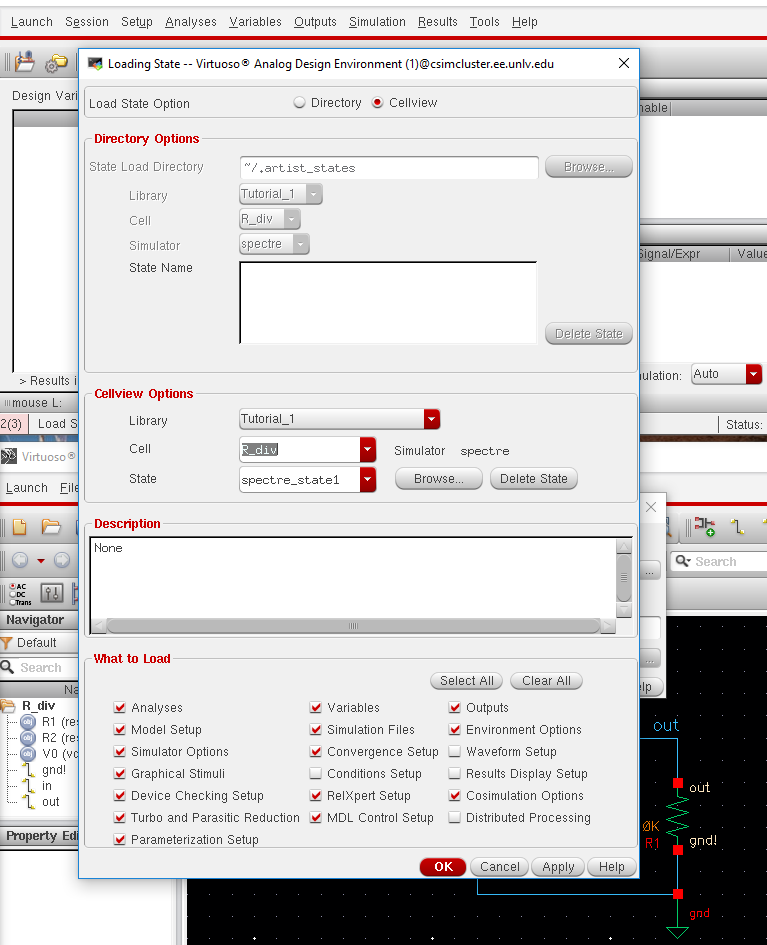
Now click on the Session tab and then Load State.
Step 7:
A new window should appear. Bubble in Cellview and then hit OK.
Step 8:
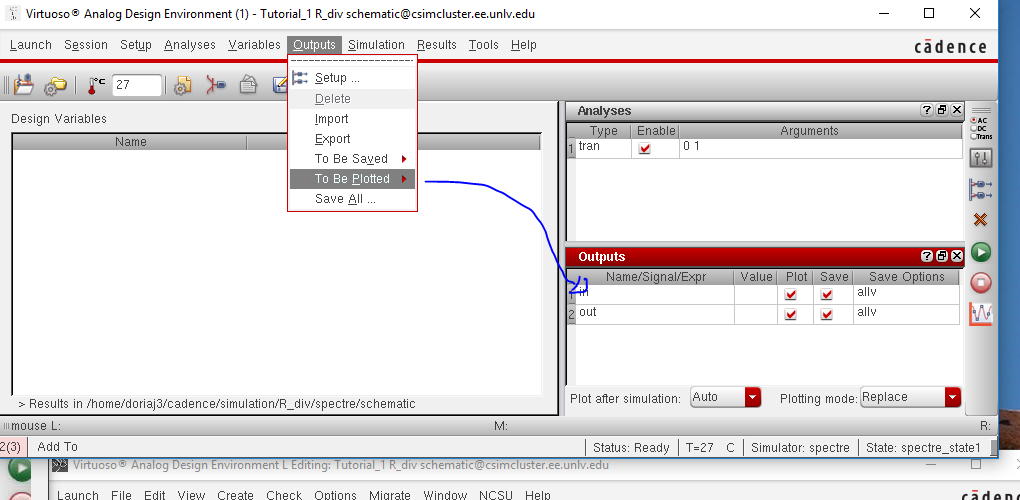
Now on this window, click on the Outputs tab and then the To Be Plotted. Pick the input and output. Make sure the following boxes are checked. Finally hit the green play button.
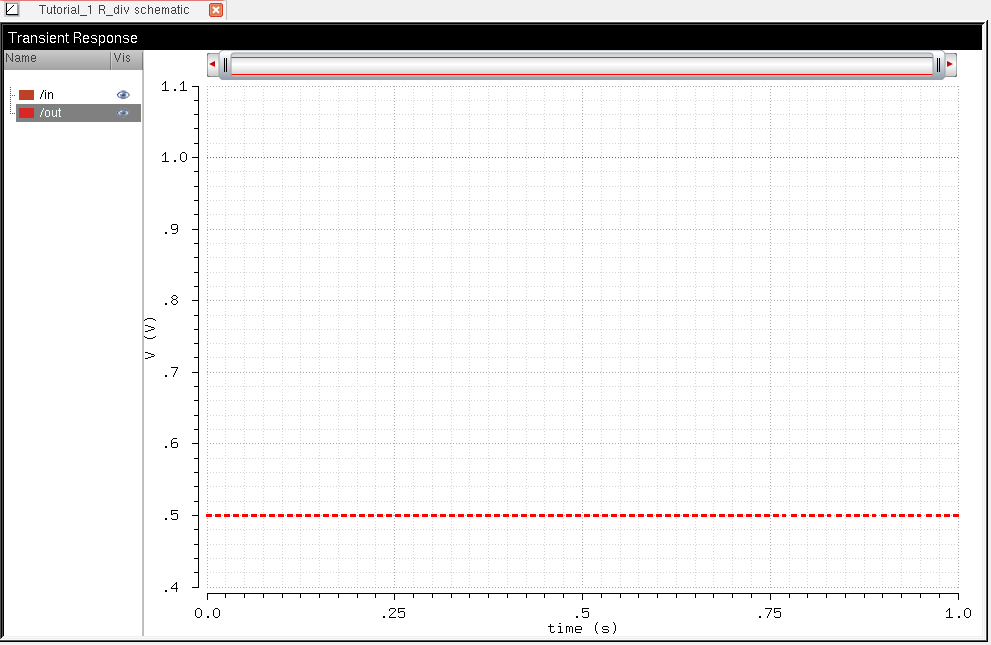
Results:
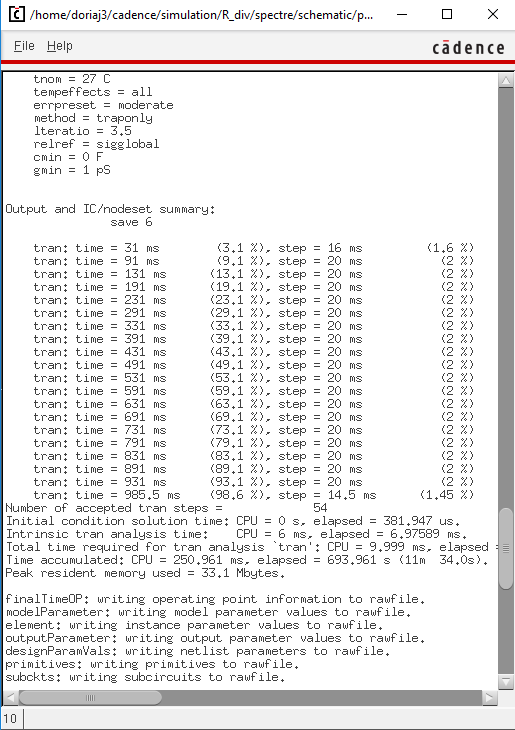
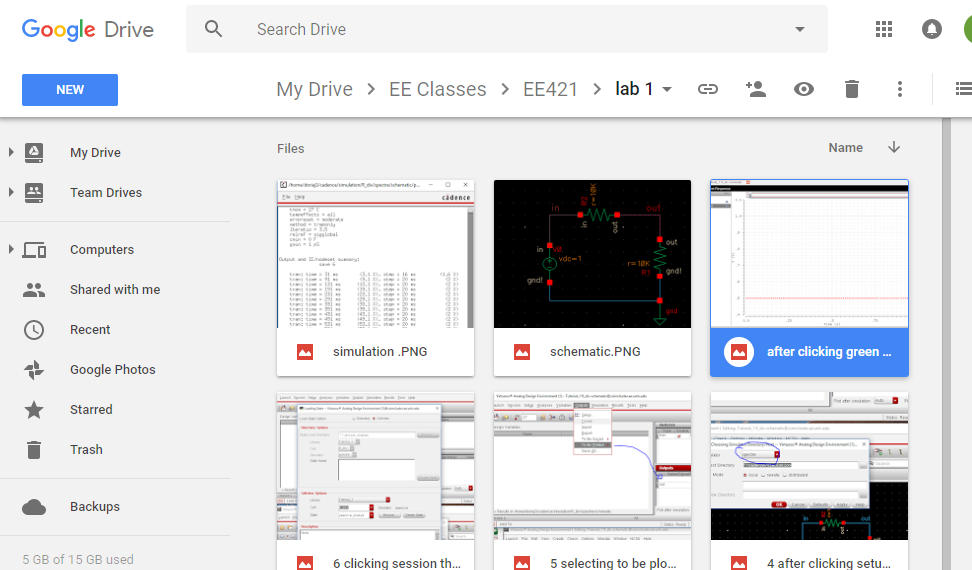
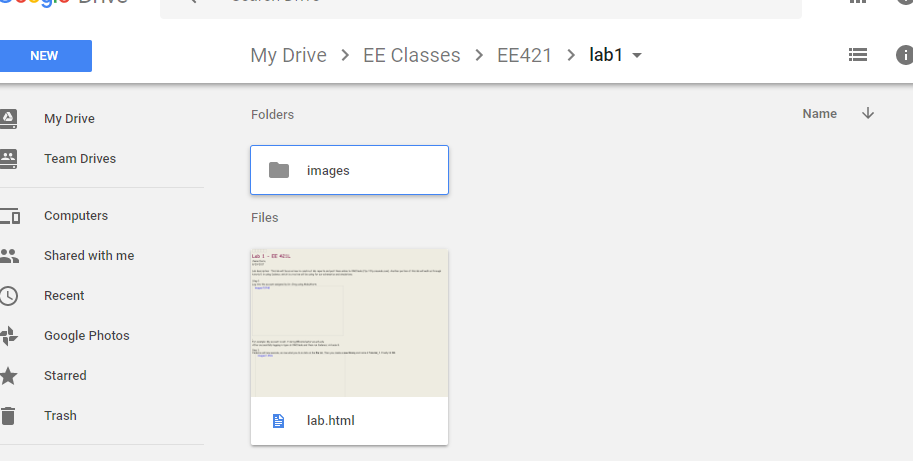
For each lab report, I will back up every single file in my google drive.
Return to EE 421L Labs