Lab 1 - ECE 421L
Authored
by John Huang.
Huangj19@unlv.nevada.edu
September 7, 2014
The following lab will explain the steps necessary to implement the NCSU Cadence Design Kit, followed by the design and simulation of a voltage divider.
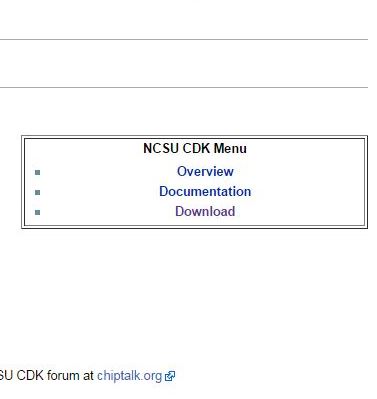
First download the NCSU Cadence Design Kit, version 1.6.0 beta, from: http://www.eda.ncsu.edu/wiki/NCSU_CDK
Click the download link on the right side of the page. Then locate the link on the bottom of where you must register to get the kit emailed to you.
Note: you will need an email that ends in .edu for this step.

Go into your email that you entered when you registered and download the file.
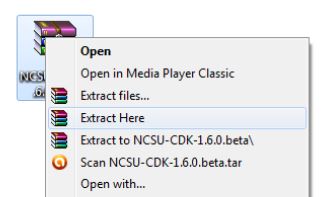
Extract the downloaded file to your
desktop.
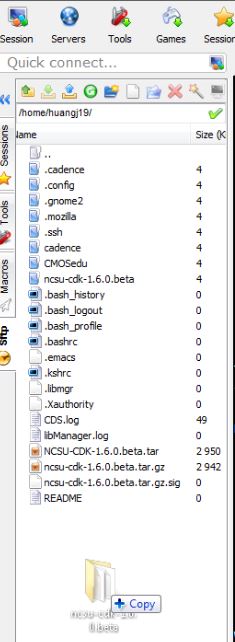
Now open the folder you just extracted and move the folder (ncsu-cdk-1.6.0.beta) to your home folder (directory), $HOME
In your home directory open the .bashrc file and add the following lines
export SPECTRE_DEFAULTS=-E
export CDS_Netlisting_Mode=Analog
export CDS_LOAD_ENV=CWDElseHome
export CDK_DIR=$HOME/ncsu-cdk-1.6.0.beta
After you added the above lines, go to your command prompt window in MobaXterm and type: ". .bashrc"
this will re-sources the .bashrc file.

Now right click in your home folder and create a new working directory called CMOSedu
Copy everything in the directory $HOME/ncsu-cdk-1.6.0.beta/cdssetup into $HOME/CMOSedu
Now open the working directory CMOSedu and rename cdsinit, simrc, and cdsenv to .cdsinit, .simrc, and .cdsenv (add a period)
by adding a period you are now hiding the files
Now in CMOSedu open the file cds.lib by right clicking on the file and opening it in text editor and add the following lines at the bottom of the file
DEFINE analogLib /usr/cadence/IC615/tools.lnx86/dfII/etc/cdslib/artist/analogLib
DEFINE functional /usr/cadence/IC615/tools.lnx86/dfII/etc/cdslib/artist/functional
DEFINE sbaLib /usr/cadence/IC615/tools.lnx86/dfII/etc/cdslib/artist/sbaLib
Save and close the text editor
Now go into your home directory and open the .cdsinit file and add the following
envSetVal("asimenv.startup" "simulator" 'string "spectre")
save and close the text editor
Now type in the command prompt: $HOME/ncsu-cdk-1.6.0.beta/lib/NCSU_TechLib_ami06
and delete the files divaDRC.rul,divaEXT.rul, and divaLVS.rul.
save the diva_rul_files.zip to your desktop and extract it to your desktop
Move the extracted files (divaDRC.rul, divaEXT.rul, and divaLVS.rul) into $HOME/ncsu-cdk-1.6.0.beta/lib/NCSU_TechLib_ami06 in the deleted files’ places.
Now we are ready to start Cadence
First we need to go into the CMOSedu directory, to do this go into the command prompt and type in: cd CMOSedu
Then type in virtuoso &
After starting Viruoso the library manager and the command interpreter window will appear
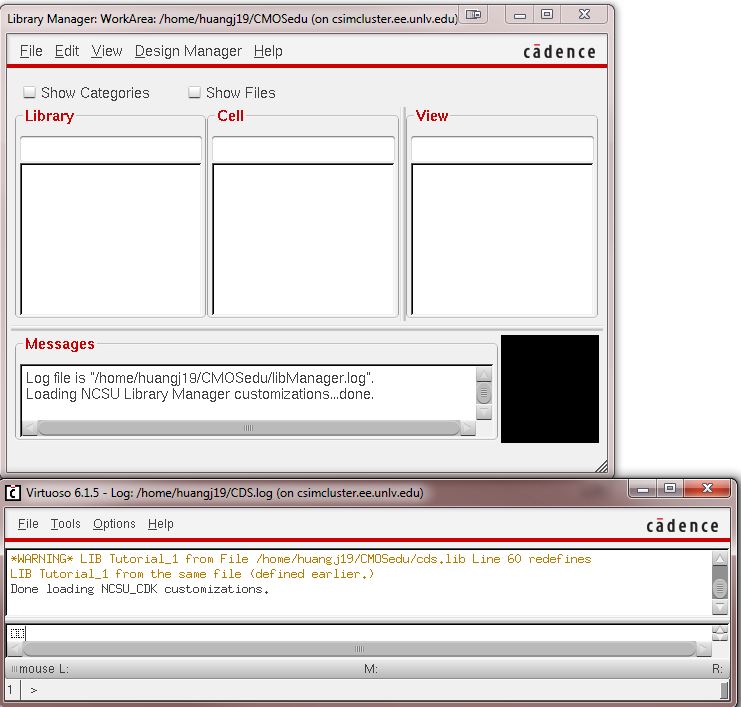
Note:
If you ever start Virtuoso and the library manager window does not
open, you can open it by clicking Tools -> Library Manager
Let's start by creating a new libary in the library manager, go to File -> New -> Library.
Call the Library Tutorial_1 and attach AMI 0.60u C5N
click okay then in the library manager scroll down in the library column and find the library you just created
click File -> New -> Cell View
in the window name the cell R_div
Now in the new schematic editor window go to Create -> Instance (bind key i)
In the add instance window, select NCSU_Analog_Parts in the library window and then selecting R_L_C and res.
Set the resistance to 10k Ohms and click hide
to paste the resistor left click and to rotate right click
add the two resistors shown below then hit esc
Now add ground to the schematic by adding another instance and selecting Supply_Nets and gnd
Also add a 1 Volt DC source from selecting Voltage_Sources and vdc
Using the bind key w we can add wires to attach the components as shown below
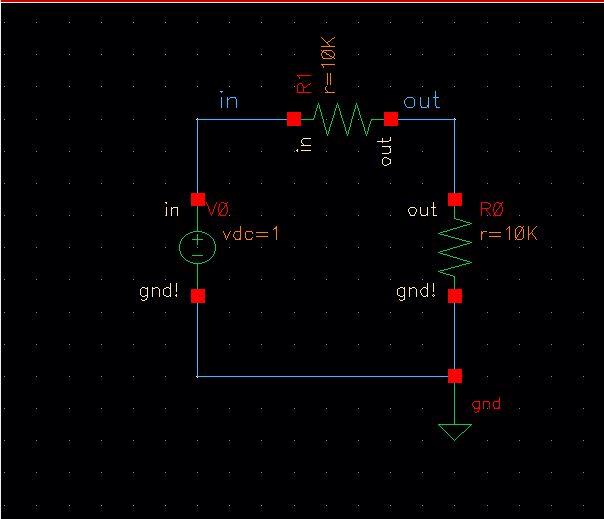
You can also name your lines by pressing bind key l (lower case L)
You can change the values of components by selecting the component and going to Edit -> Properties -> Objects (bind key q)
Now click the check and save
icon at the top left, this is important as without doing so your
simulation will fail and it will also tell you of any errors you
might have in your schematic
Now it is time to simulate it with Cadence's built in SPICE simulator Spectre
Go to Launch -> ADE L
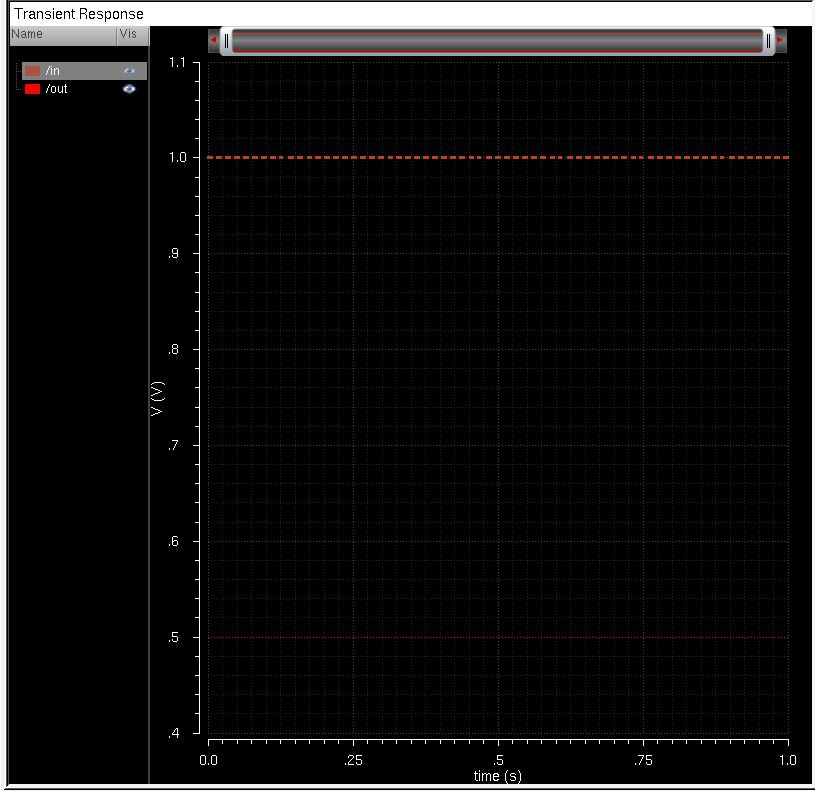
Now the analog design environment (ADE) window will appear, in that window go to Analyses -> Choose
Select a transient analysis (tran) with a stop time of 1 second and click the Enabled box and then click OK
Next we need to select the signals we want to plot, go to Outputs -> To Be Plotted -> Select on Schematic
Select the wires we label in and out
Let's save all the information we have inputted before we run the schematic
First in the ADE window go to Session -> Save State
Click on cellview and click OK to save the state
Note: we can load this state by going to Session -> Load State and cellview if we ever need it
Now we can simulate the schematic by pressing the green play button (Netlist and Run) on the left of the ADE window
A
new window should appear showing the transient graph of the schematic,
you can also click the key on the left to highlight the wires we
selected in the previous part
Backing up files
The following will explain how to back up your files from your CMOSedu account.
First take your folder from the CMOSedu website and copying onto your desktop.
Rename this file with a date so that you will know when the back up was completed.

Right click the folder and select "add to archive" and hit okay
Email the zipped folder to yourself in an email.
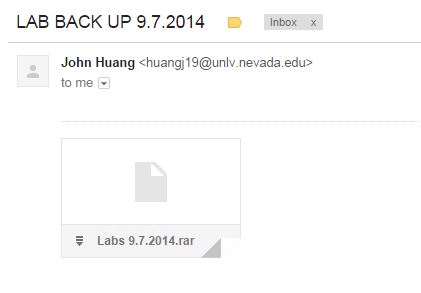
Now you have a backup in your email that you can access whenever you want as long as you have internet access!
Return to EE 421L Labs