Lab 01 - ECE 421L
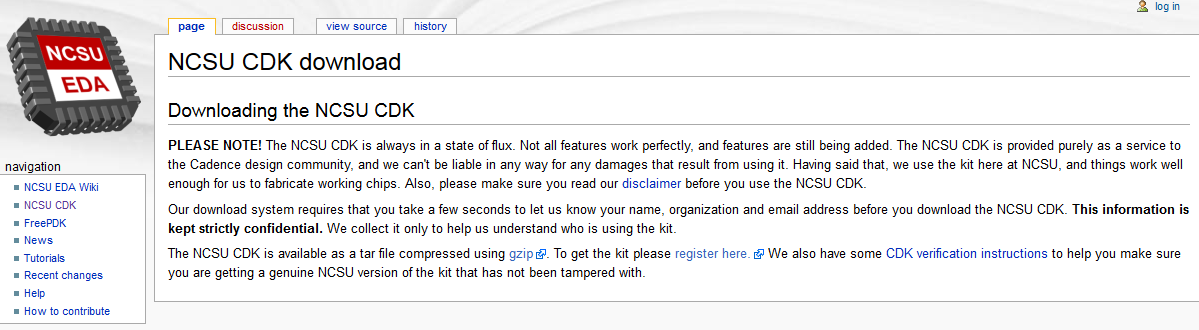
Download NCSU Cadence Design Kit (CDK) 1.6.0 beta from http://www.eda.ncsu.edu/wiki/NCSU_CDK
You will need to register for an account. Use your unlv.nevada.edu email adress.
Use the upload feature on MobaXterm to upload the CDK file to your home directory. It will be a tar file.
To extract the file type;
tar -xvf filename.
You should see a list of all the files extracted.
One of the files extracted will be a .tar.gz file. You will have to use the tar command on the .tar.gz file. The other file is a signature file. The signature file can be used to check if the .tar.gz file has been corrupted or altered.
Make a directory to work on examples and run simulations. Type mkdir CMOSedu. Move the cadance setup into the CMOSedu directory using the followng command;
cp -a $HOME/ncsu-cdk-1.6.0.beta/cdssetup/. $HOME/CMOSedu/
Move to the CMOSedu directory. Type;
cd CMOSedu
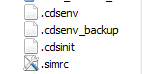
A dot infornt of a file name indicates it is a hidden file. Change the cdsinit, simrc, and cdsenv file names using the renaming capabilities in MobaXterm. Right click to rename. The files should look as the image below.
Right click on CDS.log. Select open with default text editor. This file holds the locations of most of the libraries used by cadance. Add the following lines;
DEFINE analogLib /share/apps/cadence/IC615/tools.lnx86/dfII/etc/cdslib/artist/analogLib
DEFINE functional /share/apps/cadence/IC615/tools.lnx86/dfII/etc/cdslib/artist/functional
DEFINE sbaLib /share/apps/cadence/IC615/tools.lnx86/dfII/etc/cdslib/artist/sbaLib
The file needs to end with a line feed. Save the changes and close the file. Type cd ..
to go one directory up. This will get you back to the home directory.
From the home directory we need to edit the .bashrc file. This holds
the enviromental variables in the shell. Open with default text editor
and add the following lines;
export SPECTRE_DEFAULTS=-E
export CDS_Netlisting_Mode=Analog
export CDS_LOAD_ENV=CWDElseHome
export CDK_DIR=$HOME/ncsu-cdk-1.6.0.beta
Save file and close. To resource the bashrc file type . .bashrc.
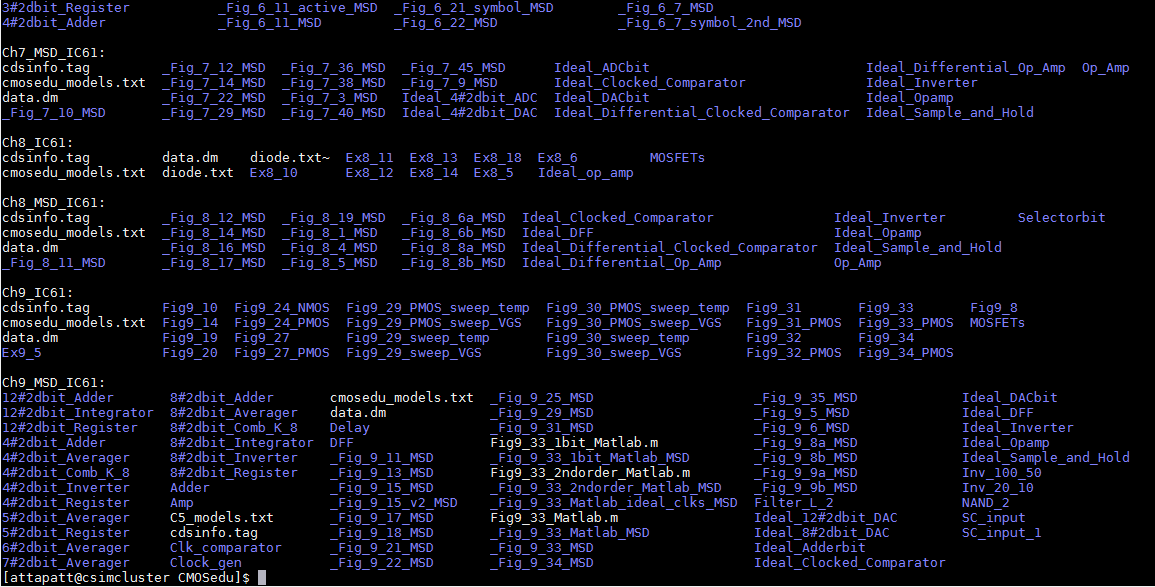
Download the file http://cmosedu.com/cmos1/cadence/Cadence_IC61_CMOSedu.zip to your home directory. Upload with MobaXterm to the CMOSedu directory. Extract file using the unzip command. These extracted files are the course book's problems. If you do an ls Ch* you should see something similar to the image below.
These new files will also need to be added to the cds.lib file. The modified file should be similar to http://cmosedu.com/cmos1/cadence/cds_lib_IC61.txt.
Now we can run cadance. To start cadance in the background type;
virtuoso &
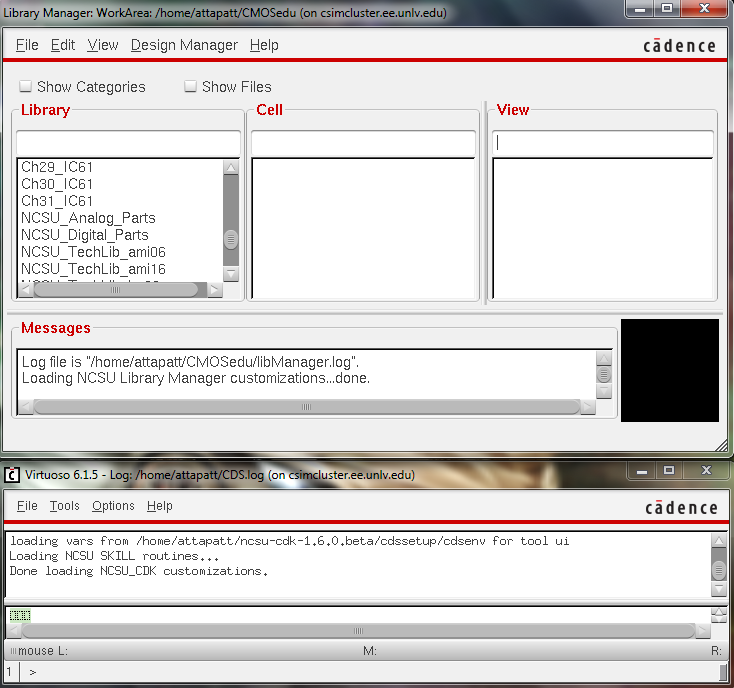
The two following windows should pop up. The window below is the command interpreter. The window above is the library manager.
Next you will create a new library. In the library manager click File -> New -> Library. Type in a name for the library. I called mine C5_421. Under technology library select attach to existing library. From the drop down list select AMI 0.60u C5N (3M, 2P, high-res). Click OK to finish creating library.
Now click File -> New -> Cell View.
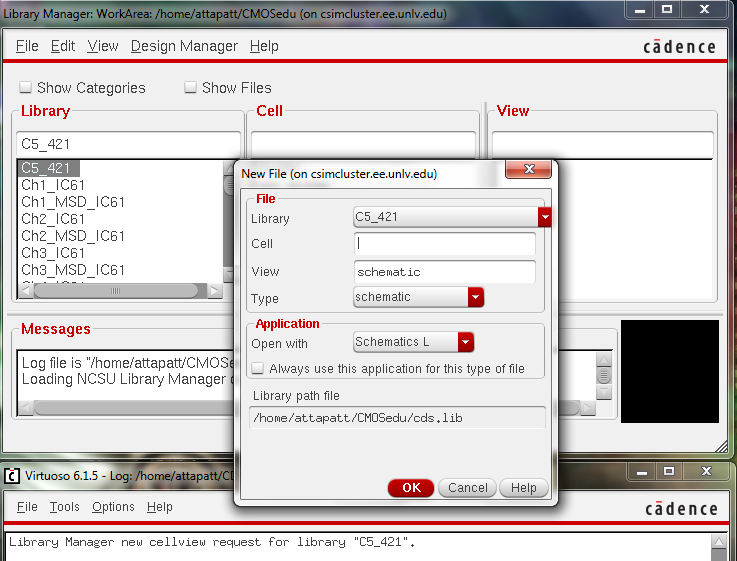
Type in a name for the cell. Click OK. This will create a new window for the schematic. To add parts type i. This stands for instance. This will bring two more windows.
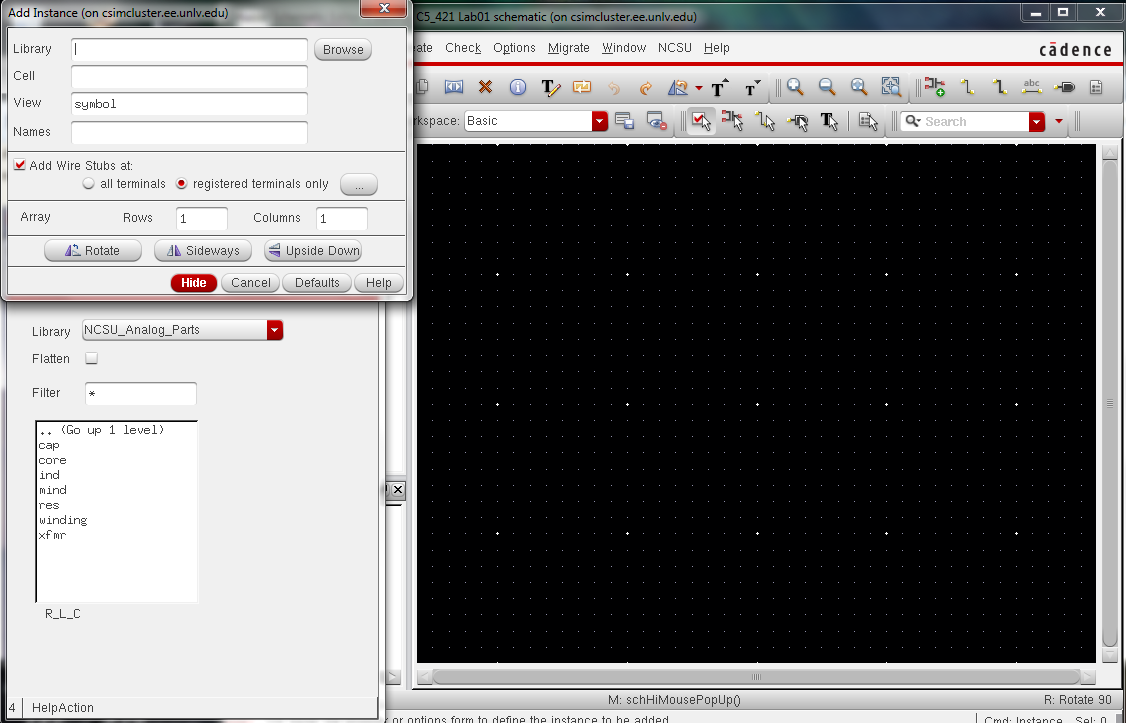
The window on the top left is the add instance window. The window on the top right is the component browser window. From the component browser select the NCSU_Analog_Parts library. Then select R_L_C and res for resistors.
Go back to the add instace window. Change the value of the resistor to 10K. Now you can add resistors to your schematic. To rotate a resistor type R. Hit esc to disable the current selection.
Select Voltage_Sources and vdc for a voltage source. Set the dc value to 1 volt. Select Supply_Nets and gnd for a ground.
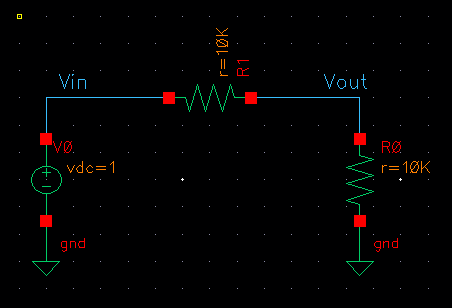
Type w to bring up the wires. Use the wires to connect the circuit. Type l to name the wires. Name one Vout and the other Vin. The final circuit should be similar to the image below.
To check for any errors click on the check and save icon  .
.
In the schematic editor select Launch->ADE. This should start the analog design enviroment.
Under the analog design enivroment select setup->simulator/directory/host. Set the simulator to spector.
Under the analog design enivroment select Analysis->choose. Set to transient with 1 second end time.

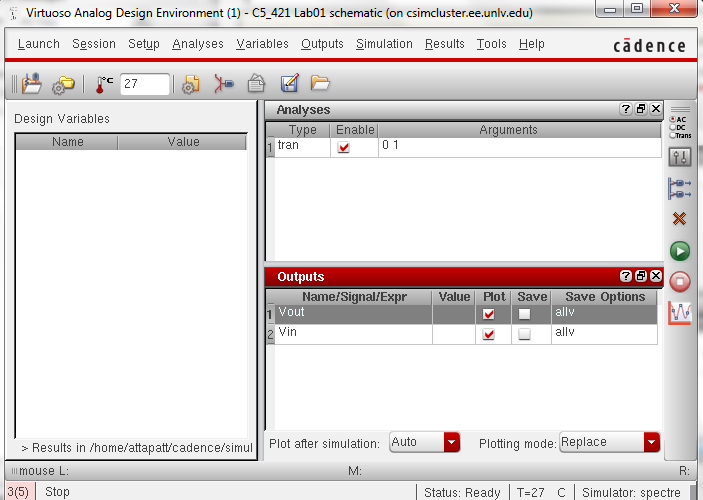
Now the outputs need to be added. Under the analog design enivroment select Outputs->To Be Saved->Select On Schematic. Go back to the schematic. Select Vout & Vin. The Analog Design Enviroment should look as the image below.
Go to Session->Save State. Select cell view and click ok.
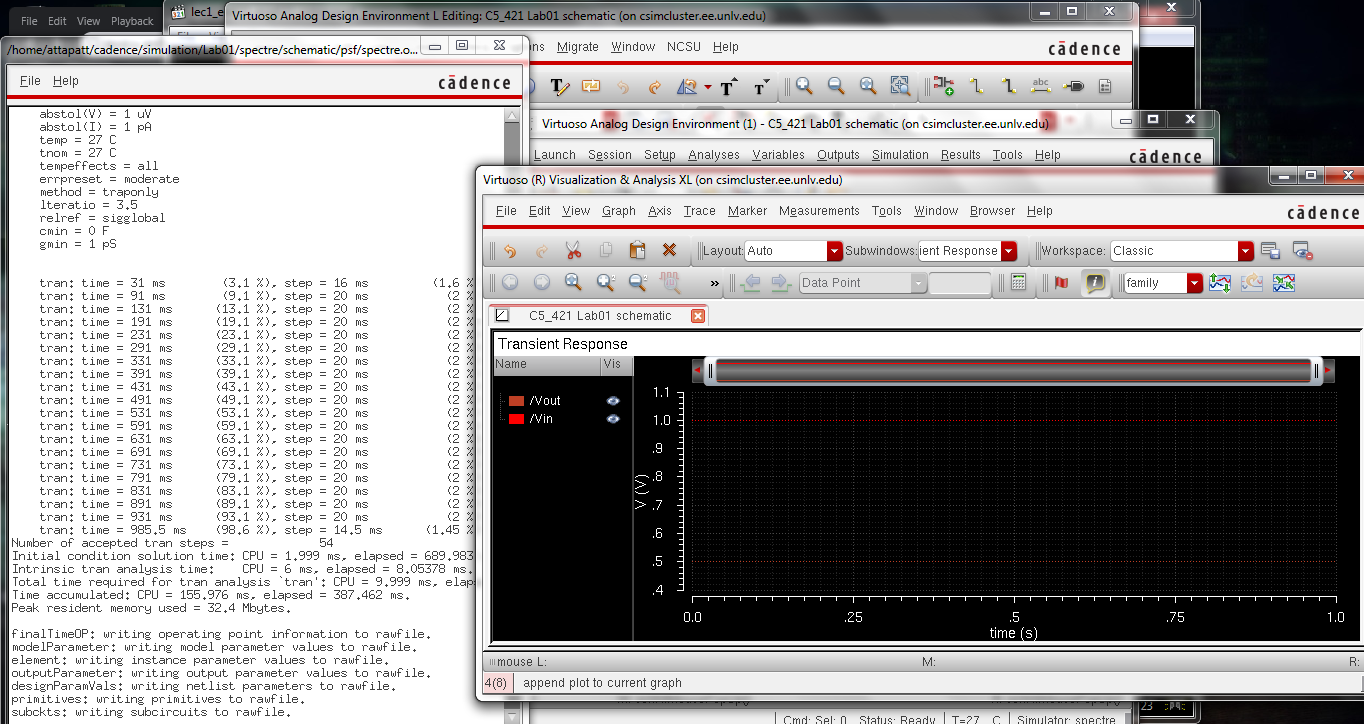
Click on the green button on the right to run the simulation. Your output should be similar to the image below.
Backups
To create back ups use MobaXterm. Right click on the folder/file chosen in the left panel and select Download. Once the files are downloaded go to https://drive.google.com/#my-drive. You should have one account assigned with your rebel mail account.
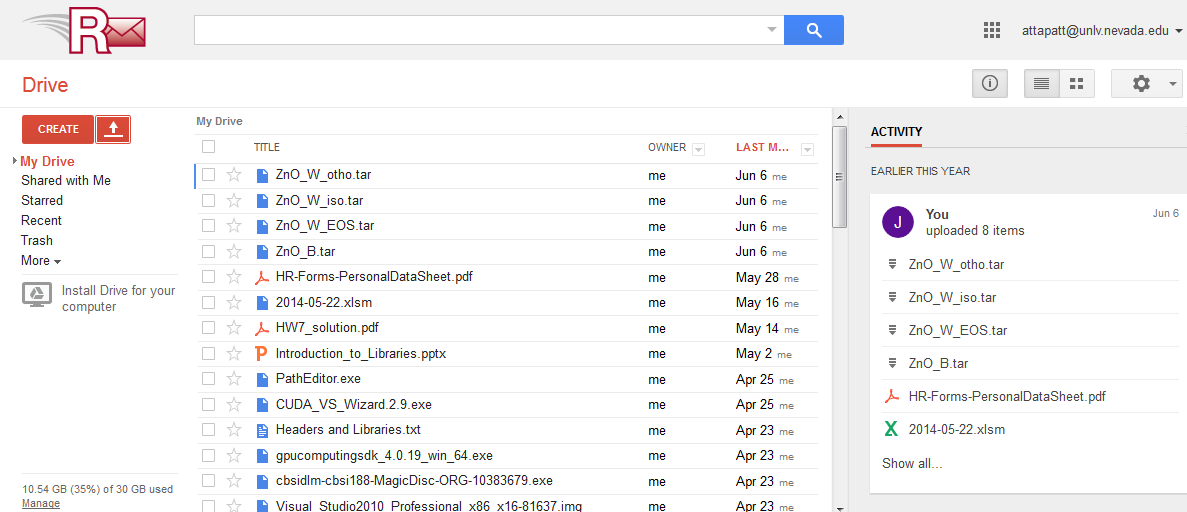
Next to create there is the upload button. You can either up load by file or folder. Add the date of your back ups to end of the name. This will help organize back ups and keep multiple copies. If you do multiple backups on a sinlge day add the time as well.
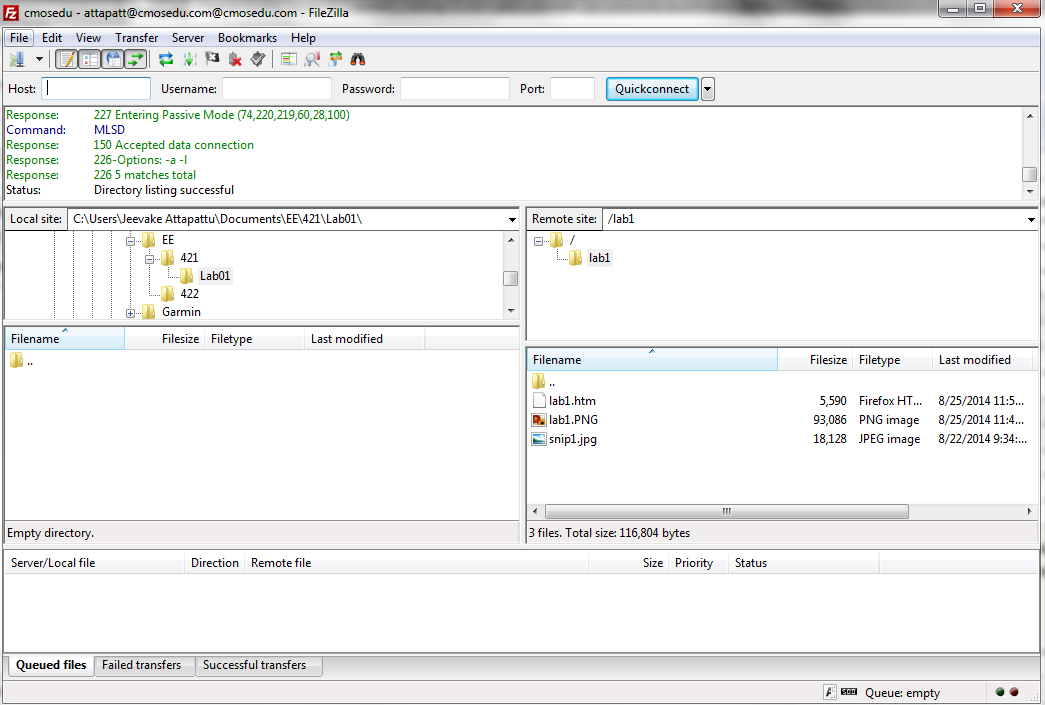
If you want to creatae backups from the course website you can use filezilla.