Lab 1 - EE 421L
Authored
by
Yun Lan,
lany3@unlv.nevada.edu
08/30/2013
Lab
description
This lab will go through the first part of Tutorial 1 of Electric and discuss how regular backups have been done.
Part 1: Go through Tutorial 1
1) Image 1-1 shows the starting page of Electirc.
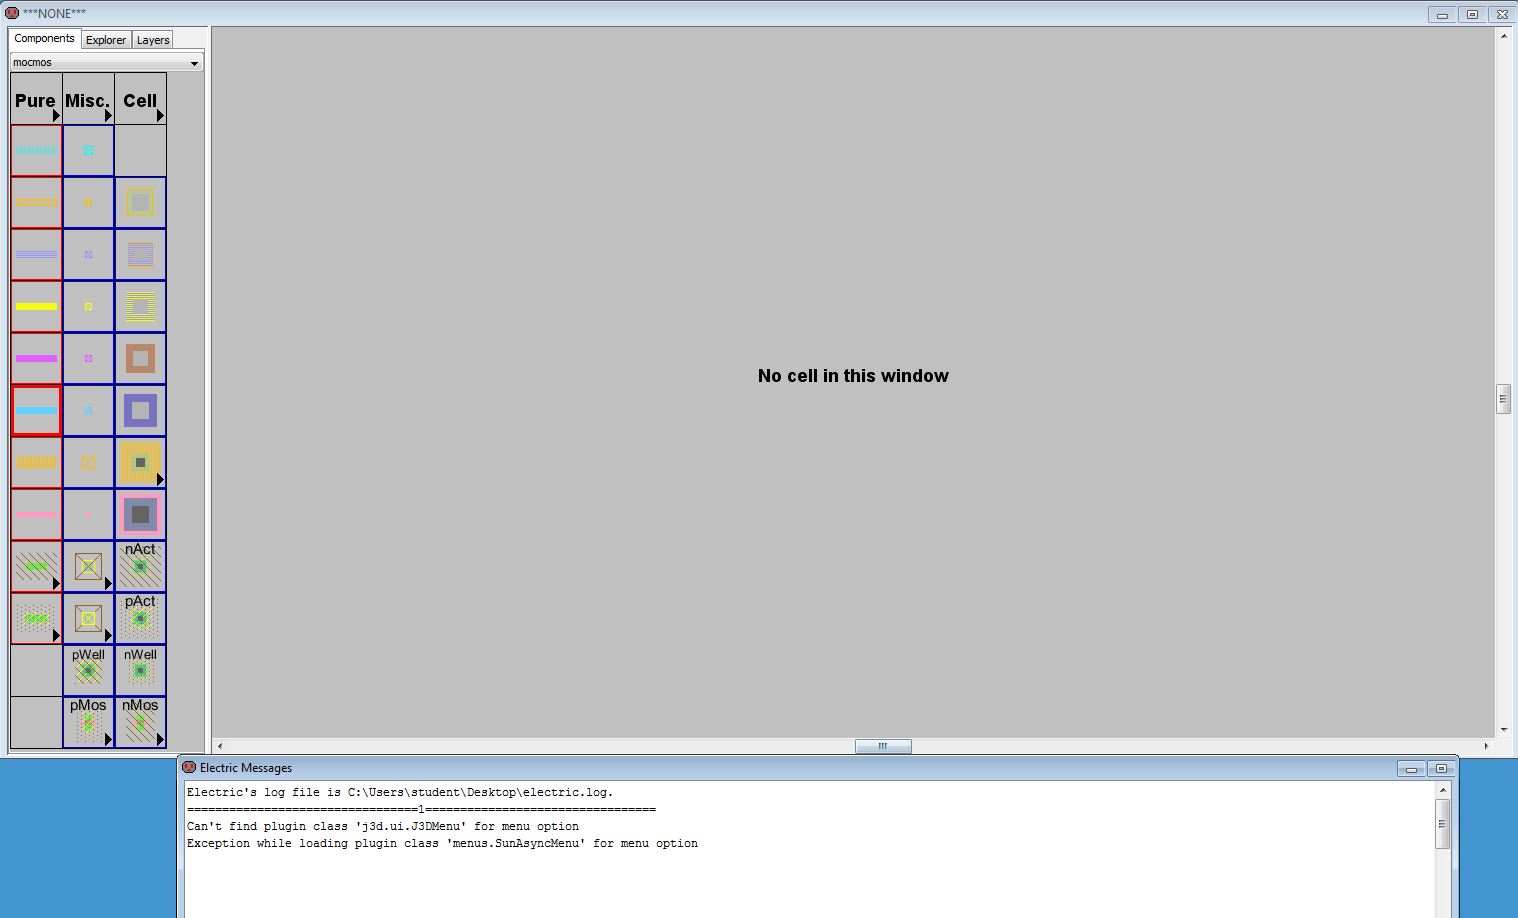
Image 1-1
2) White background color can be changed by clicking the "White Background Colors" in Windows -> Color Schemes.
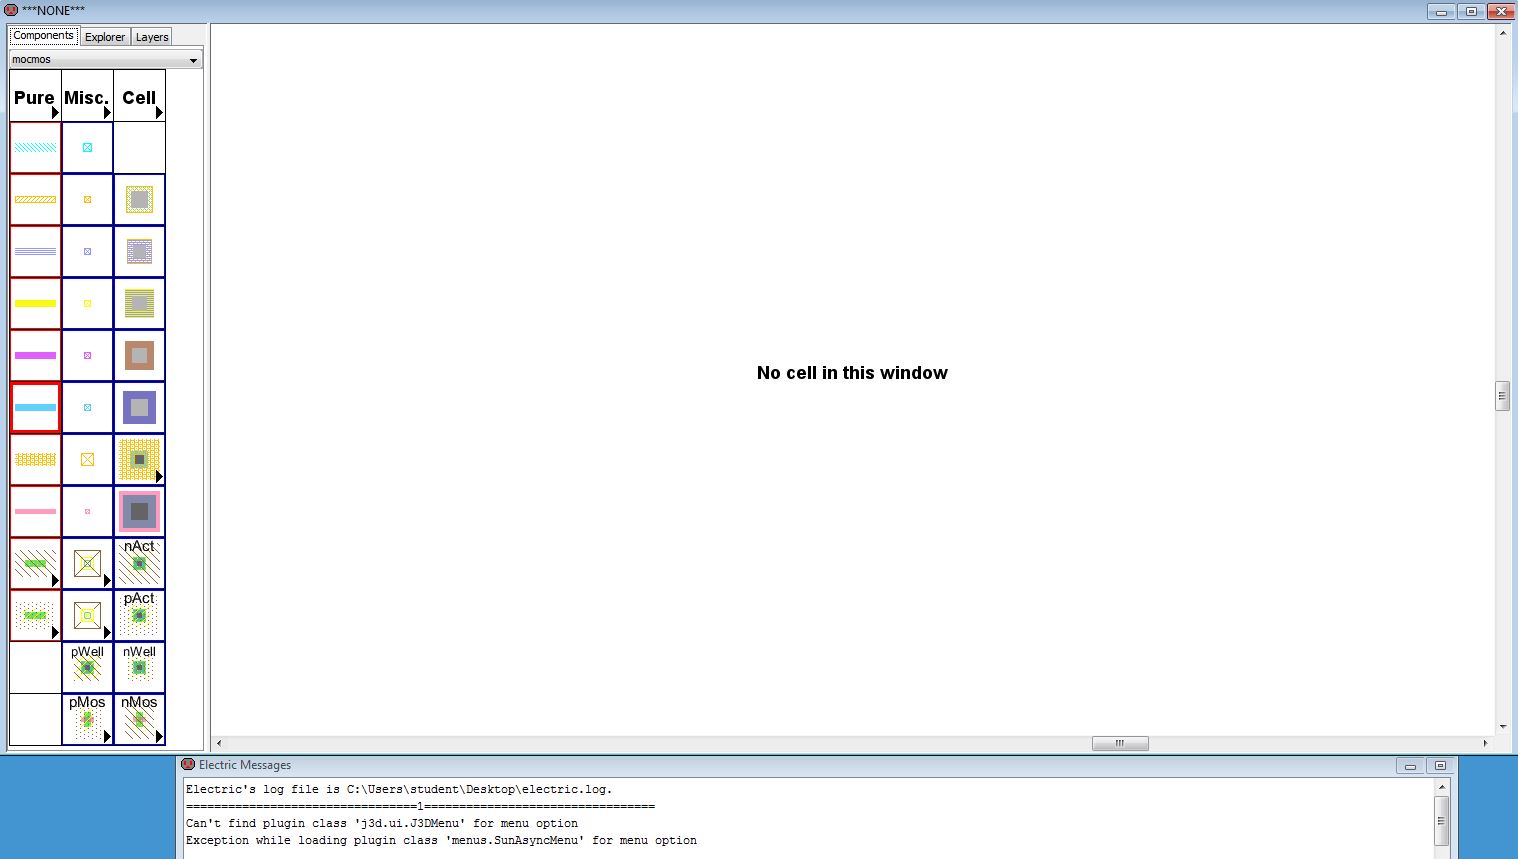
Image 1-2
3) Change the technology to mocmos, 3 metal layers, and select the "Analog".
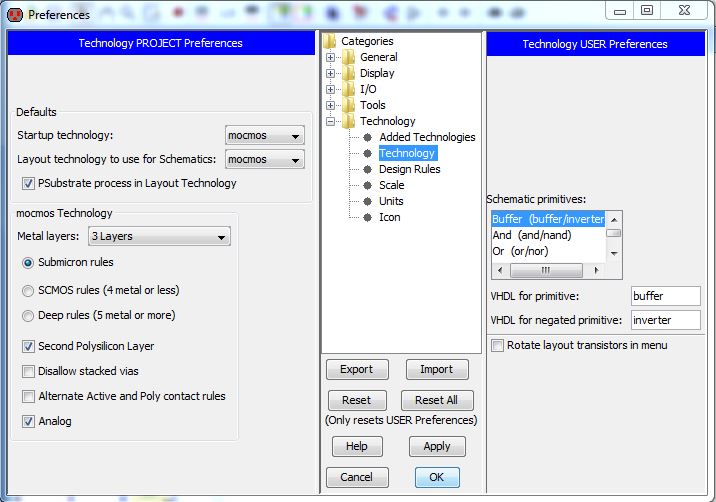
Image 1-3
4) Change the technology scale of mocmos to 300 nm.
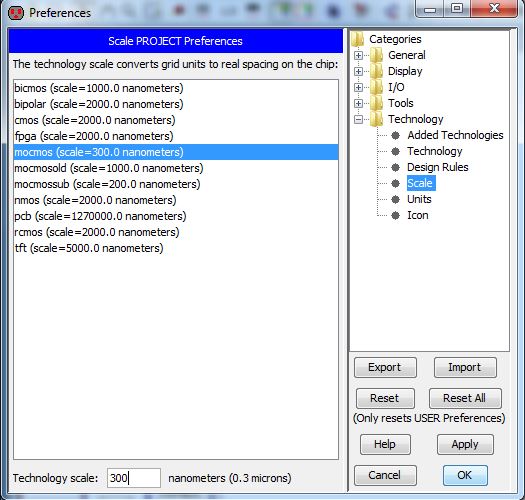
Image 1-4
5) Save the library and create a new schematic.
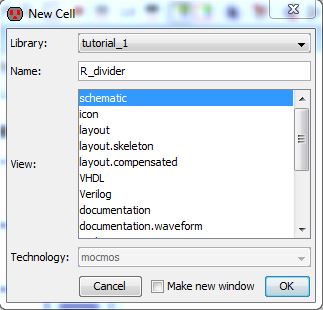
Image 1-5
6) Starting page of a new schematic.

Image 1-6
7) Place a N-well resistor.
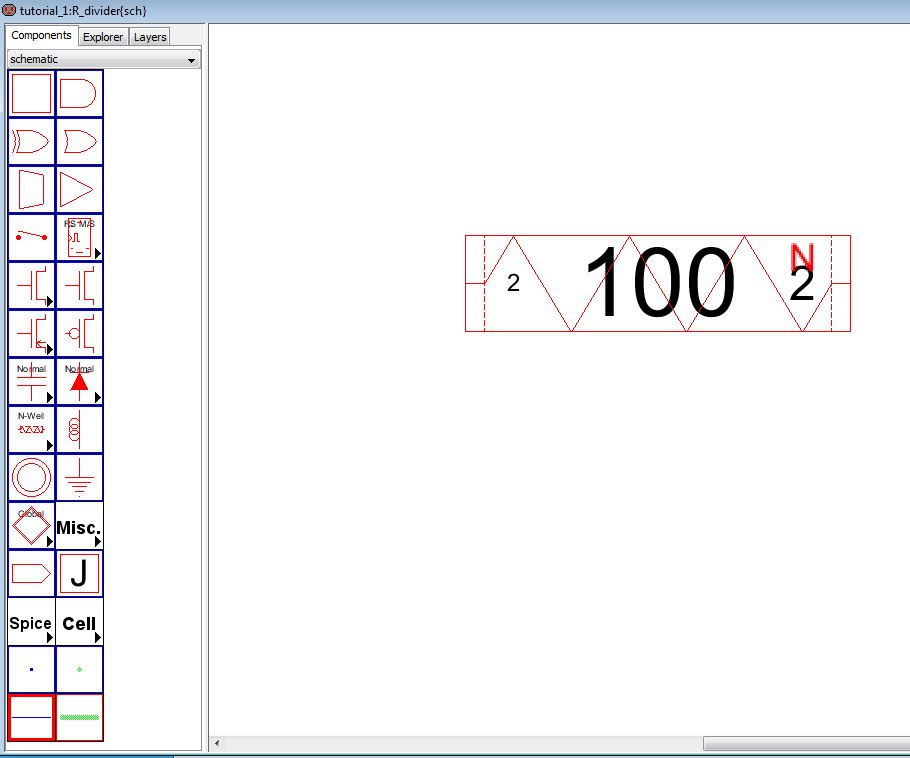
Image 1-7
8) Change the resistor value to 10k.
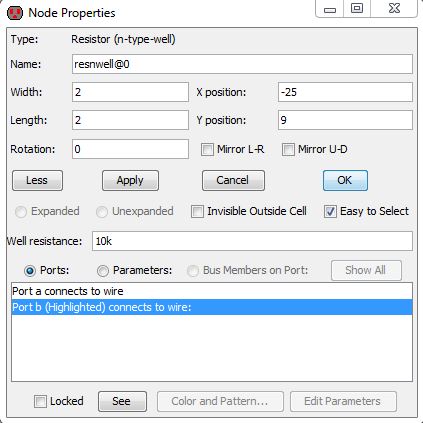
Image 1-8
9) Image 1-9 shows the schematic of the 10k N-Well resistor.
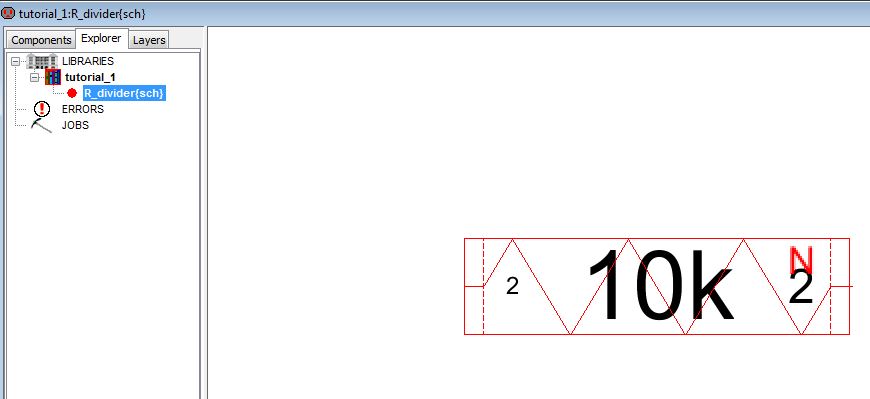
Image 1-9
Part 2: Discussing regular backups for the labs
Regular backups can help to back up the work when we accidentally messed up the lab we are doing.
2.1) After a period of time, I will back up the lab folder by compress it.
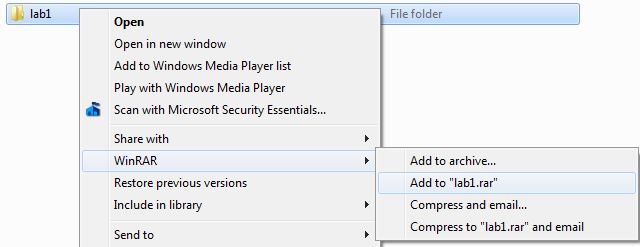
Image 2-1
Note: Snipping the right-click menu in Windows can be done by:
1. Open the Snipping tool.
2. Right-click the place you want to capture.
3. Press Ctrl+PrintScreen.
2.2) Upload the file to the Google Drive for backing up.
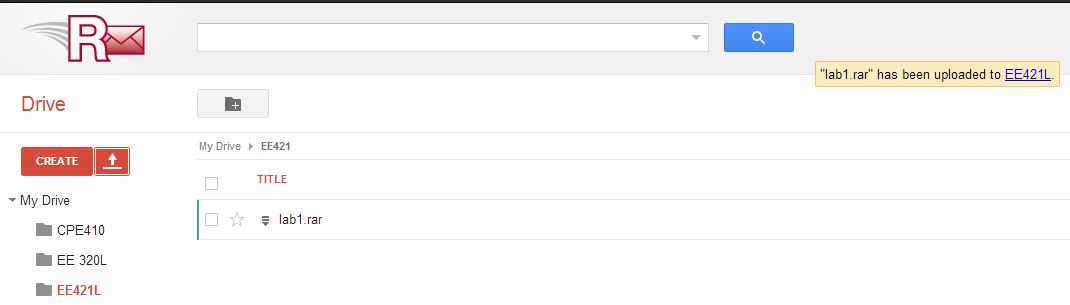
Image 2-2
Return to EE 421L Labs


