Readme for Mentor examples downloaded from CMOSedu.com
Pyxis Version: 10.4
Eldo (Mentor's name for their SPICE) and ADiT (Mentor's fast SPICE for transient simulations)
Add the following
to your .bashrc (if using the .cshrc then change export to setenv
and the = to a space).
export
MGC_HOME=/share/apps/mentor
export MGC_AMS_HOME=$MGC_HOME/ams
export CALIBRE_HOME=$MGC_HOME/calibre/ixl_cal_2014.3_27.21
export
CMOSEDU_TECH=$HOME/Mentor_CMOSedu/CMOSedu_tech
In the installation here the Mentor tools are installed in /share/apps/mentor/
Use the correct path above for your installation *important*.
For example your installation may be /usr/mentor
Also check the version/path of calibre seen above.
When finished, in a terminal window in your home directory, type the command “. .bashrc” (period, space, period bashrc) to
re-source the .bashrc file.
Note that if you don't have the MGC_AMS_HOME enviornment variable set then Eldo (Mentor's spice simulator) won't
run (it won't be found when called by Pyxis).
Also, if you don't have the CMOSEDU_TECH enviornment variable set then you'll get an error in the Pyxis Project
Navigator, $CMOSEDU_TECH.
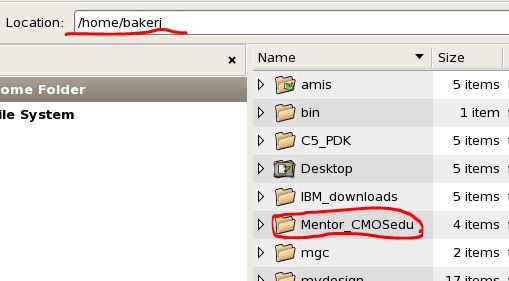
Unzip Mentor_CMOSedu.zip in your home directory (note that the author's home directory is seen in the below image which
obviously isn't your home directory).
Open a terminal and type "dmgr_ic &" to start Mentor's Project Navigator (see below image).
Use File -> Open -> Hierarchy and select $HOME/Mentor_CMOSedu/CMOSedu_examples.
Navigate to and select, for example, Fig1_23.
Double click on the schematic object circled below to open the schematic corresponding to the simulation in Fig. 1.23.
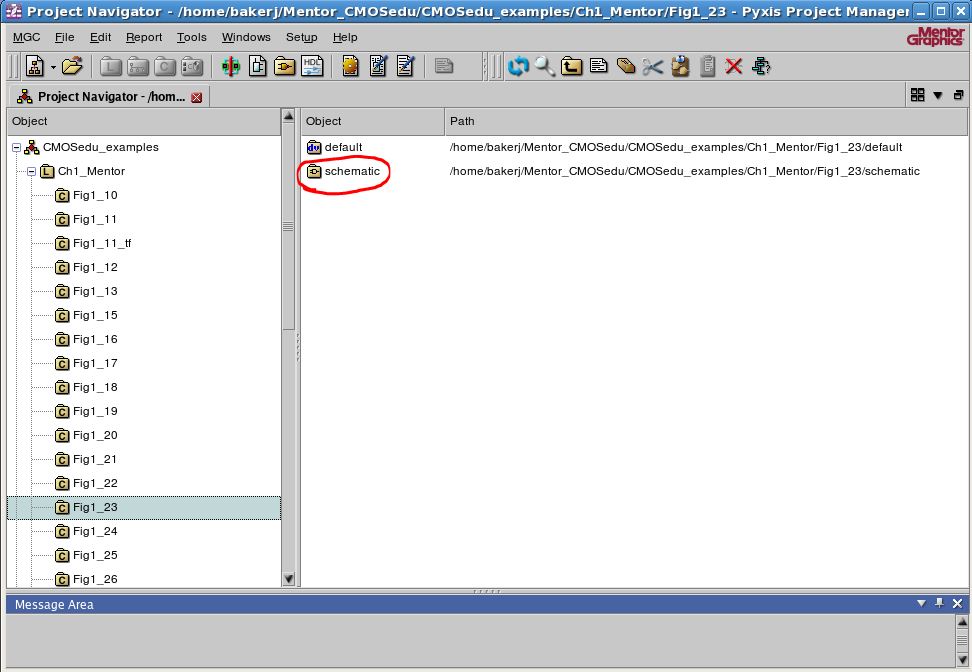
The corresponding schematic will open as seen below.
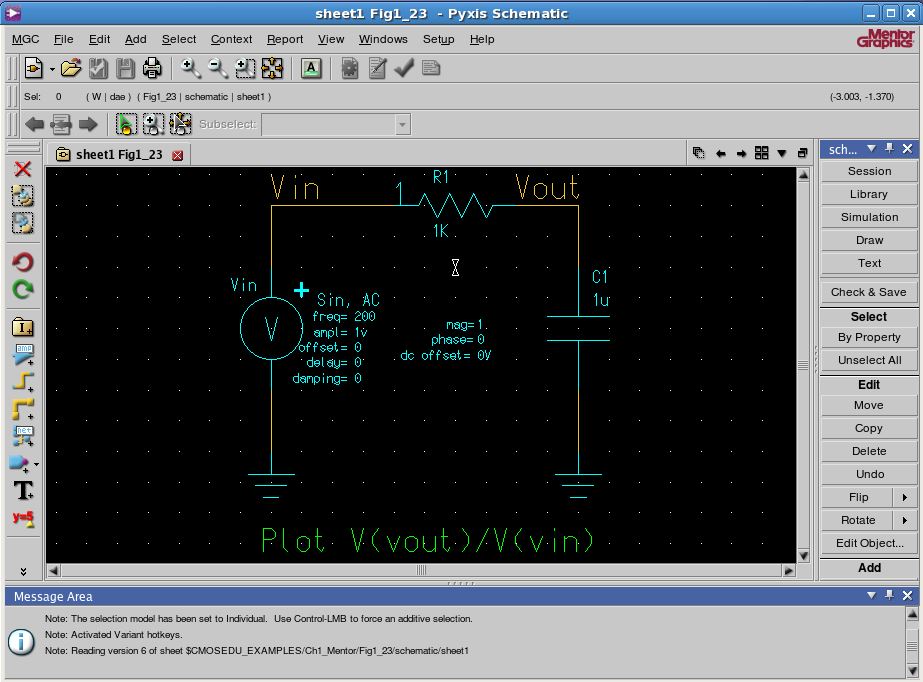
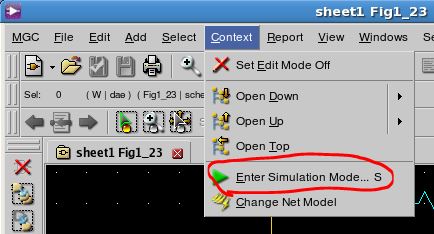
To "Enter Simulation Mode..." use the commands Context -> Enter Simulation Mode or press the hotkey "s" or the green triangle on the left-side menu.
Next, you will be asked which design configuration you want to use.
Select either Eldo (slower but more accurate) or ADiT (faster).
Select OK.

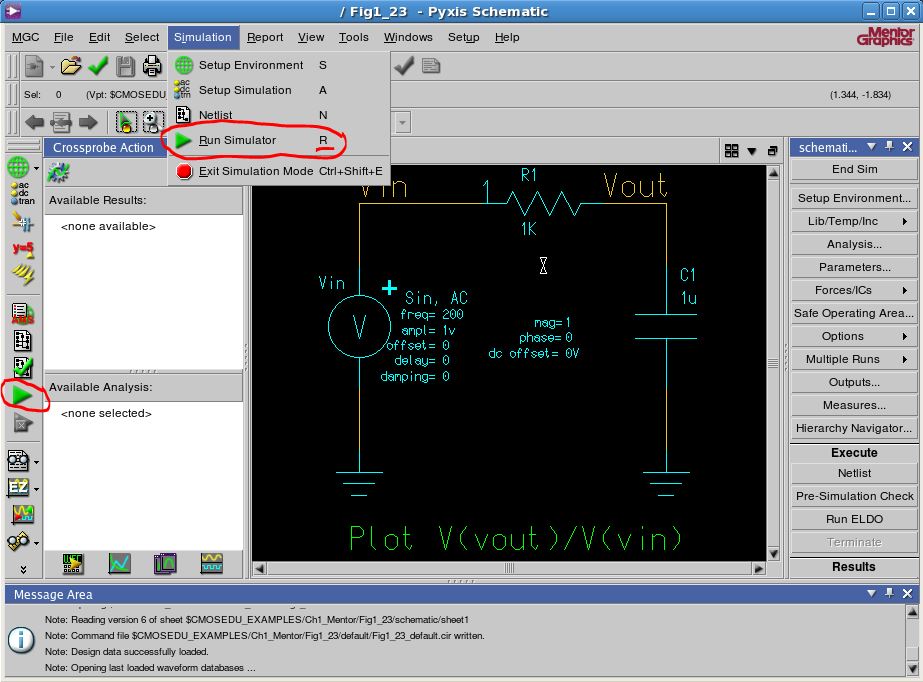
Run the simulation by: clicking on the green triangle, using the Hotkey "r" or the menu item Simulation -> Run Simulator.
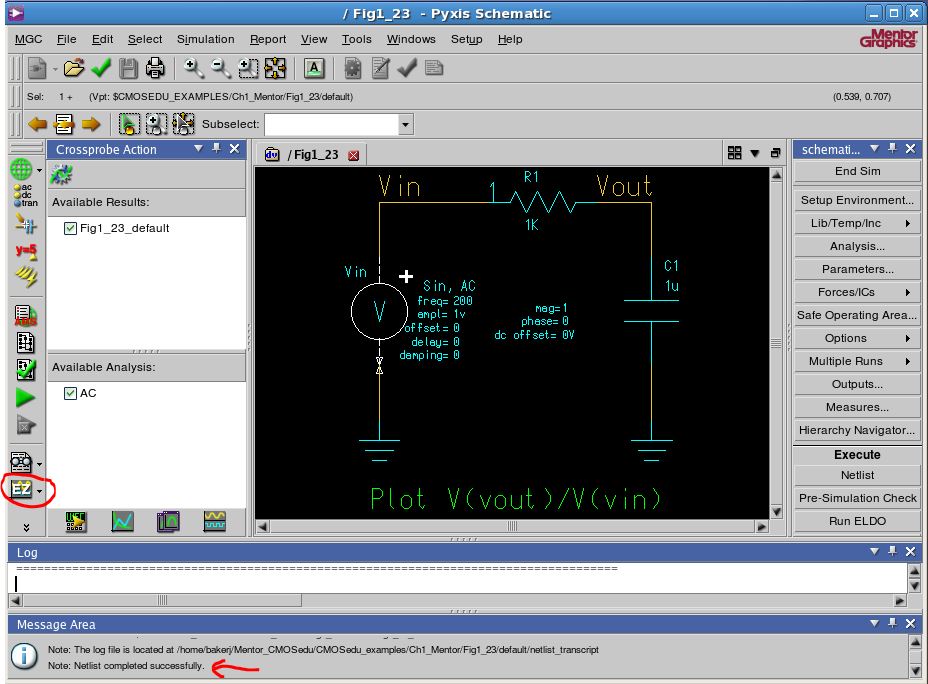
After the simulation finishes, which is indicated in the Message Area, select the EZ icon (to start ezwave) circled below.
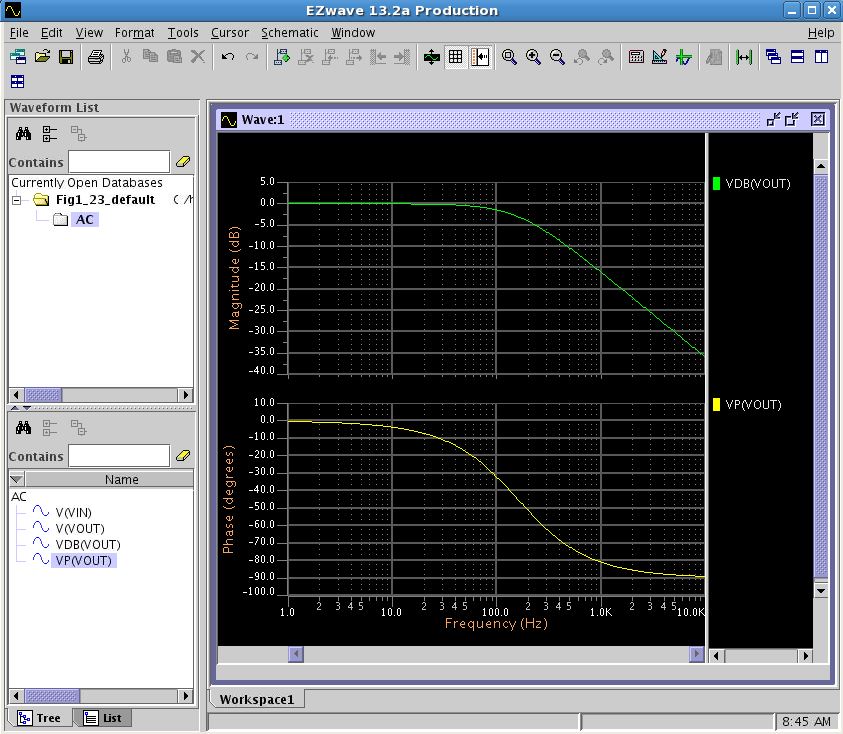
This will automatically plot the waveforms seen in the books' figures.
You can also press the hotkey "v" to view the results. To automatically plot the waveforms seen in the book you can then select
the EZ icon or manually select the waveforms by opening the corresponding folder, double clicking on the anaylsis (below this
is AC), and then double-clicking on the signal(s) of interest.
Tip: pressing "v" followed by the EZ icon plots the waveforms faster than pressing the EZ icon alone.
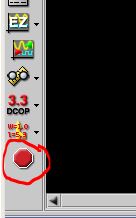
To exit the simulation mode and return to the edit schematic mode select the red octagon shape on the left menu or use "Ctrl+Shift+E"
Notes to self: when generating examples for others to download at CMOSedu.com, to keep the file size as small as possible, delete everything in the default folder except the newest default.db_X file and the *.attr file
Mentor Graphics at CMOSedu.com